
Detecting Connector Pin Mushrooming from Over-Insertion: A Machine Vision Inspection Guide
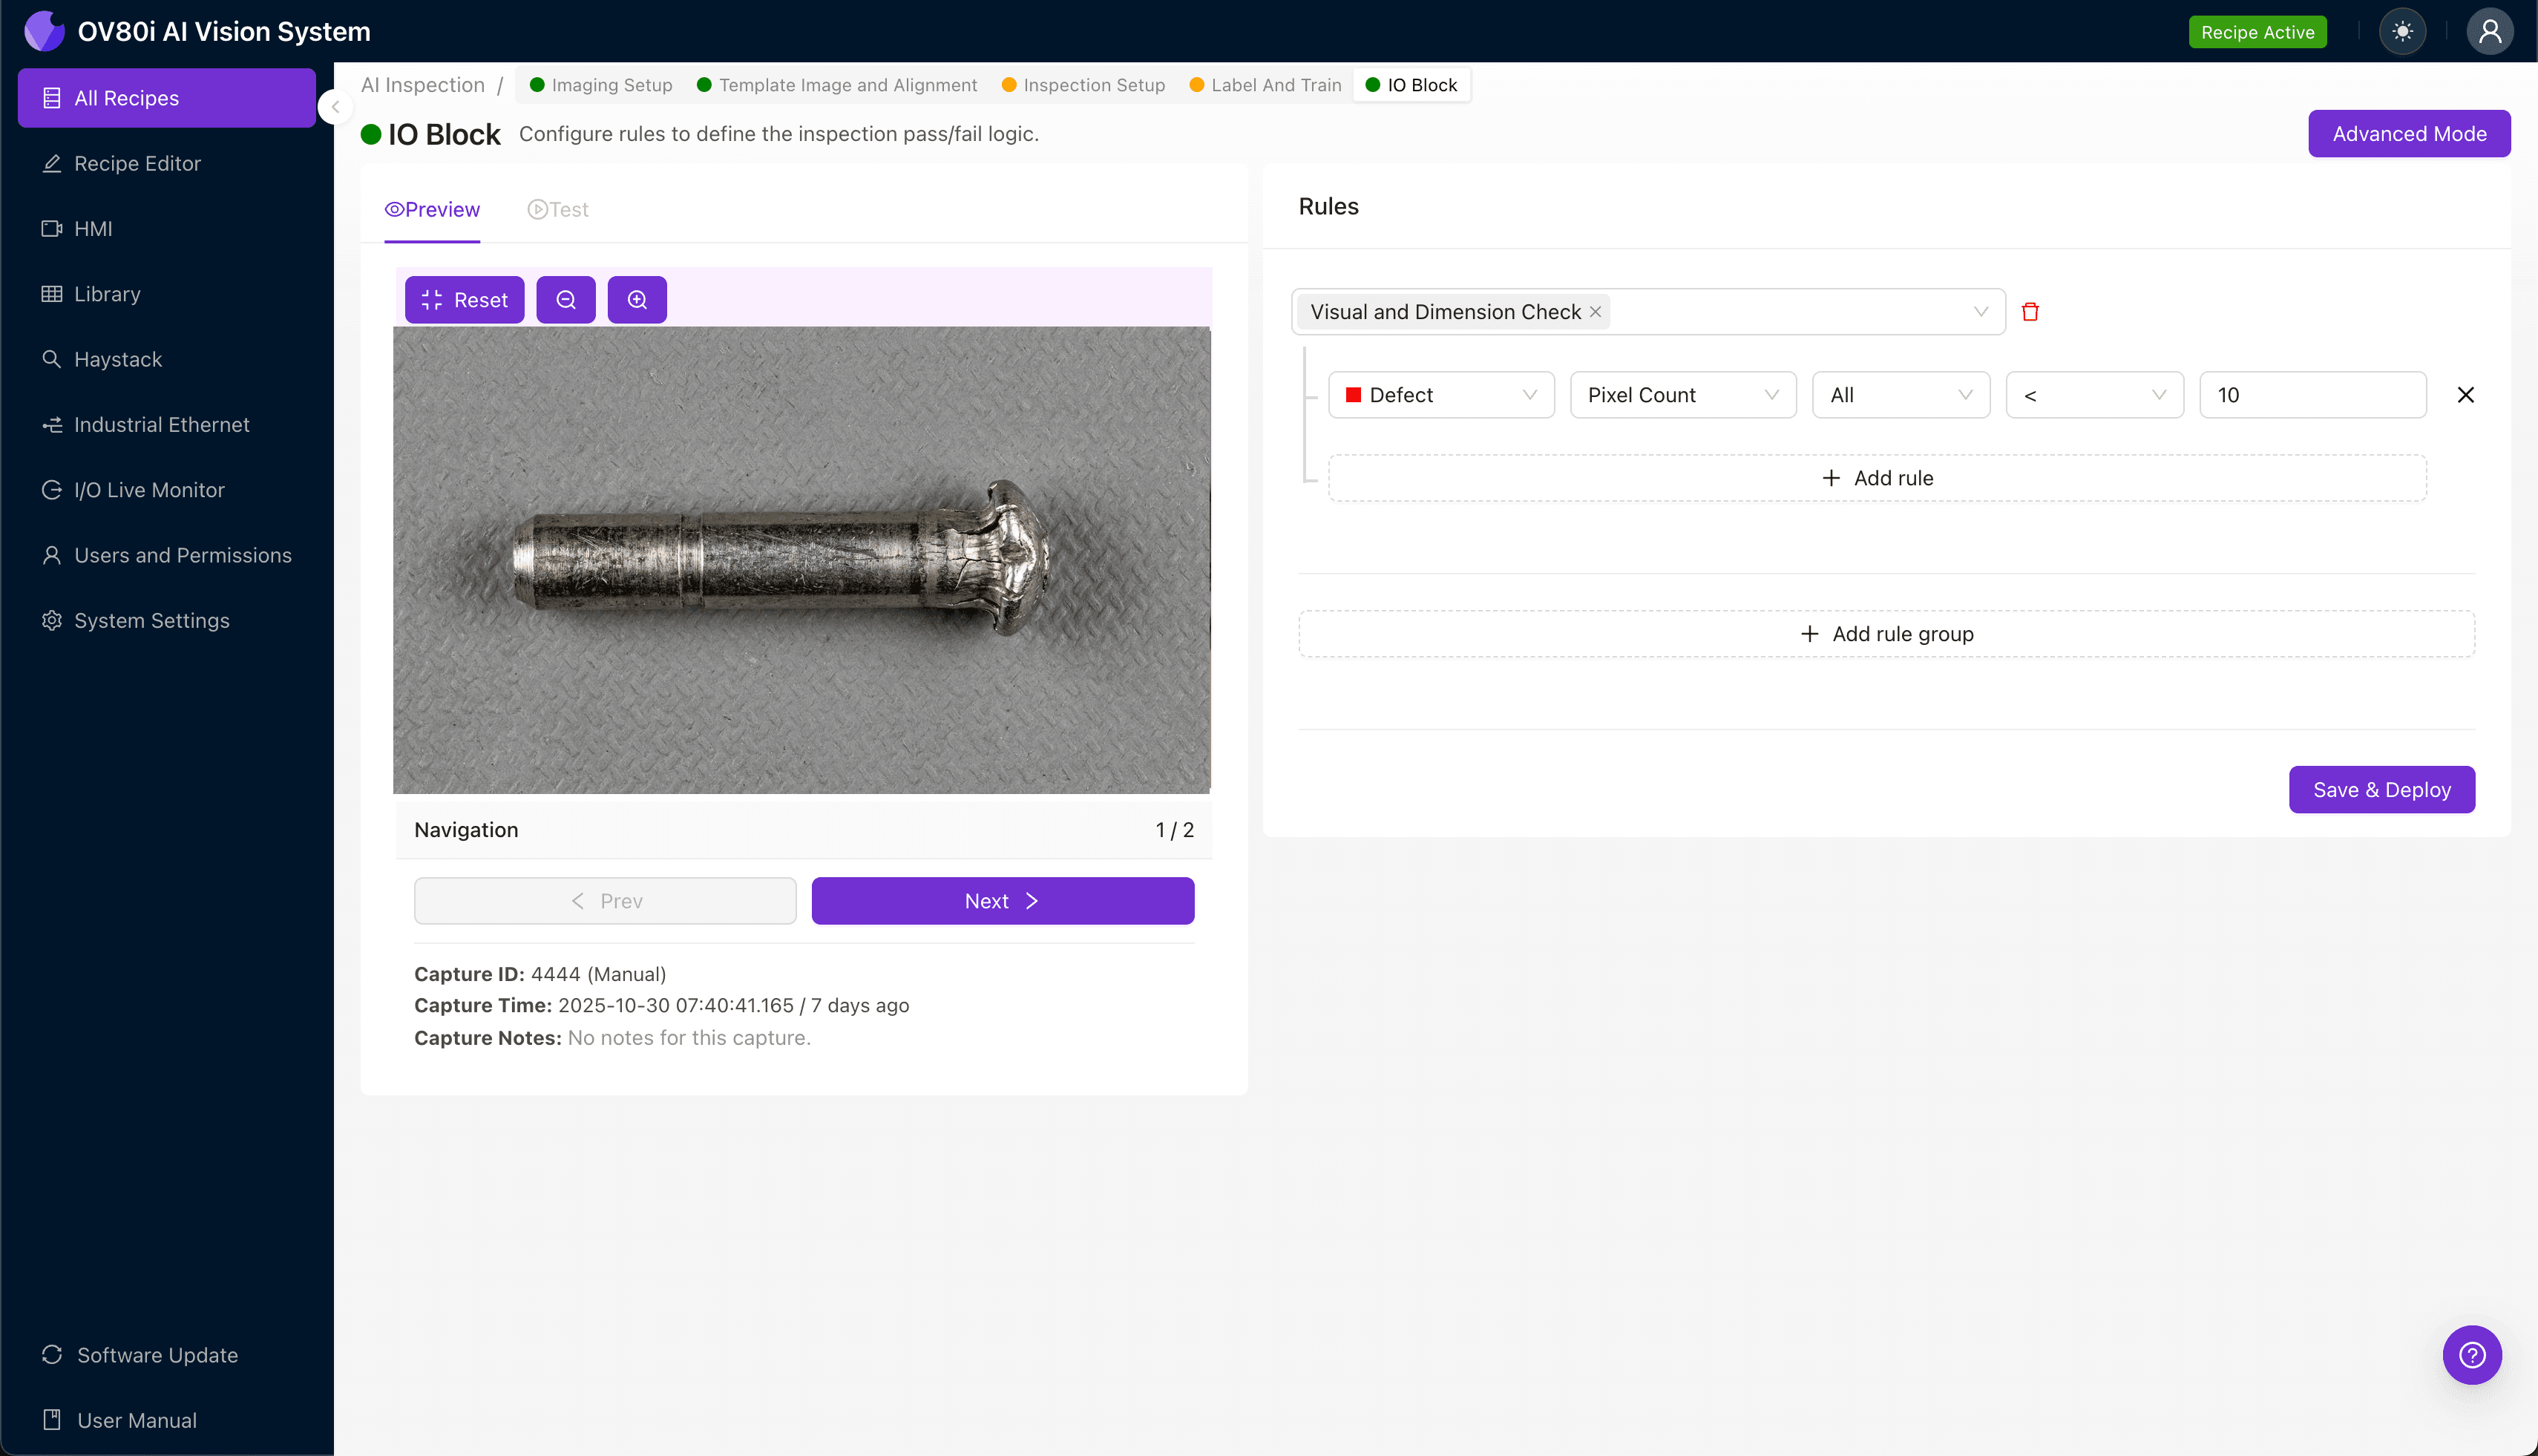
"Mushroomed connector pins from over-insertion cause electrical failures and mechanical reliability issues. AI-powered machine vision detects these microscopic deformations at full line speed, delivering 100% inspection coverage without human fatigue or subjective judgment."
The Problem: When Precision Assembly Goes Wrong
Connector pins are engineered to exact tolerances, but excessive insertion force during assembly can cause catastrophic deformation at the pin tip. This "mushrooming" defect compromises both electrical performance and mechanical reliability in critical applications.
Common defects associated with mushroomed connector pins:
- Radial tip expansion – Pin tip diameter exceeds specification due to compressive force
- Axial shortening – Overall pin length reduction from material displacement
- Surface cracking – Micro-fractures radiating from the deformed tip area
- Plating breach – Gold or tin plating damaged, exposing base metal to corrosion
- Bent or misaligned shafts – Secondary deformation from uneven insertion pressure
- Burr formation – Irregular material buildup around the mushroomed region
Human inspectors struggle with these defects due to their microscopic scale and subtle presentation. Inspector fatigue sets in quickly when examining hundreds of pins per hour, and subjective judgment leads to inconsistent pass/fail decisions across shifts.
The Solution: AI-Powered Visual Inspection
Machine vision systems equipped with deep learning algorithms excel at detecting geometric anomalies that fall outside trained parameters. Unlike rule-based systems, AI models learn the full spectrum of acceptable variation while flagging true defects with remarkable precision.
Overview.ai's approach delivers consistent, objective inspection at full line speed—eliminating the bottleneck of manual sampling. The system captures every unit, compares it against learned standards, and makes pass/fail decisions in milliseconds without fatigue or drift.
Step 1: Imaging Setup
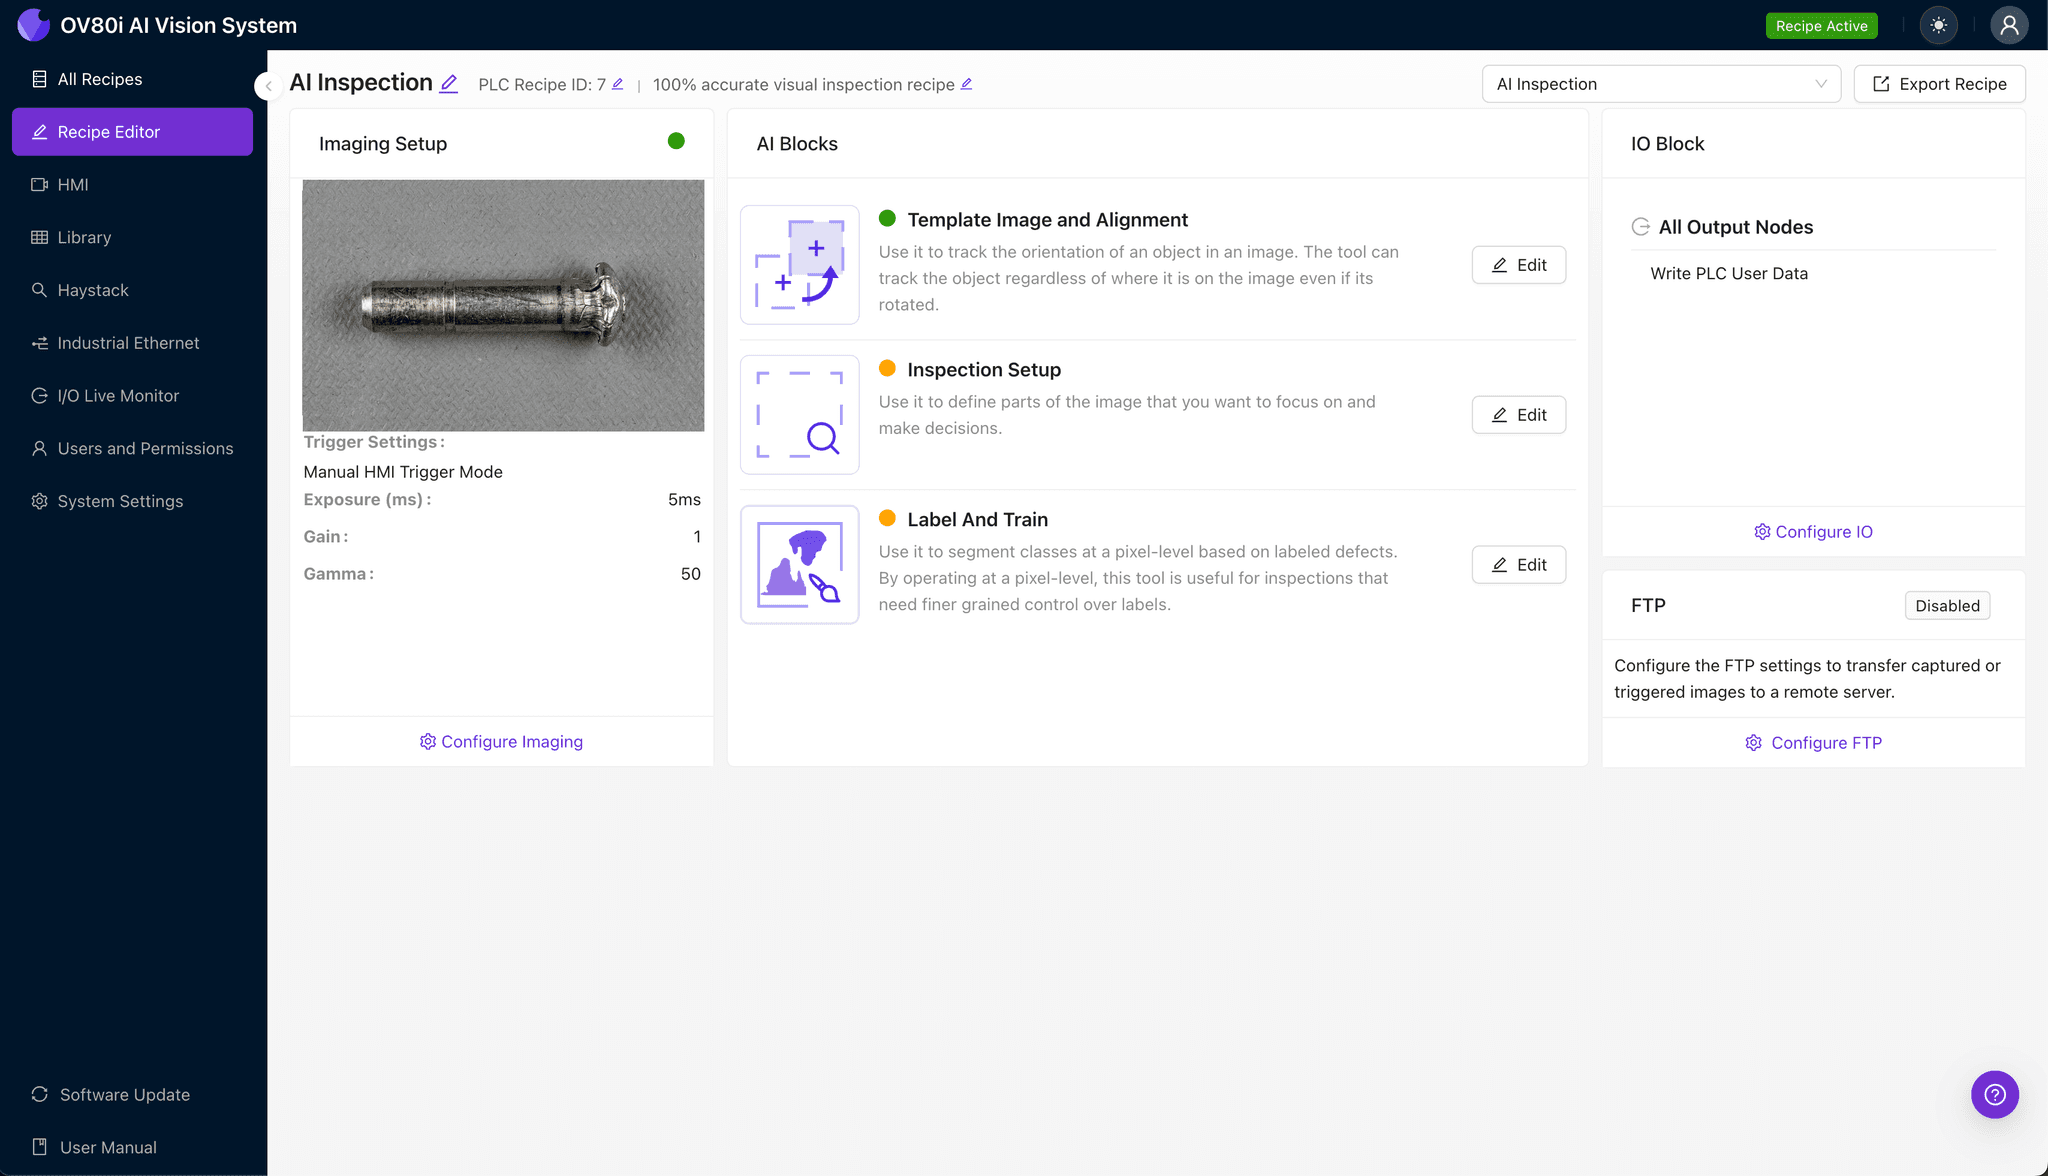
Position the connector pin under the OV80i camera system, ensuring the tip area is clearly visible and properly oriented. Consistent part presentation is critical for reliable mushrooming detection.
Navigate to "Configure Imaging" in the Overview interface. Adjust Camera Settings including exposure time and gain to achieve sharp contrast between the pin tip profile and background—shadow detail at the tip edge is essential for detecting radial expansion.
Click "Save" to lock in your optimized imaging parameters.
Step 2: Image Alignment
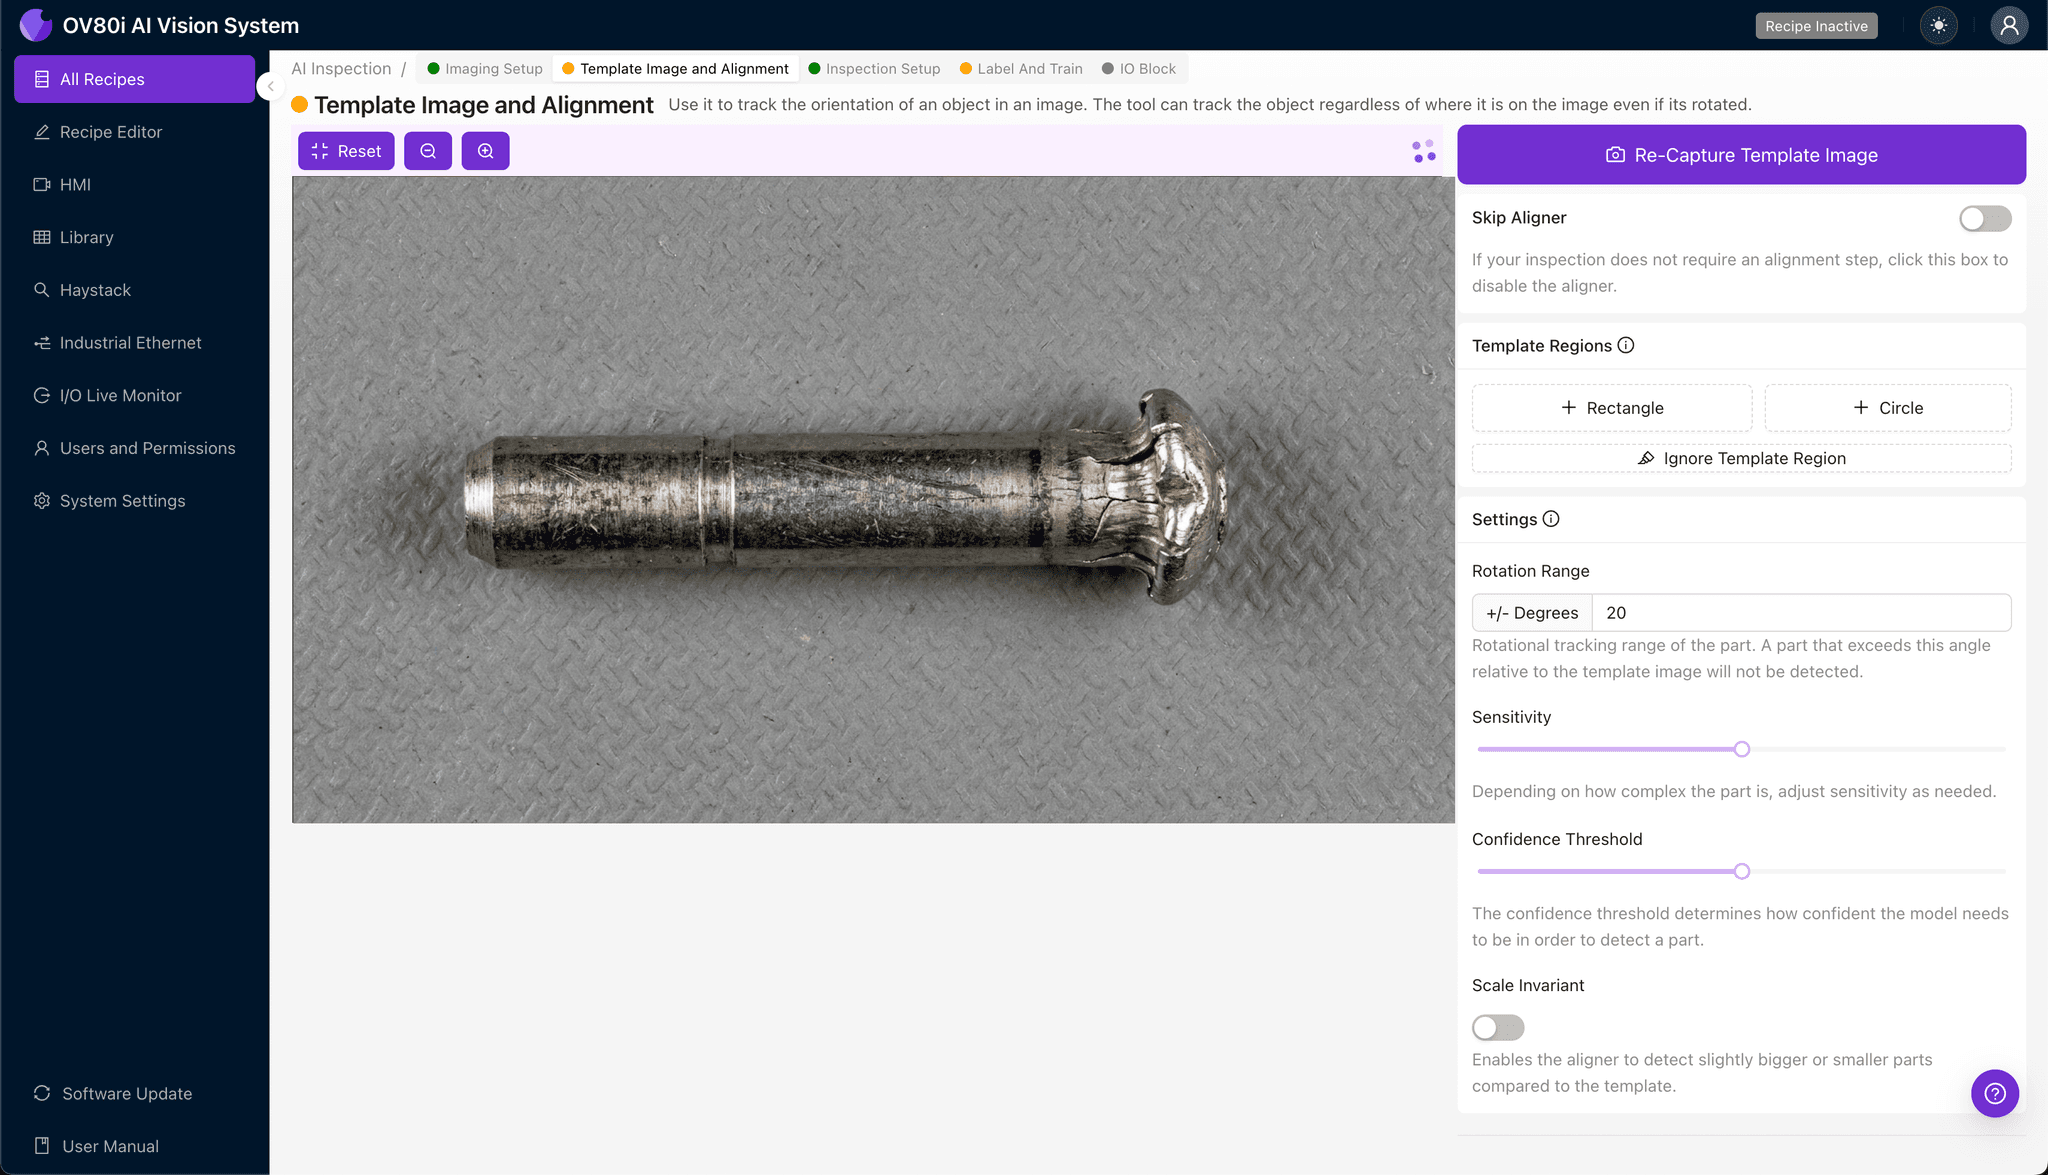
Navigate to the "Template Image" tab and capture a reference image of a known-good connector pin. This template establishes the baseline geometry the system will use for alignment.
Click "+ Rectangle" to add an alignment region around the main pin body, avoiding the tip area where defects occur. Set the Rotation Range to 20 degrees to accommodate minor orientation variation during part feeding.
Step 3: Inspection Region Selection
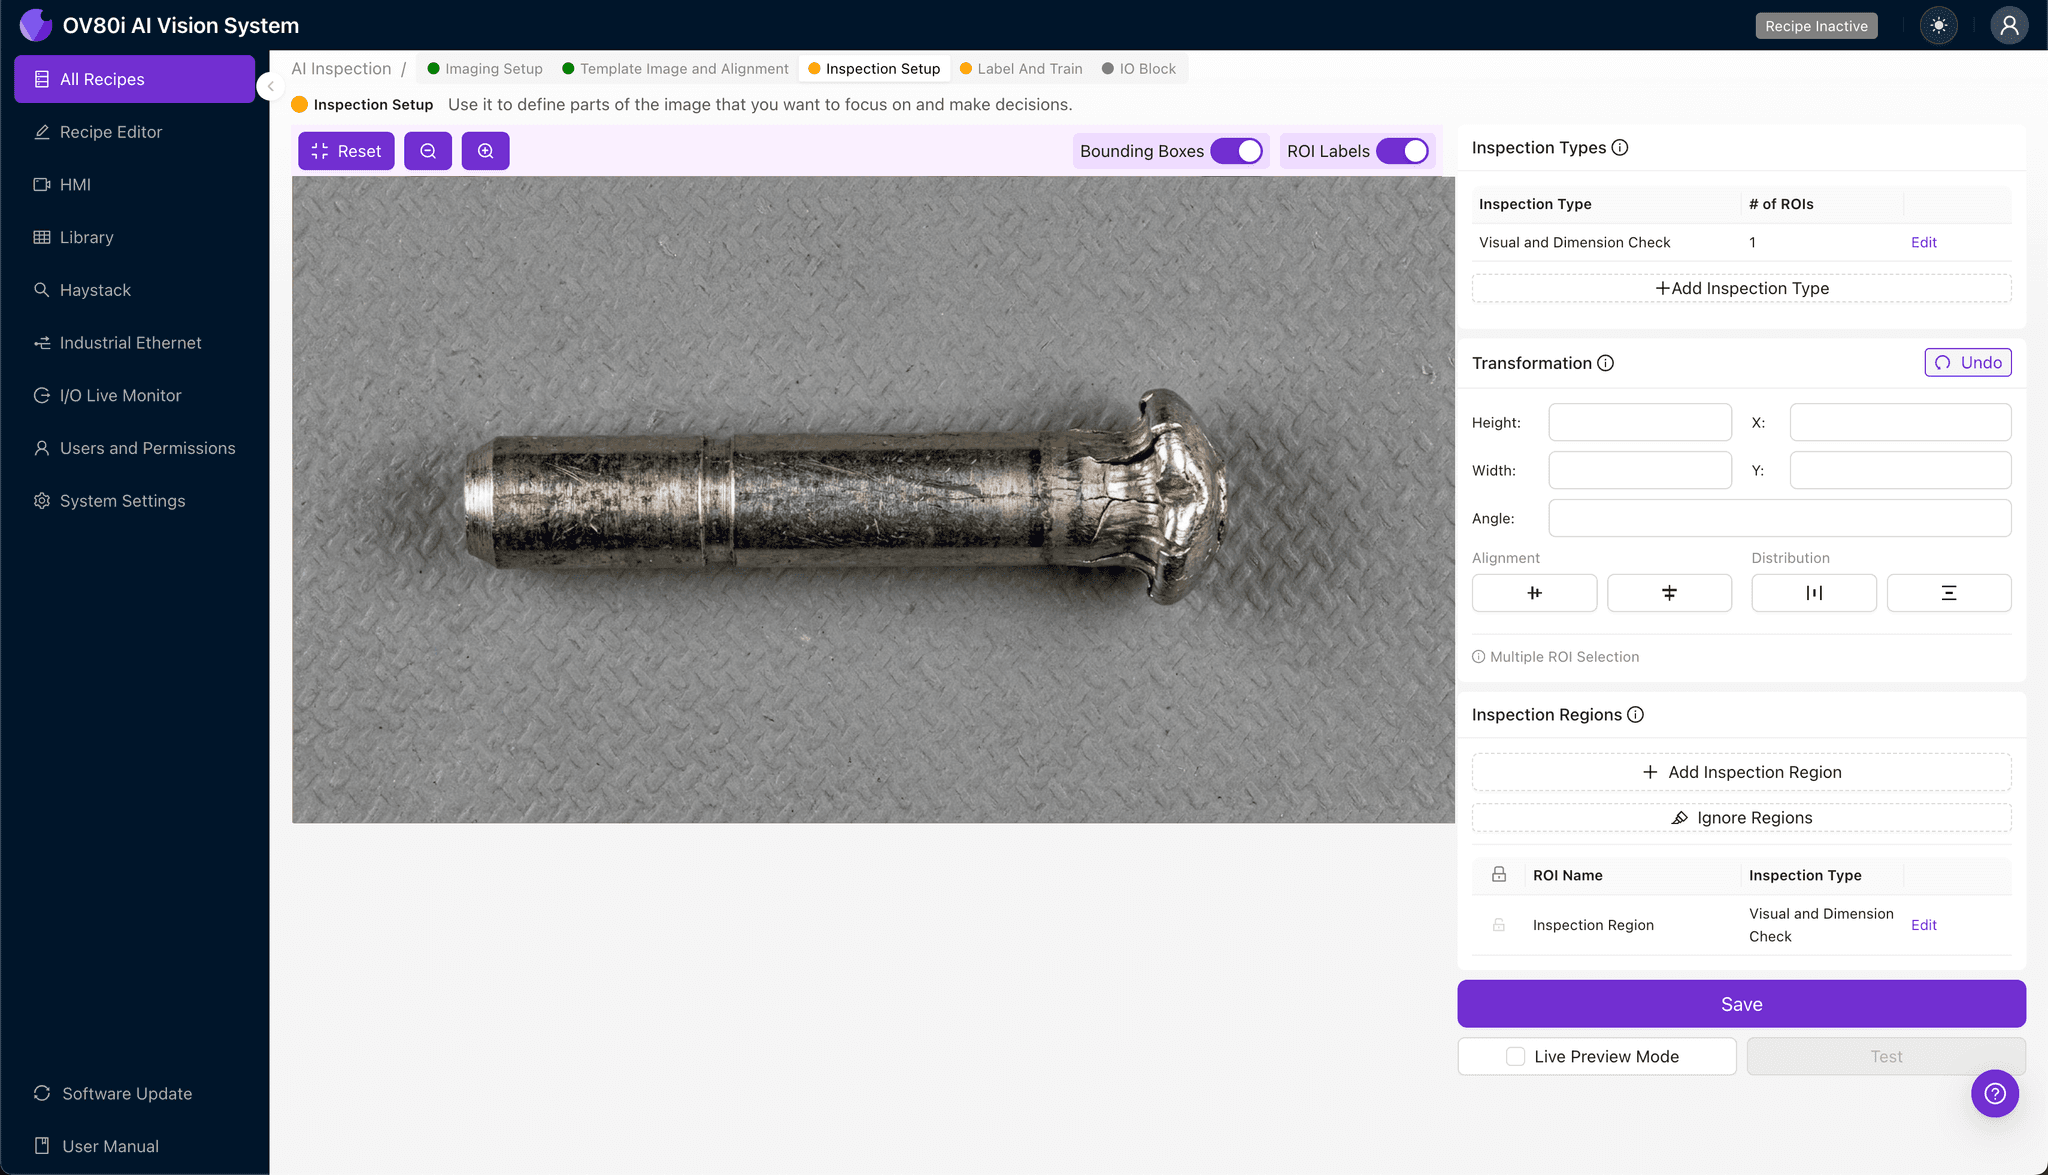
Navigate to "Inspection Setup" to define where the system should look for defects. Rename your Inspection Types to meaningful labels such as "Tip_Mushroom" and "Shaft_Integrity" for clear reporting.
Click "+ Add Inspection Region" to create a targeted detection zone. Resize the yellow bounding box to cover the pin tip and immediate surrounding area where mushrooming manifests—this focused region improves detection accuracy while reducing processing overhead.
Click "Save" to confirm your inspection configuration.
Step 4: Labeling Data
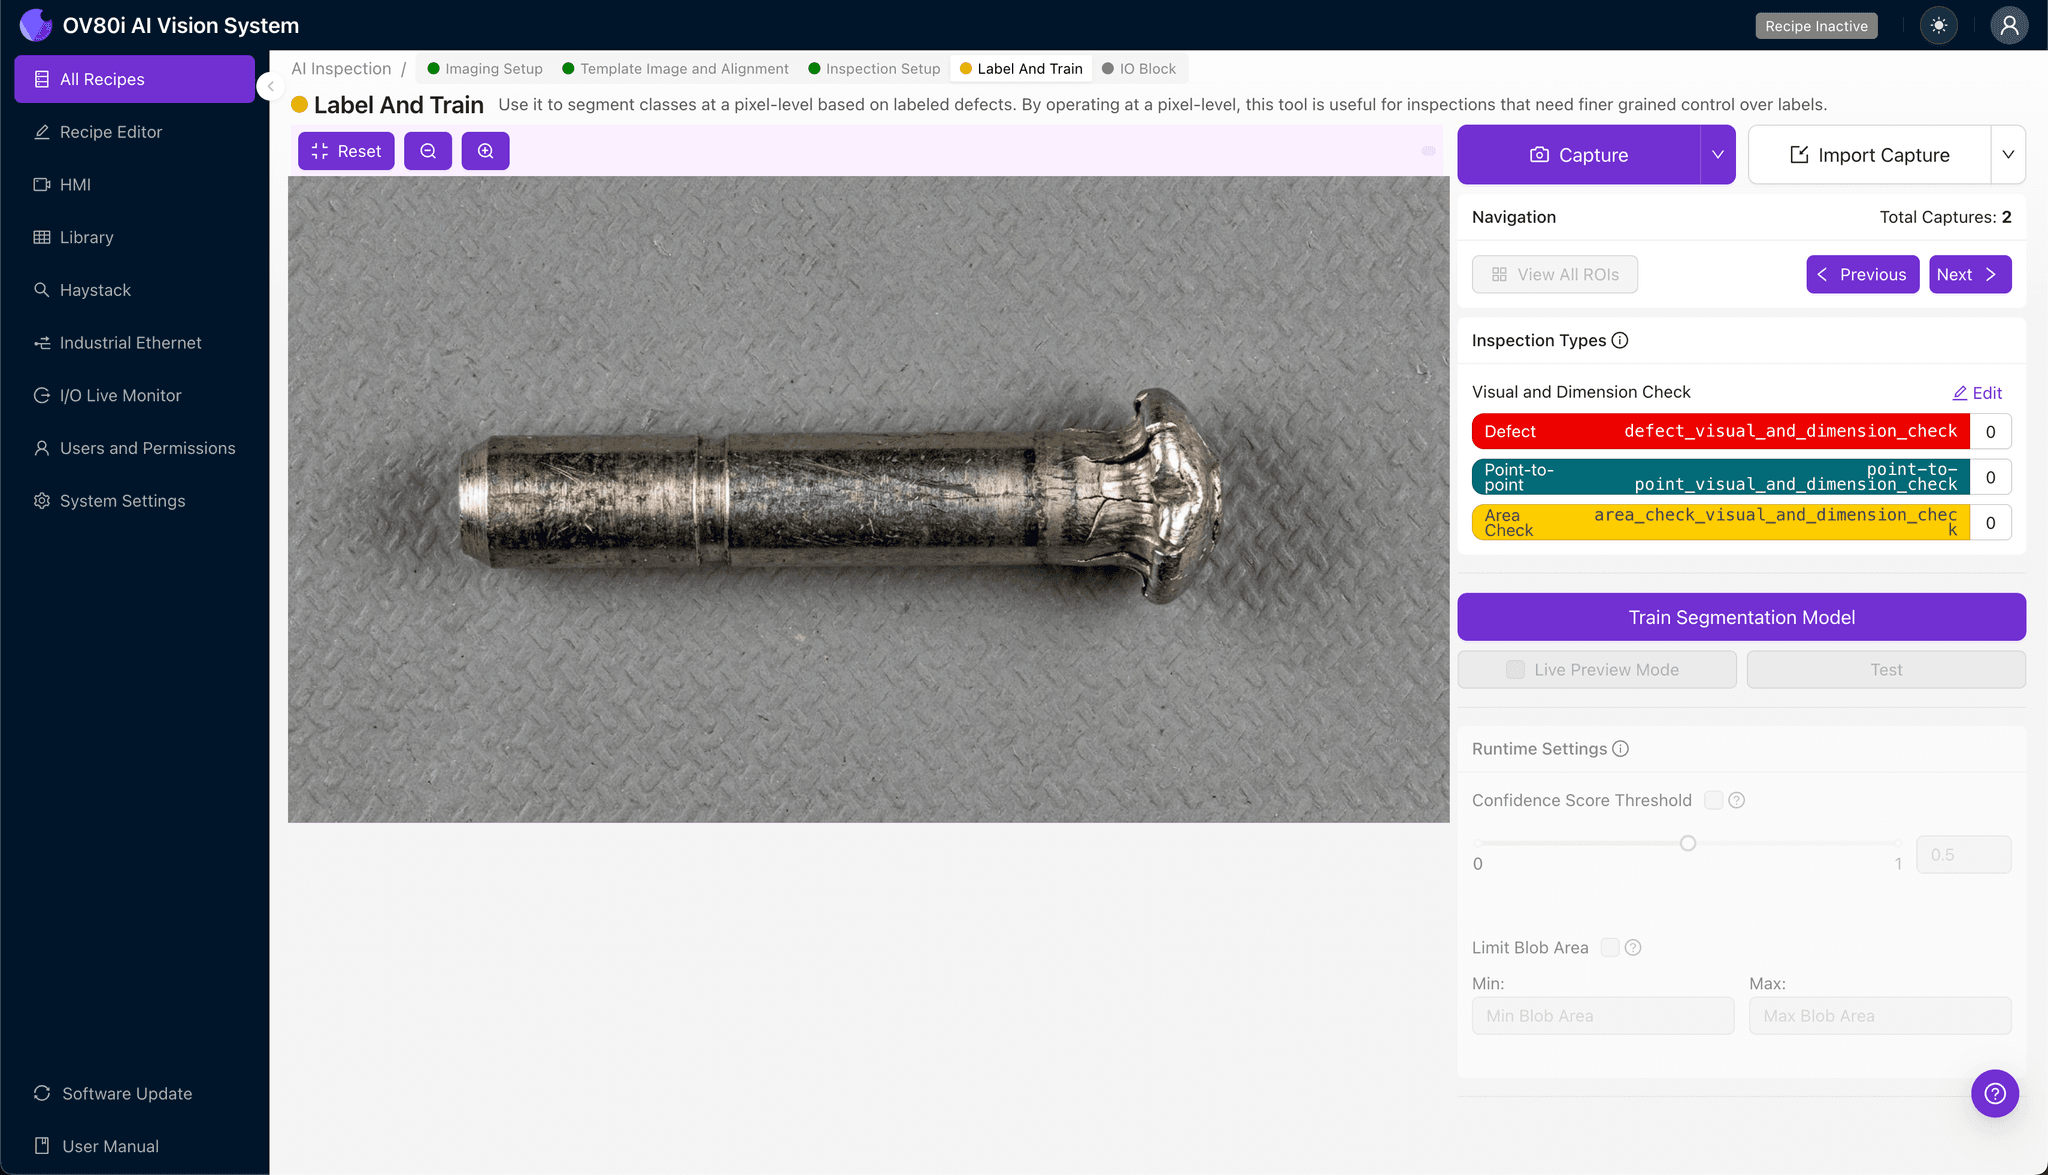
The human-in-the-loop labeling process teaches the AI what constitutes acceptable versus defective pins. Review captured images and categorize each as Good or Bad based on your quality standards.
Include representative samples across the full range of acceptable variation in your "Good" dataset. For "Bad" labels, incorporate all known failure modes: severe mushrooming, minor tip expansion, cracking, and plating damage to build a robust detection model.
Step 5: Creating Rules
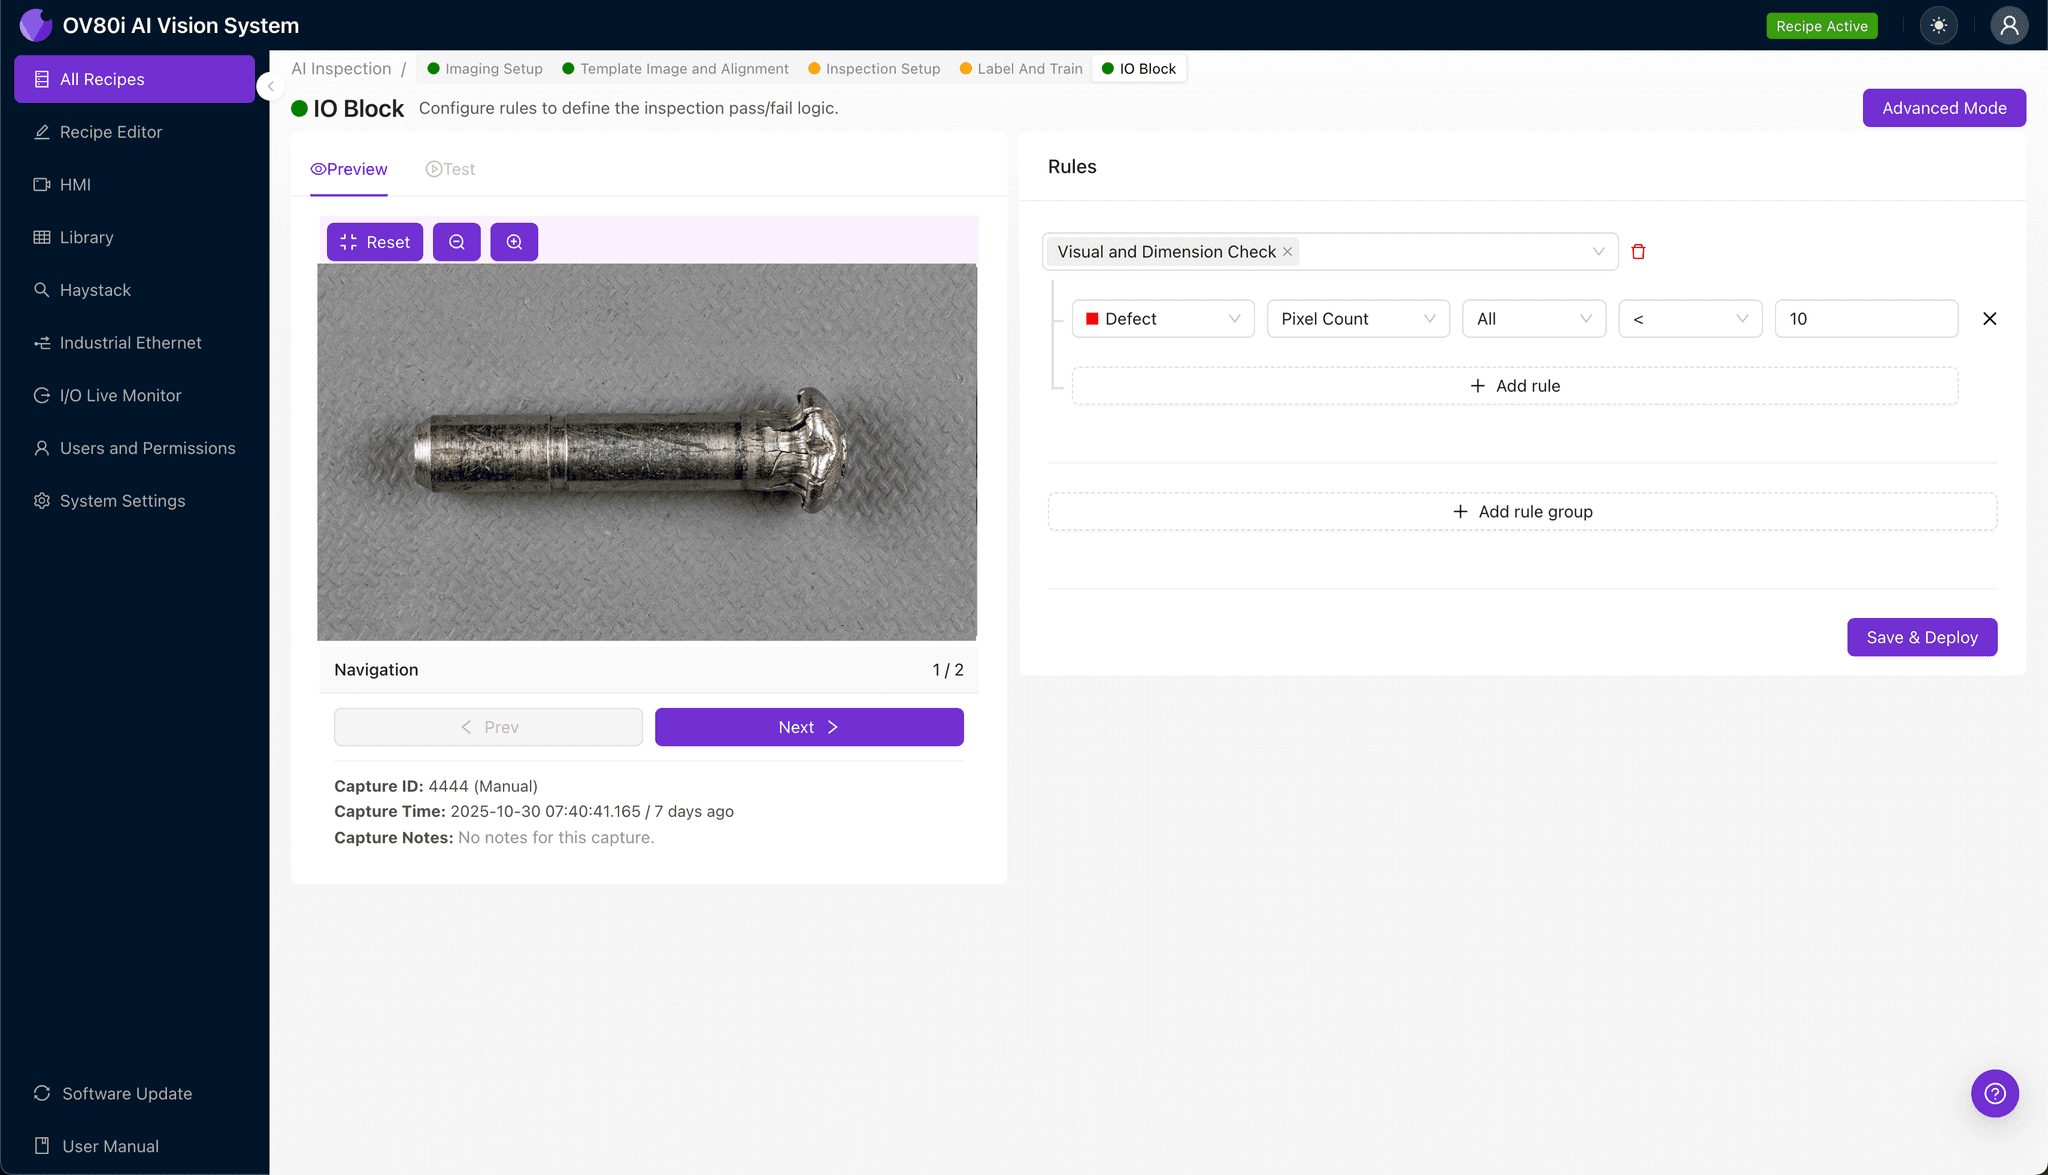
Configure your pass/fail logic based on the Inspection Types you defined earlier. Set thresholds that reflect your quality requirements—for example, flagging any pin where "Tip_Mushroom" confidence exceeds 85%.
These rules gate automated acceptance on the production line. Pins passing inspection continue downstream, while flagged units are diverted for secondary review or rejection—all without slowing throughput.
Key Outcomes & ROI
Implementing automated mushroom defect detection delivers measurable business impact:
- Reduced scrap rates – Catch over-insertion issues early before defective pins reach final assembly
- Higher throughput – Eliminate manual inspection bottlenecks with 100% inline coverage
- Compliance and traceability – Maintain complete inspection records with timestamped images for audit requirements
- Process improvement insights – Identify upstream tooling wear or force calibration drift through defect trend analysis
Conclusion
Mushroomed connector pins represent a preventable quality escape that machine vision catches consistently. With Overview.ai's deep learning inspection platform, manufacturers gain the confidence of 100% inspection without sacrificing line speed—turning a subtle, fatigue-prone defect into a solved problem.
Eliminate Connector Pin Defects Today
Stop relying on manual inspection for microscopic deformations. Deploy Overview.ai to catch mushrooming defects instantly at full line speed.