
Contact Wipe Area with Adhesive Residue: A Complete Machine Vision Inspection Guide
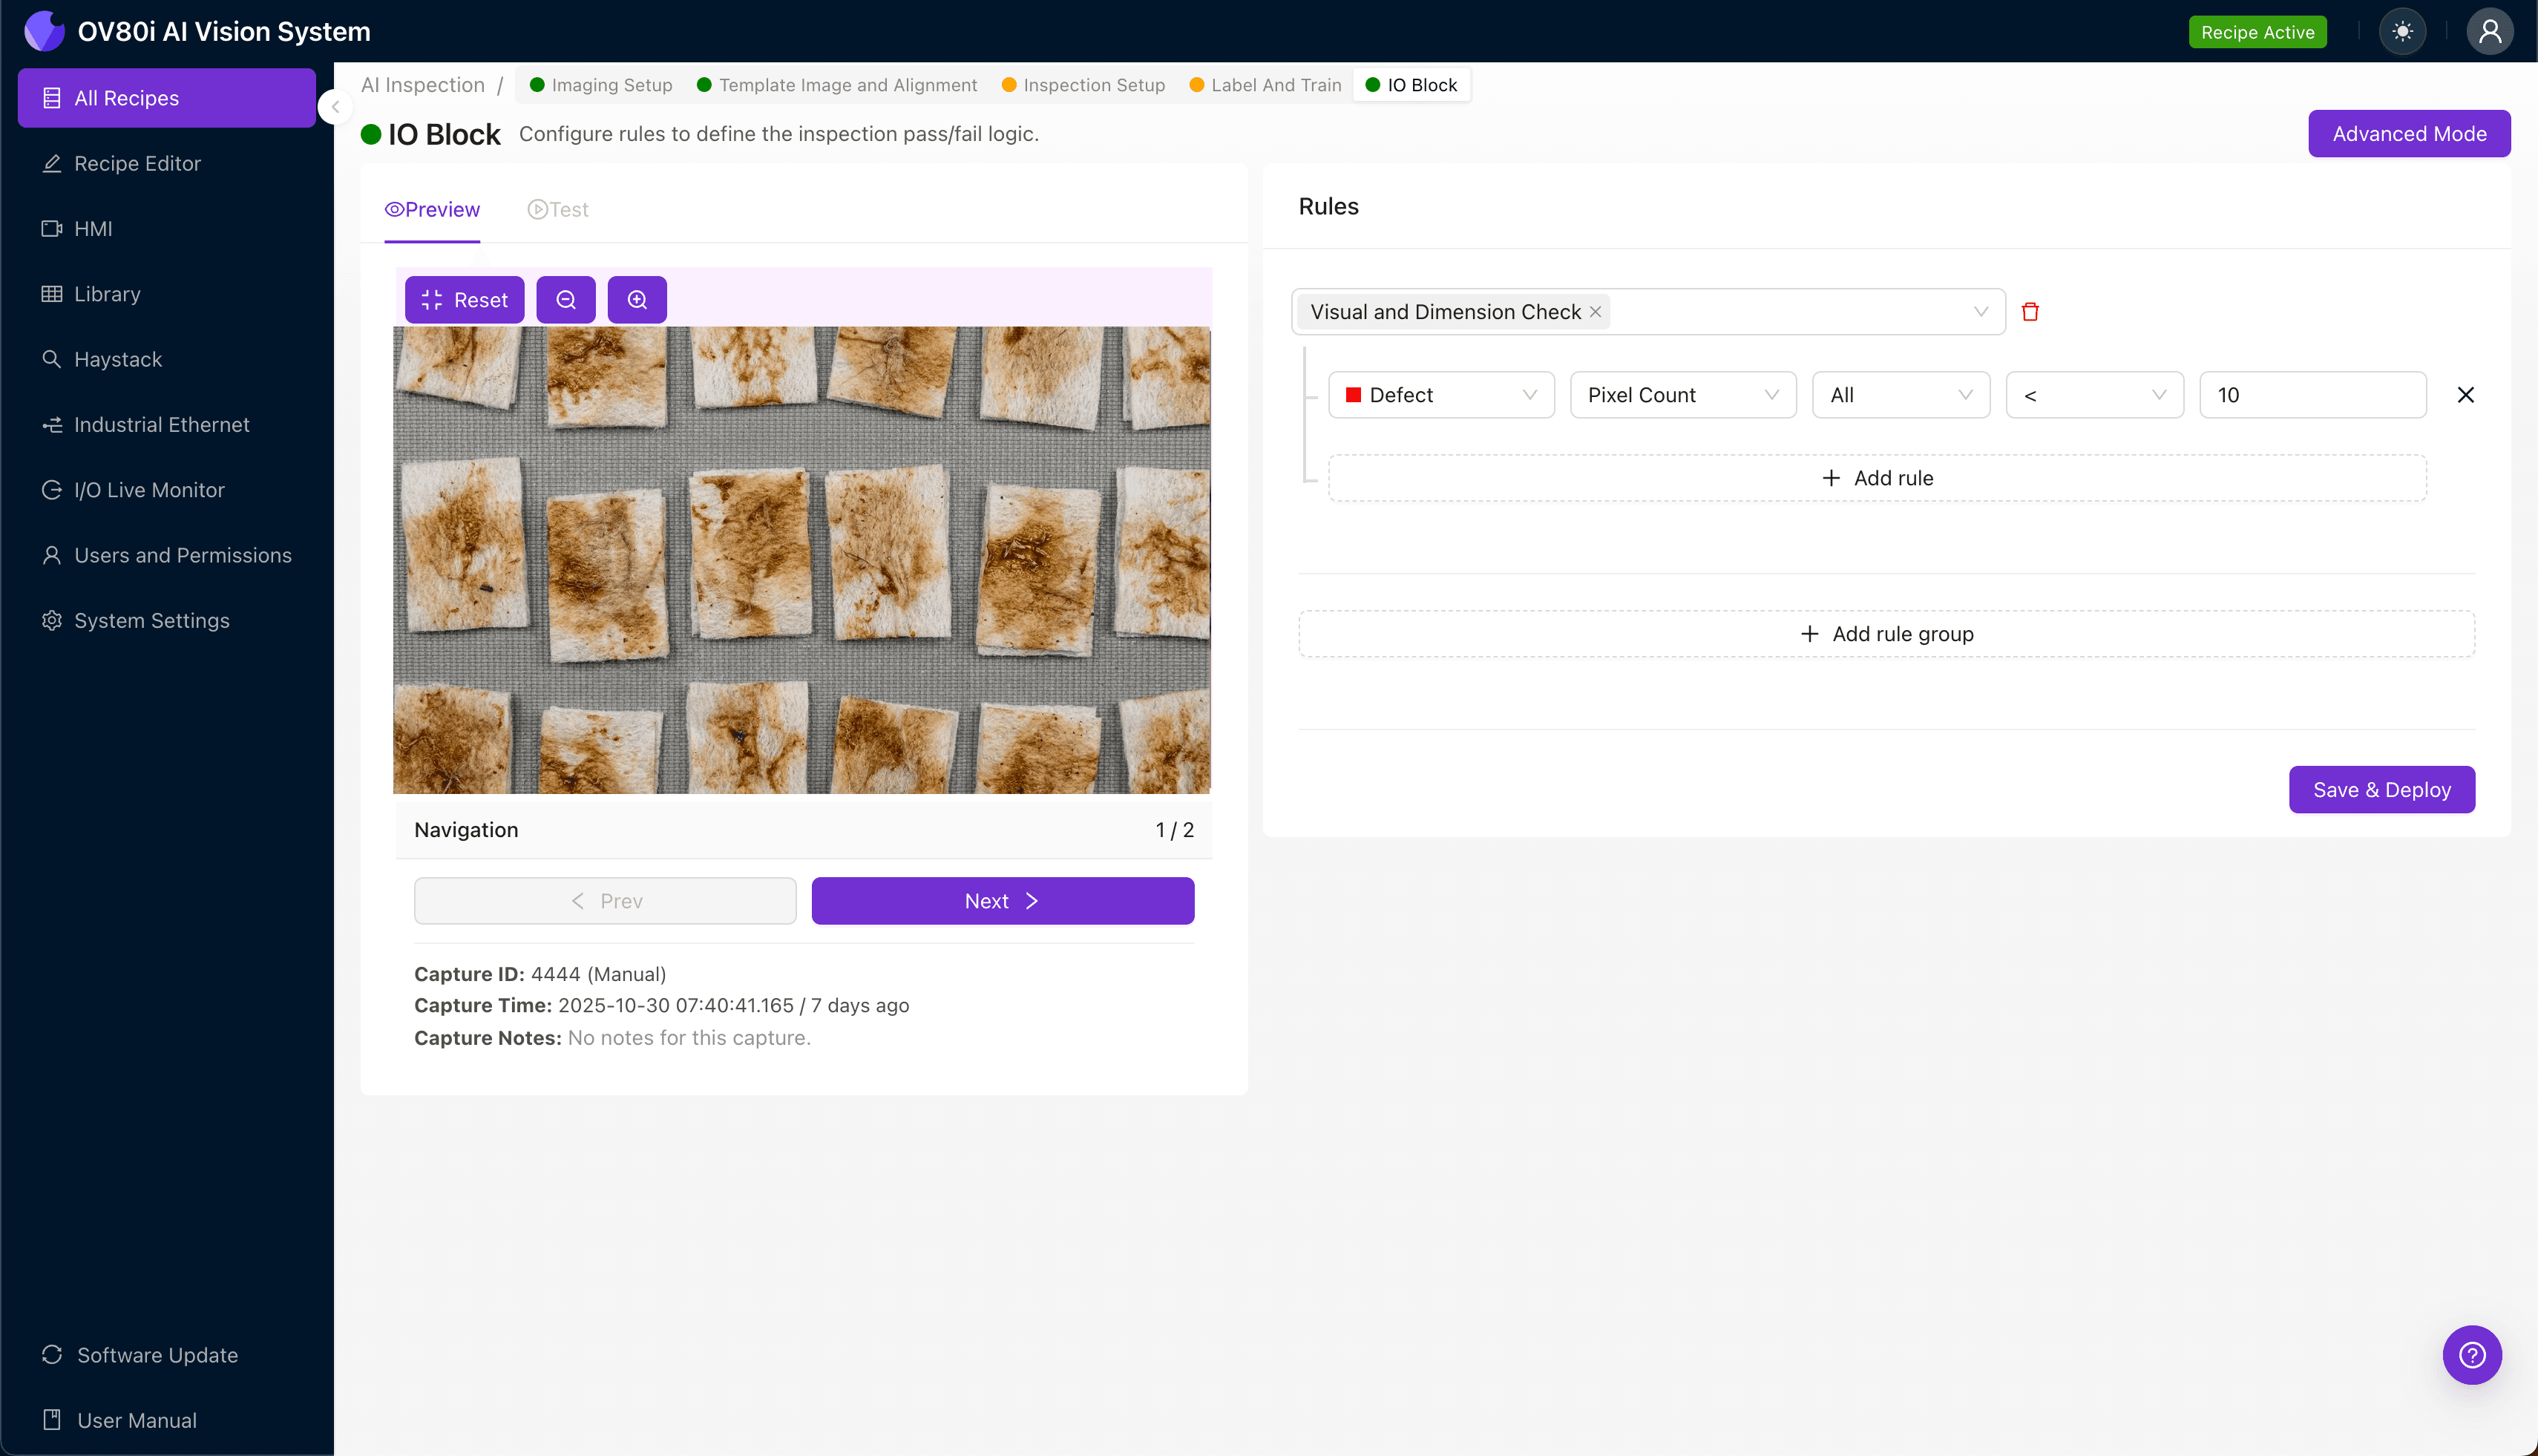
"Adhesive residue on contact wipe areas compromises electrical conductivity and causes field failures. AI-powered machine vision delivers consistent detection of contamination—from obvious bleed-out to barely visible film deposits—at full production speed with 100% coverage."
The Problem: Why Adhesive Residue Defects Slip Through Manual Inspection
Contact wipe areas are critical functional surfaces found in electrical connectors, switches, and relay assemblies. When adhesive residue contaminates these precision surfaces, it compromises electrical conductivity, increases contact resistance, and leads to premature product failure.
Common Defects Found in Contact Wipe Areas with Adhesive Residue:
- Adhesive bleed-out — excess bonding agent migrating onto conductive surfaces
- Partial residue coverage — inconsistent contamination patterns affecting contact reliability
- Cured adhesive film — thin, transparent layers that alter surface conductivity
- Fibrous contamination — adhesive attracting lint or particulates to the wipe zone
- Adhesive stringing — fine threads of uncured material spanning contact gaps
- Discoloration staining — chemical reactions between adhesive and contact plating
Manual inspection of these defects is notoriously unreliable. Inspectors experience visual fatigue within 20-30 minutes of examining small contact surfaces, and subtle residue variations are nearly impossible to detect consistently at production speeds.
The Solution: AI-Powered Visual Inspection
Machine vision systems equipped with deep learning overcome the fundamental limitations of human inspection. Unlike rule-based systems that struggle with variable residue patterns, AI models learn to recognize the full spectrum of contamination—from obvious bleed-out to barely visible film deposits.
Overview.ai's approach delivers consistent, objective inspection at full line speed. The OV80i system captures high-resolution images of every contact wipe area, analyzes them against trained models, and makes pass/fail decisions in milliseconds—ensuring 100% inline coverage without production bottlenecks.
Step 1: Imaging Setup
Position the contact assembly under the OV80i camera, ensuring the wipe area faces the lens with proper working distance. Lighting angle is critical—angled illumination often reveals transparent adhesive films that flat lighting misses.
Click "Configure Imaging" to access Camera Settings. Adjust exposure to capture surface detail without overexposing reflective contact plating, and fine-tune gain to maximize contrast between clean metal and residue contamination.
Click "Save" to lock in your optimized imaging parameters.
Step 2: Image Alignment
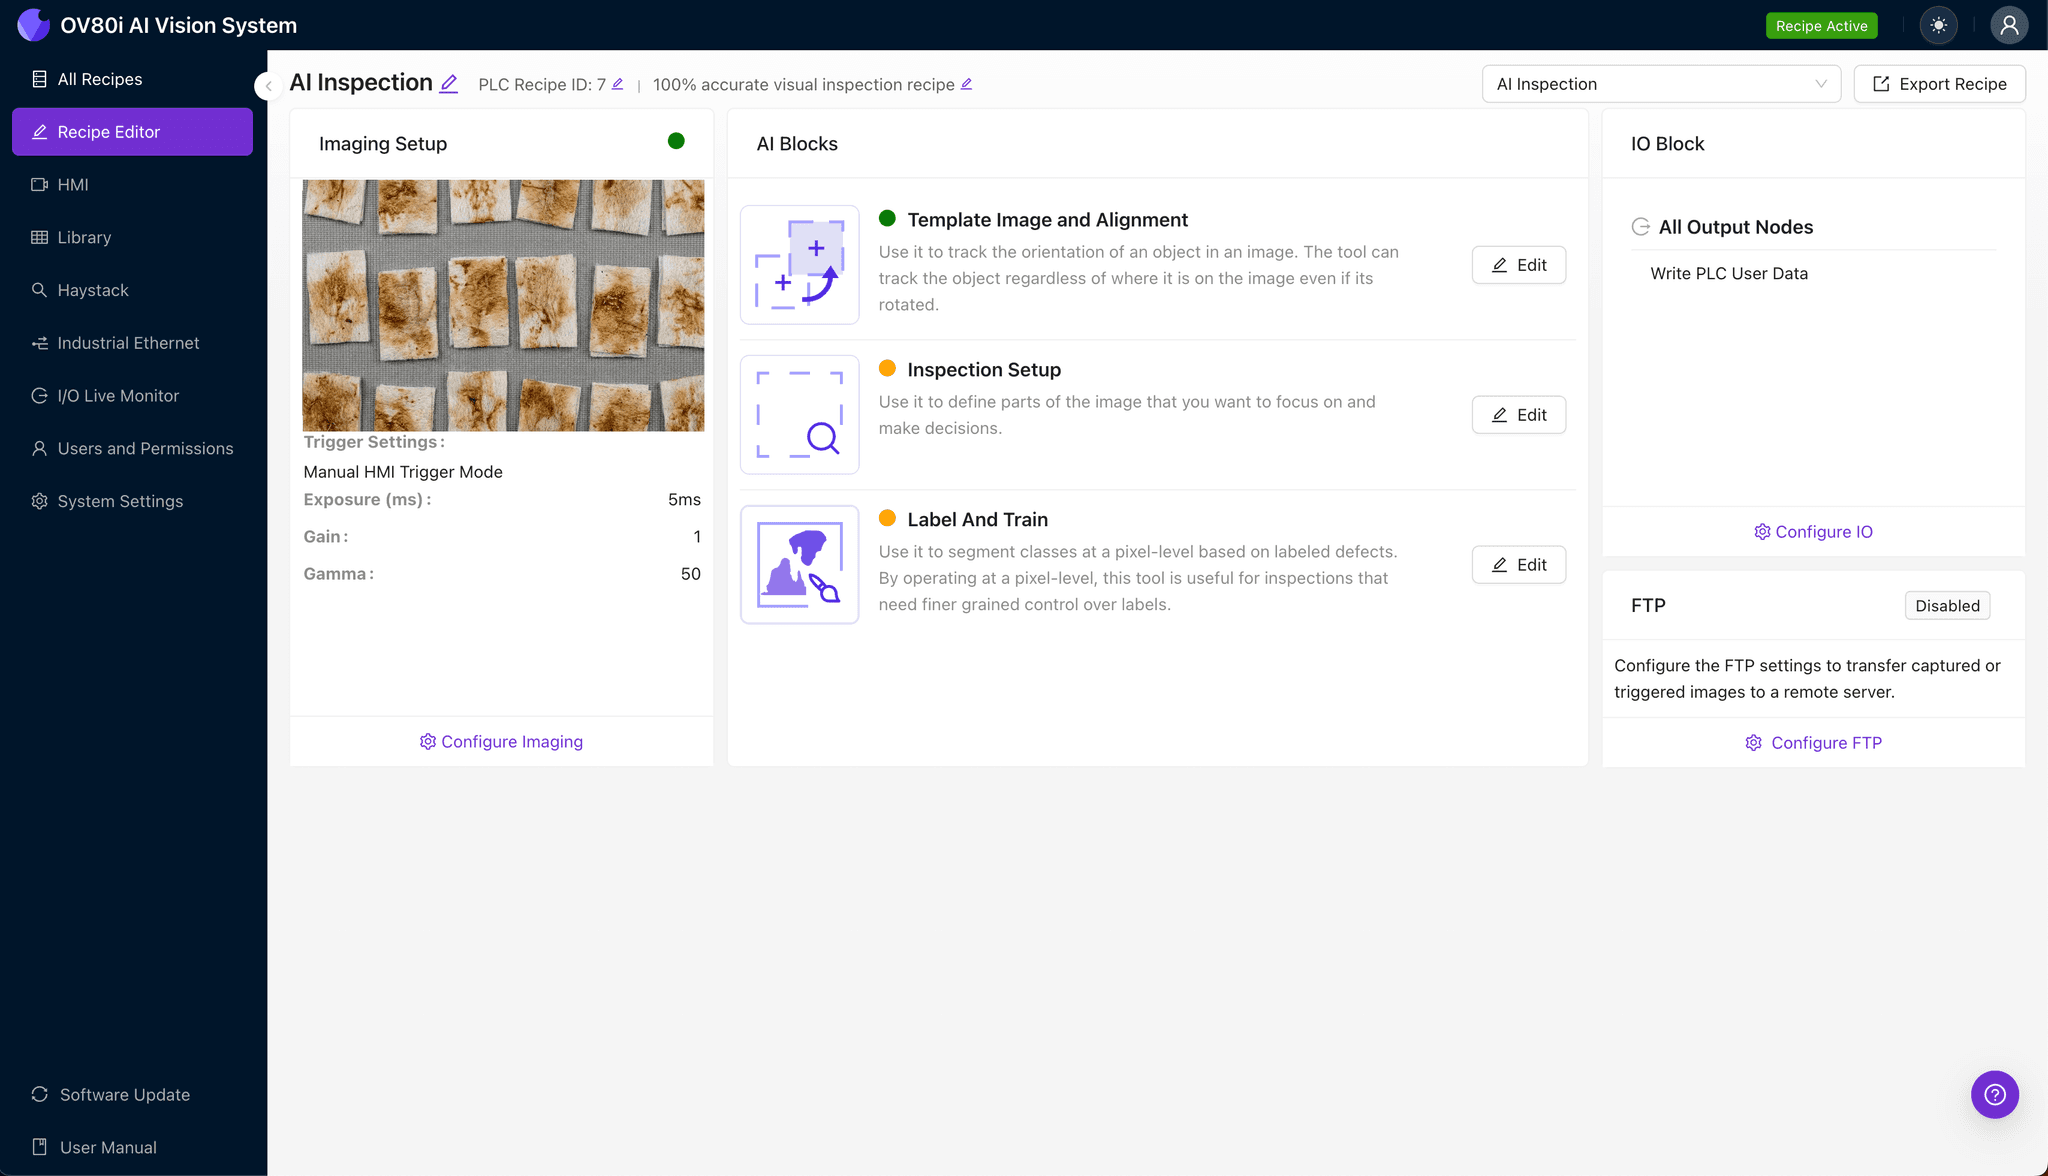
Navigate to "Template Image" in the configuration menu. Capture a Template using a known-good contact assembly positioned in its typical orientation.
Click "+ Rectangle" to add an alignment region around the main body of the contact housing. This reference geometry ensures consistent positioning across production variation.
Set "Rotation Range" to 20 degrees to accommodate minor orientation differences as parts move through the inspection station.
Step 3: Inspection Region Selection
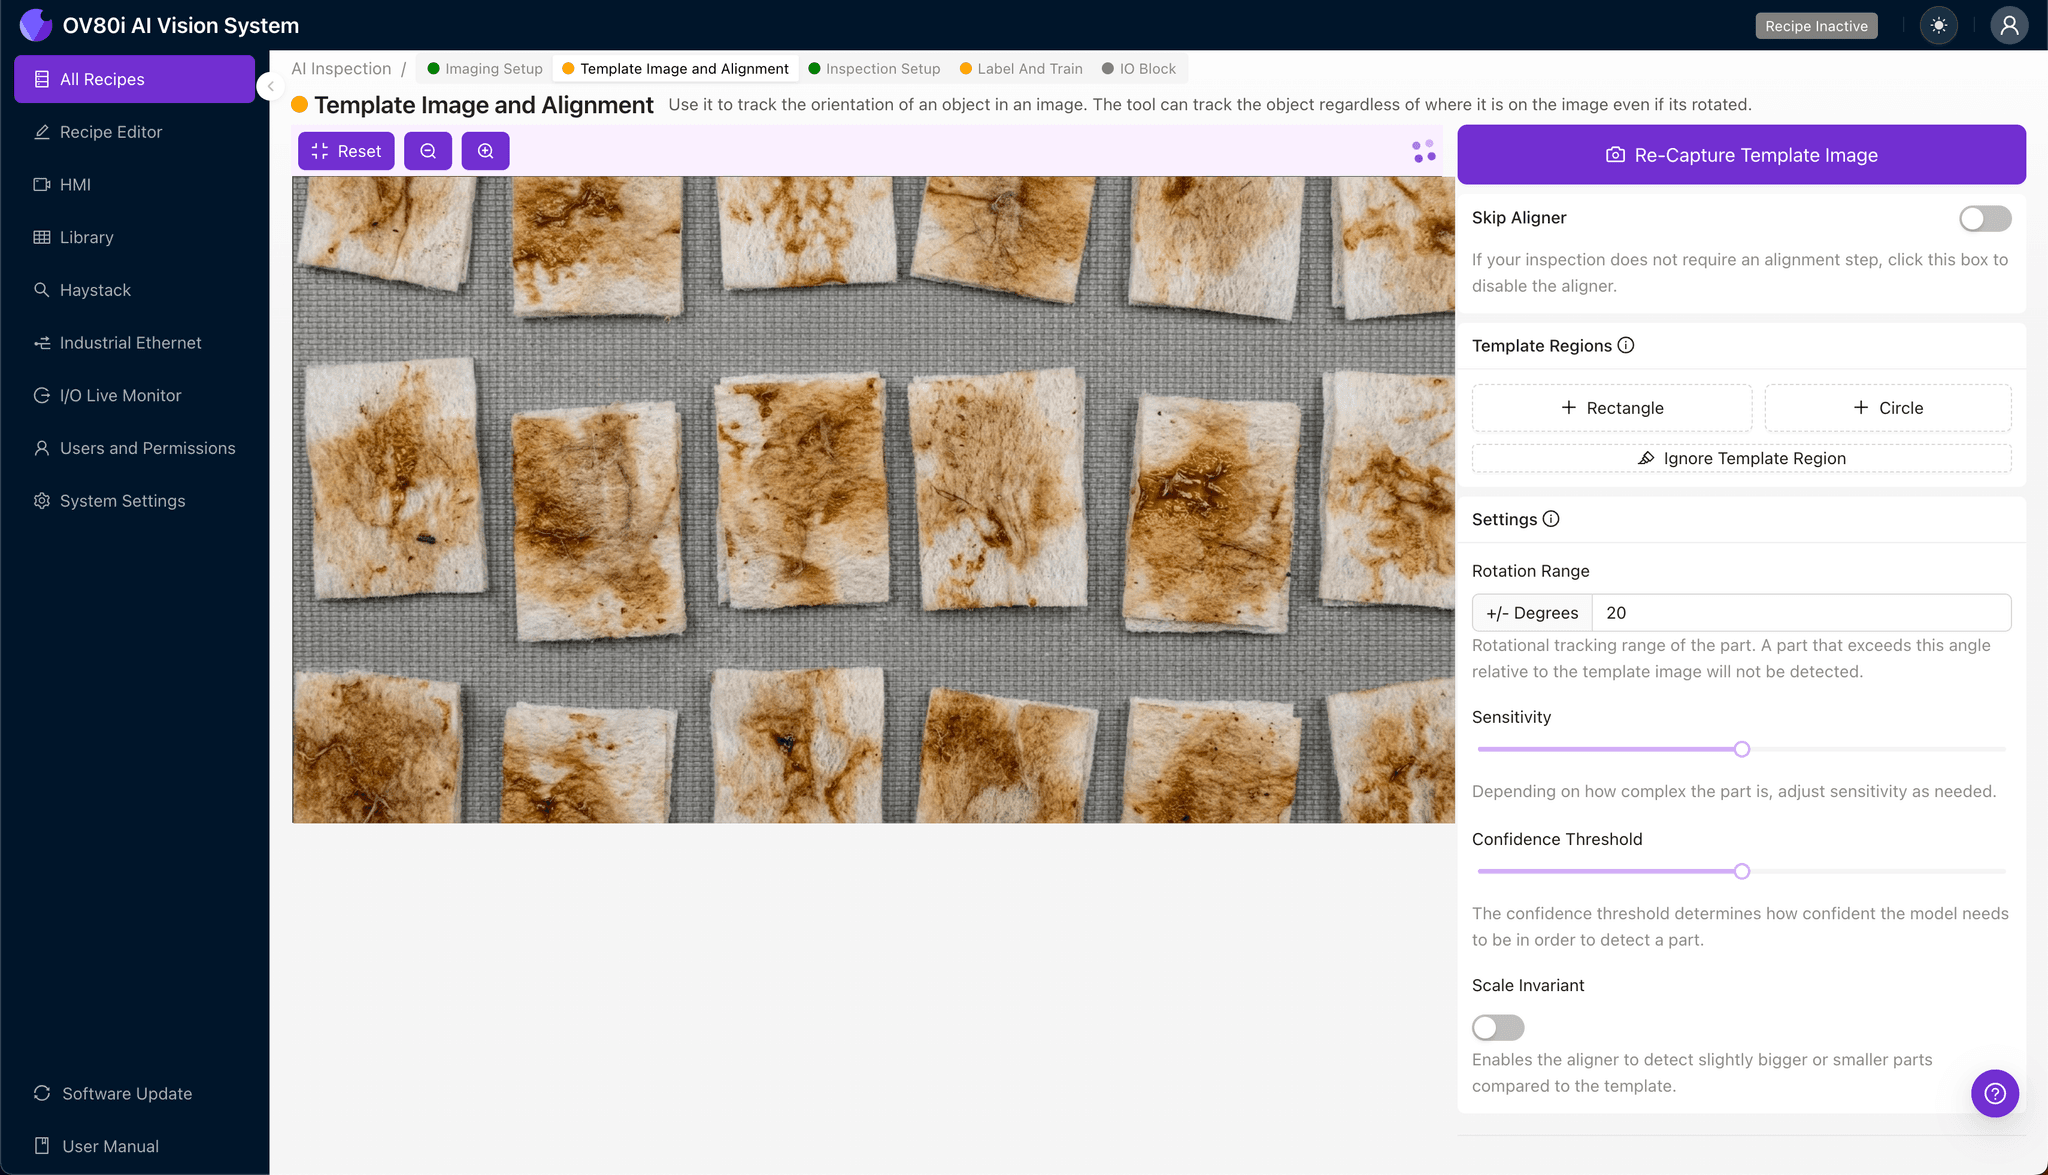
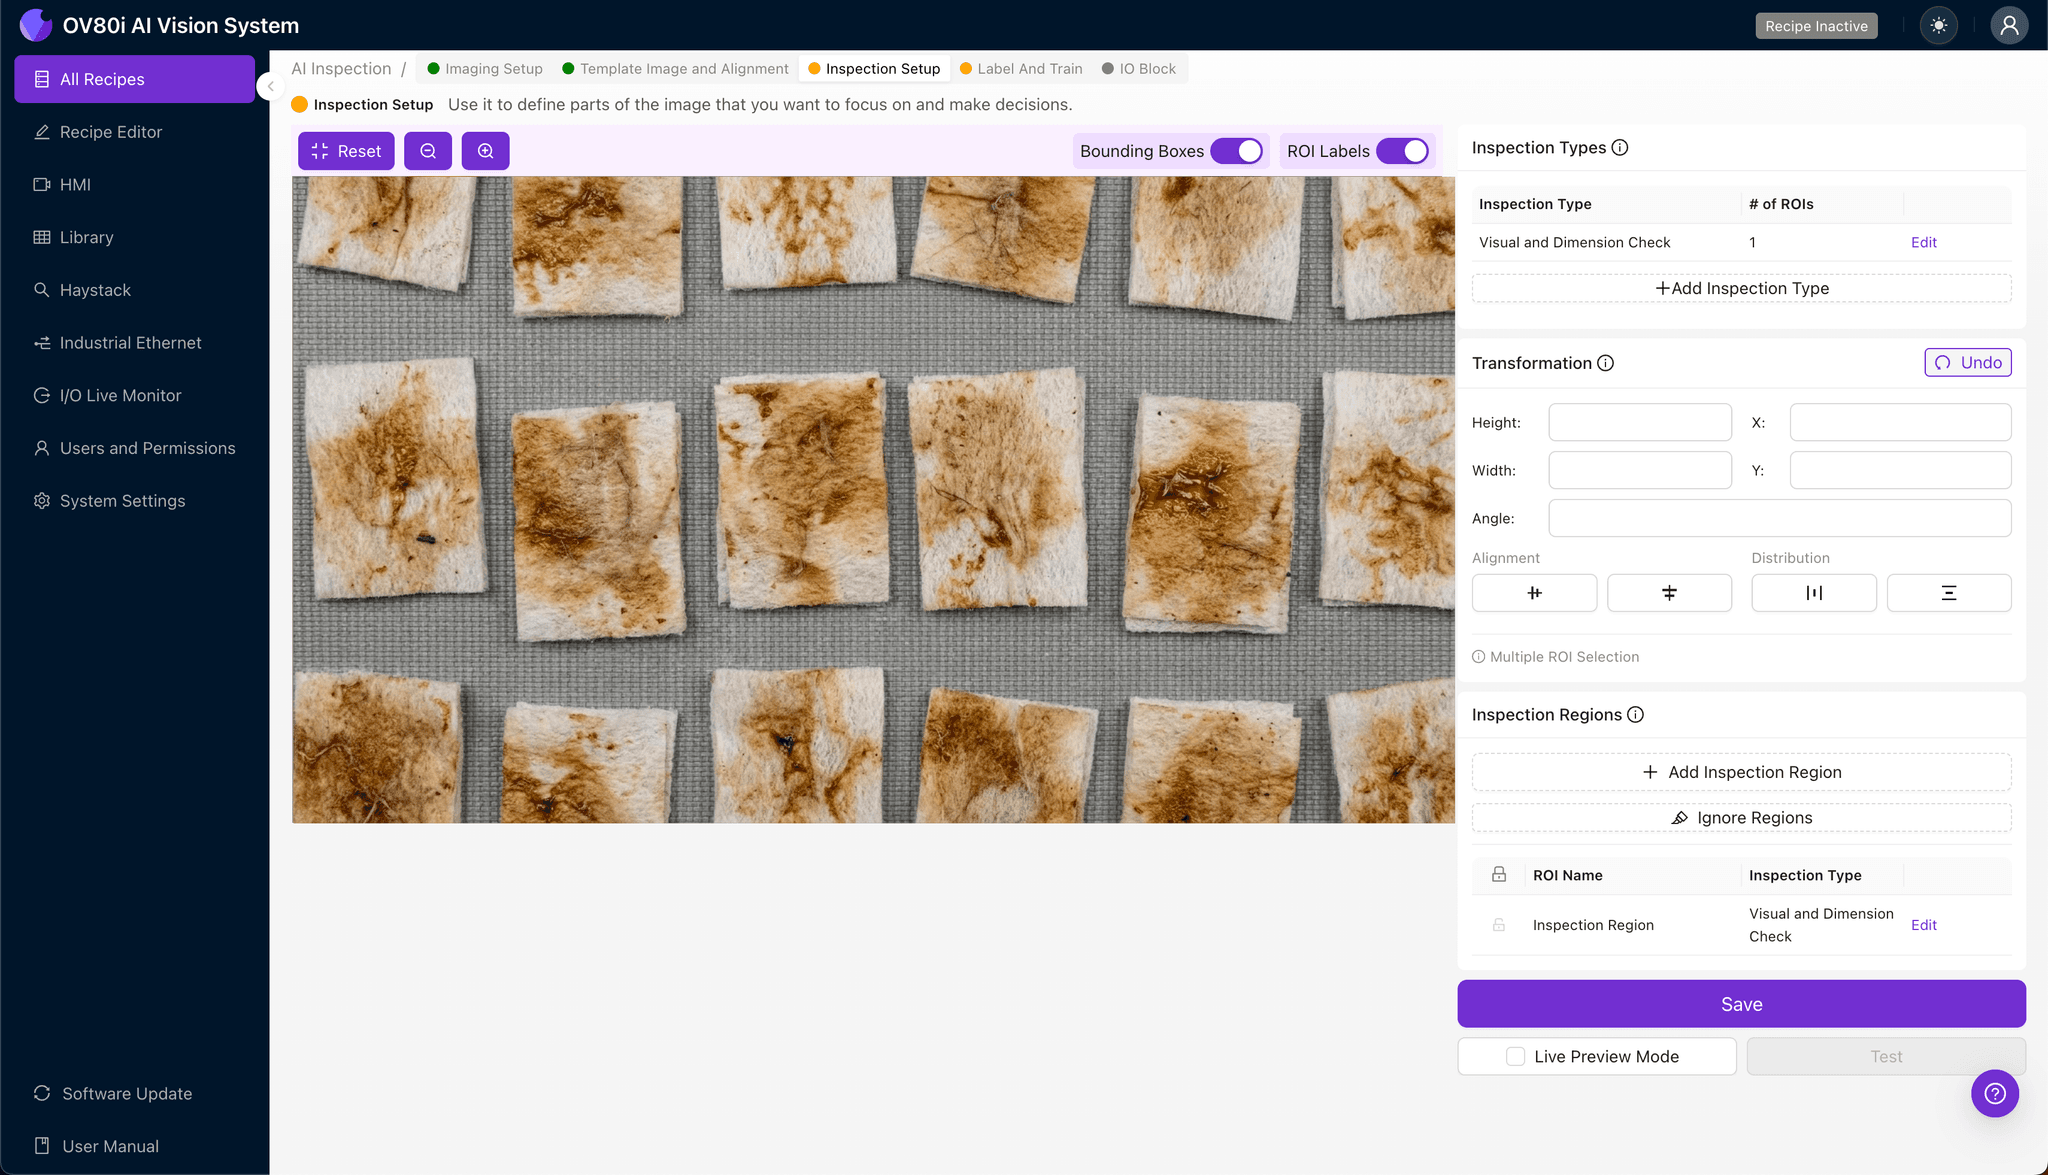
Navigate to "Inspection Setup" to define your detection zones. Rename "Inspection Types" to match your quality criteria—for example, "Wipe_Zone_Residue" and "Contact_Surface_Contamination."
Click "+ Add Inspection Region" to create a new detection area. Resize the yellow bounding box precisely over the critical contact wipe surface where adhesive residue impacts functionality.
Click "Save" to confirm your inspection regions before proceeding to data collection.
Step 4: Labeling Data
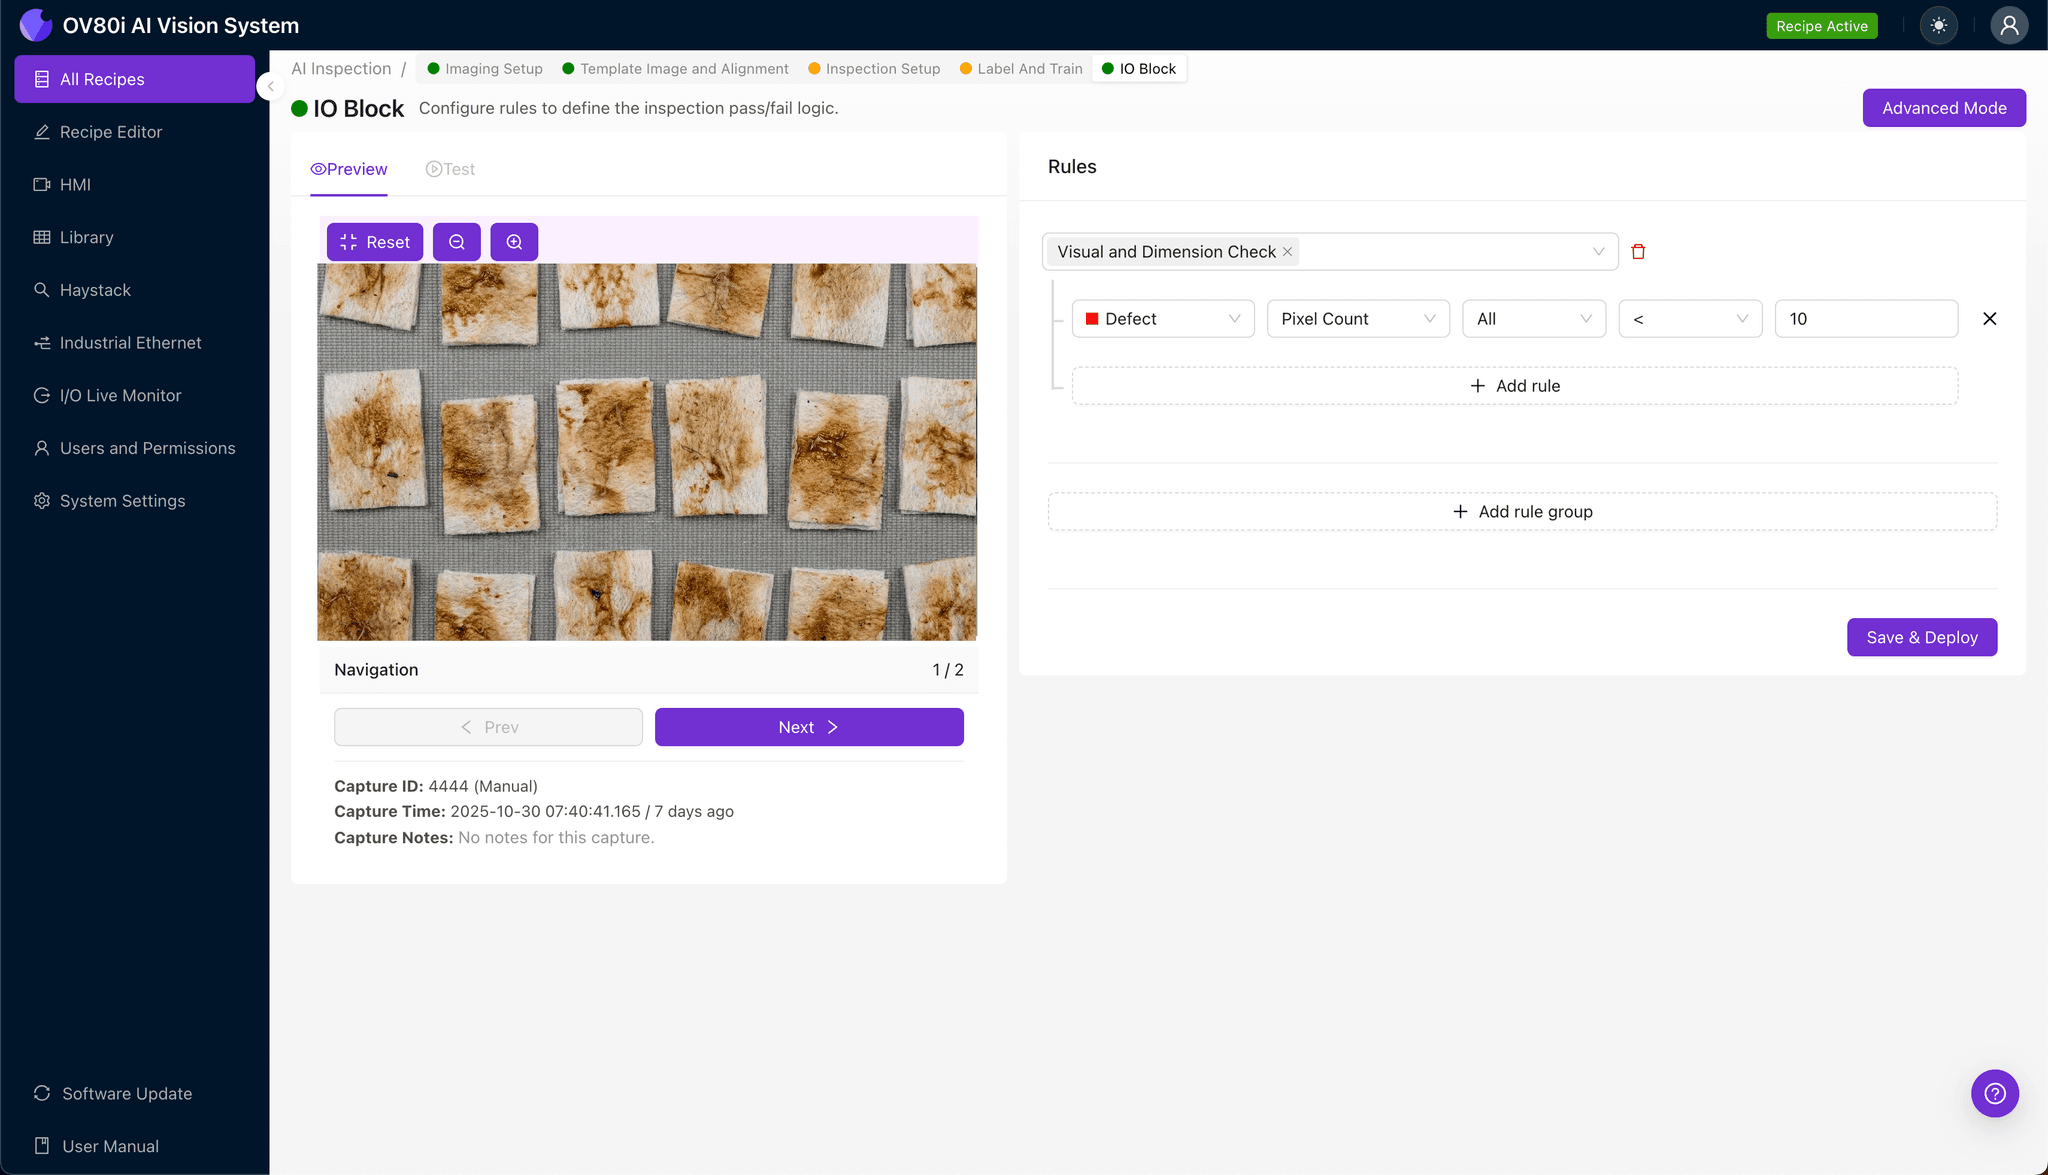
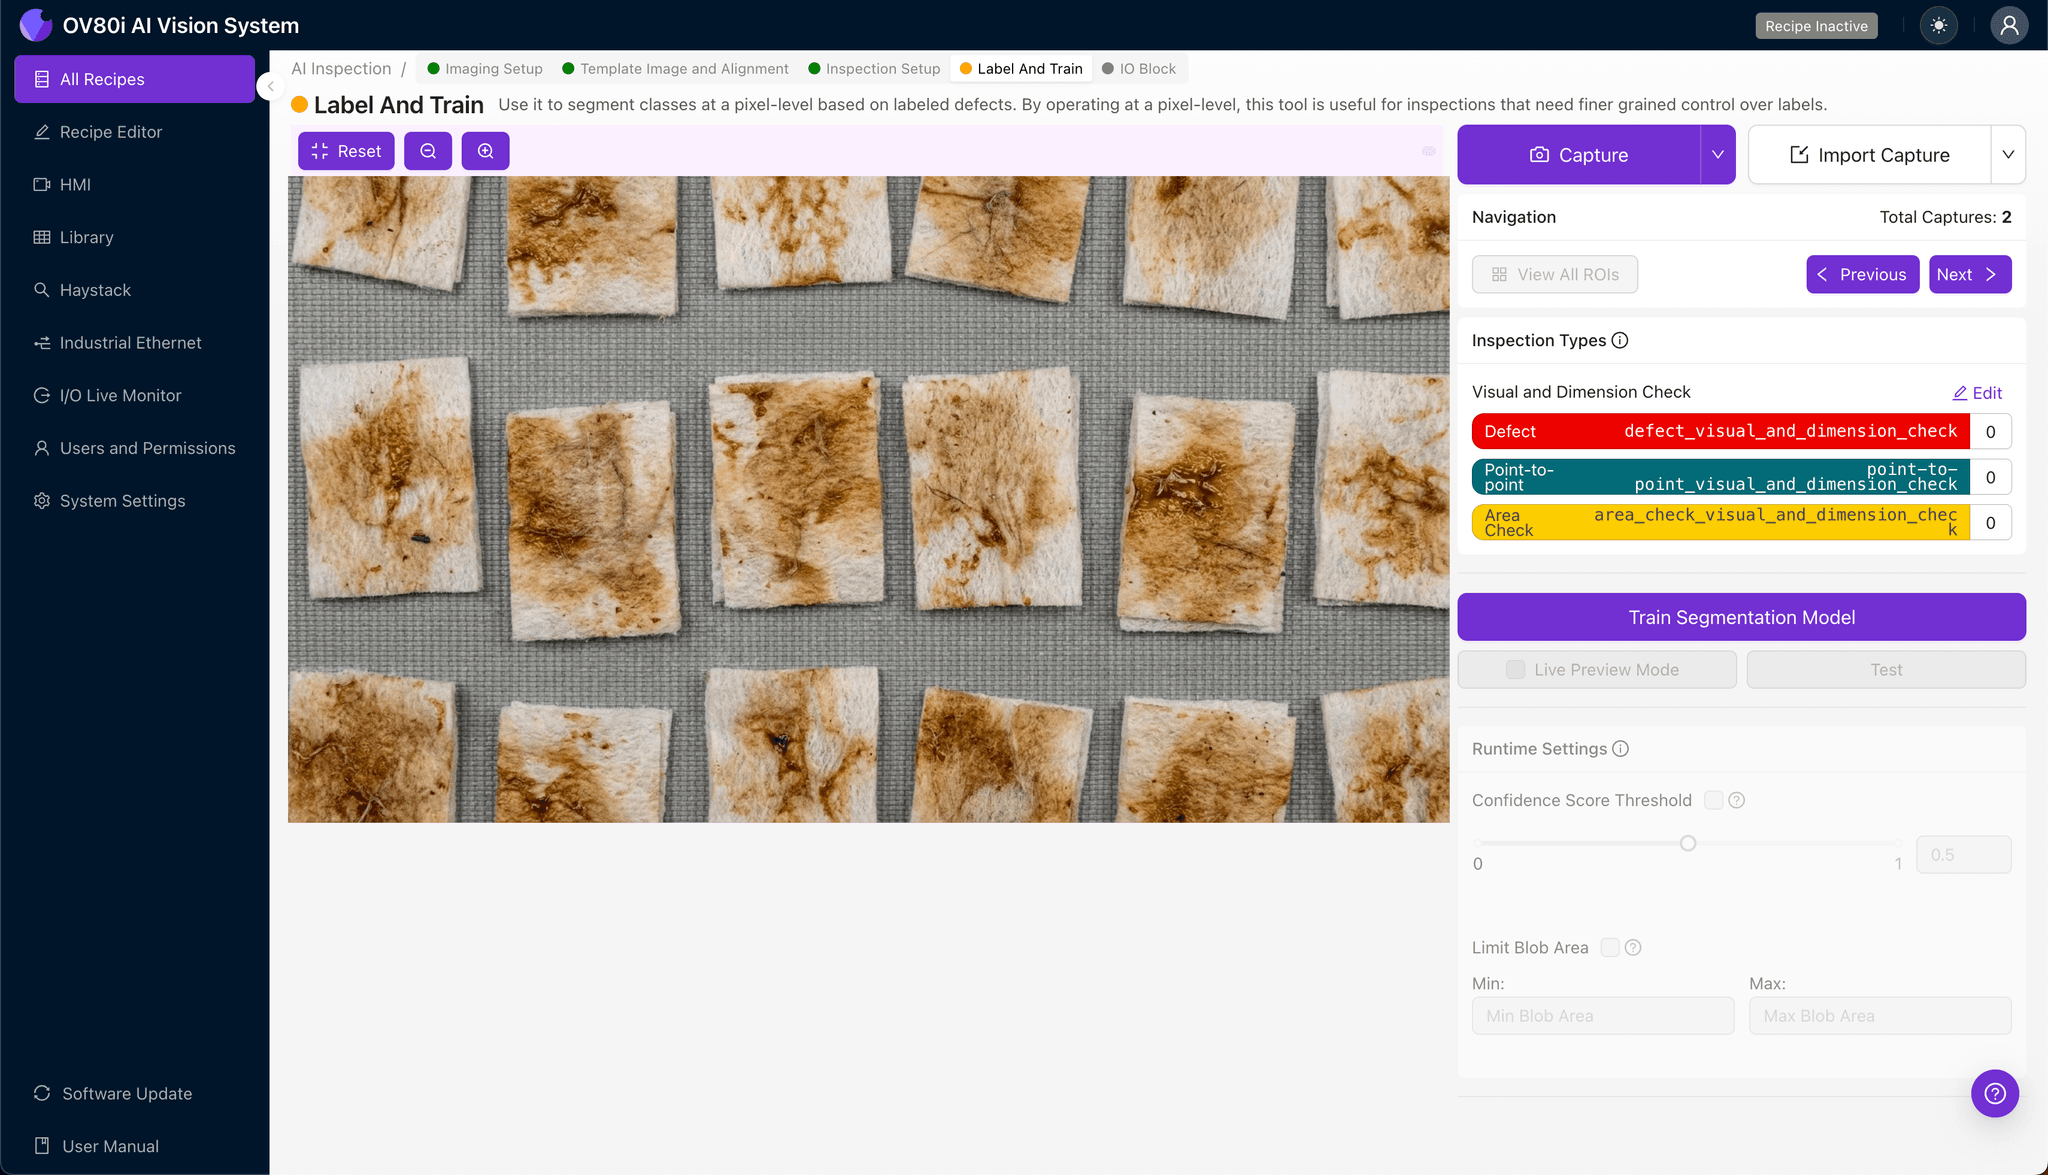
The human-in-the-loop labeling process trains the AI to recognize your specific quality standards. Production operators and quality engineers review captured images, applying their domain expertise to teach the system.
Label images as Good (clean, acceptable contact surfaces) versus Bad (any adhesive contamination in the wipe zone). Include representative samples across lighting variations, part positioning, and material lots.
Critically, incorporate known failure modes from warranty returns and customer complaints. This ensures the model catches the defects that actually cause field failures—not just obvious contamination.
Step 5: Creating Rules
Configure pass/fail logic based on your defined Inspection Types. Set threshold criteria that align with your quality specifications—for example, any detected residue in the primary wipe zone triggers rejection.
Gate automated acceptance decisions directly on the production line. Parts passing inspection continue downstream, while flagged units divert automatically for rework or further analysis, eliminating contaminated products before they reach customers.
Key Outcomes & ROI
Implementing AI-powered inspection for contact wipe areas delivers measurable business impact:
- Reduced scrap rates — catch adhesive contamination before downstream assembly locks in rework costs
- Higher throughput — eliminate manual inspection bottlenecks while achieving 100% coverage
- Compliance and traceability — maintain complete image records for customer audits and root cause investigation
- Process improvement insights — identify adhesive application trends that indicate upstream equipment drift or material issues
Conclusion
Contact wipe areas with adhesive residue represent a high-stakes inspection challenge that human inspectors simply cannot address reliably at production scale. Overview.ai's machine vision platform transforms this quality vulnerability into a competitive advantage—delivering consistent detection, complete traceability, and actionable process data.
Eliminate Adhesive Residue Escapes Today
Stop relying on manual inspection for contact wipe areas. Deploy Overview.ai to catch contamination defects instantly at full production speed.