
How to Inspect an Optical Module with a Loose Pull-Latch Mechanism Using AI-Powered Vision
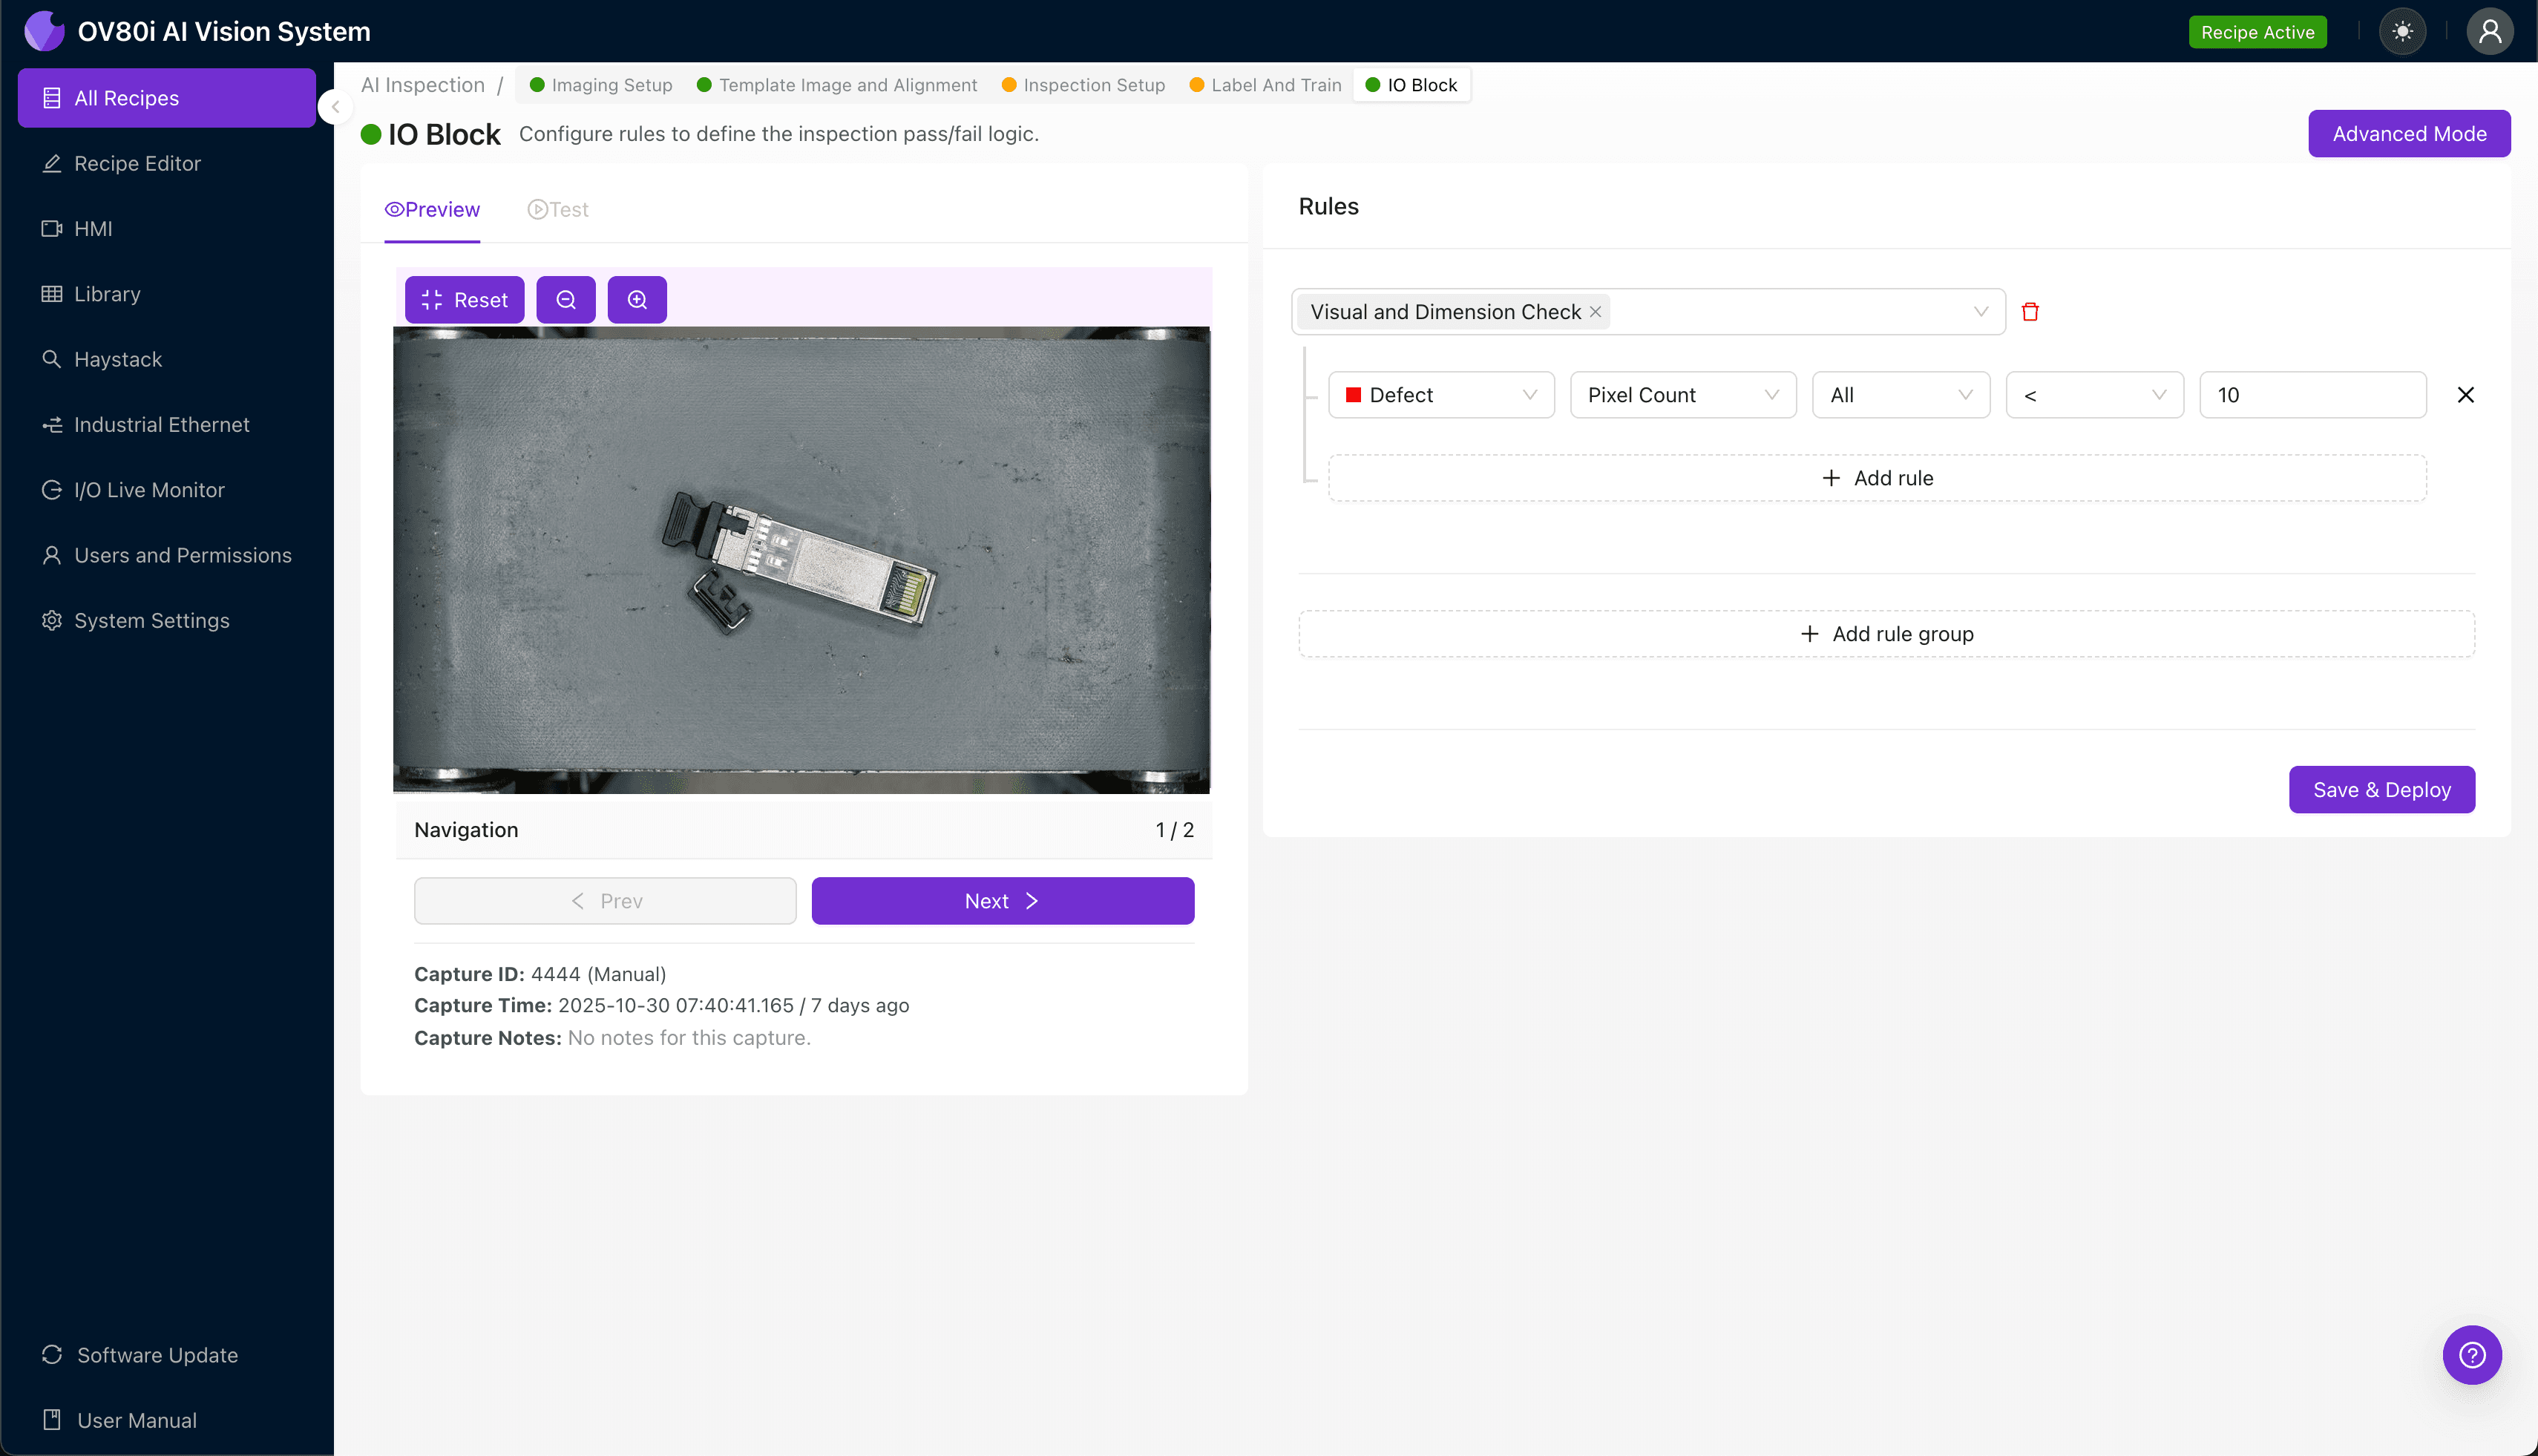
"Loose pull-latch mechanisms in optical modules cause costly field failures that manual inspection consistently misses. AI-powered visual inspection eliminates this variability by detecting subtle seating inconsistencies, spring tension issues, and housing micro-fractures at production speed—enabling true 100% inline inspection."
The Problem: Why Pull-Latch Defects Slip Through Manual Inspection
Optical modules with pull-latch mechanisms are critical components in telecommunications, data centers, and high-speed networking equipment. When the pull-latch mechanism is loose or improperly seated, it creates reliability issues that can cascade into costly field failures.
Common Defects Found in Optical Modules with Pull-Latch Mechanisms:
- Incomplete latch engagement – the pull tab fails to fully seat into the retention slot
- Spring tension degradation – weakened or misaligned internal springs reduce tactile feedback
- Bent or deformed latch arms – physical damage from handling or assembly errors
- Missing or displaced retention clips – small plastic components that secure the latch position
- Housing crack propagation – micro-fractures near the latch pivot point
- Excessive lateral play – side-to-side movement indicating worn guide rails
Manual inspection of these defects is notoriously unreliable. Inspectors experience fatigue after just 20-30 minutes of repetitive visual checks, and subtle variations in latch tension or micro-cracks are nearly impossible to detect consistently at production speeds.
The Solution: Machine Vision and Deep Learning
AI-powered visual inspection eliminates the variability inherent in human inspection. Deep learning models can be trained to recognize the full spectrum of pull-latch defects—from obvious physical damage to subtle seating inconsistencies that indicate future failure.
Unlike rule-based machine vision, deep learning adapts to natural part variation while maintaining sensitivity to genuine defects.
Overview.ai's approach delivers consistent, objective inspection at line speed. The system captures high-resolution images of every unit, analyzes them against trained models, and makes pass/fail decisions in milliseconds—enabling true 100% inline inspection without bottlenecking production.
Step 1: Imaging Setup
Position the optical module under the OV80i camera system, ensuring the pull-latch mechanism faces directly upward. Proper orientation is critical for consistent defect detection across the latch engagement zone.
Click "Configure Imaging" in the Overview.ai interface. Adjust Camera Settings including exposure time and gain to clearly illuminate the latch mechanism, spring components, and housing edges.
Click "Save" once the image shows sharp contrast between the latch assembly and surrounding housing.
Step 2: Image Alignment
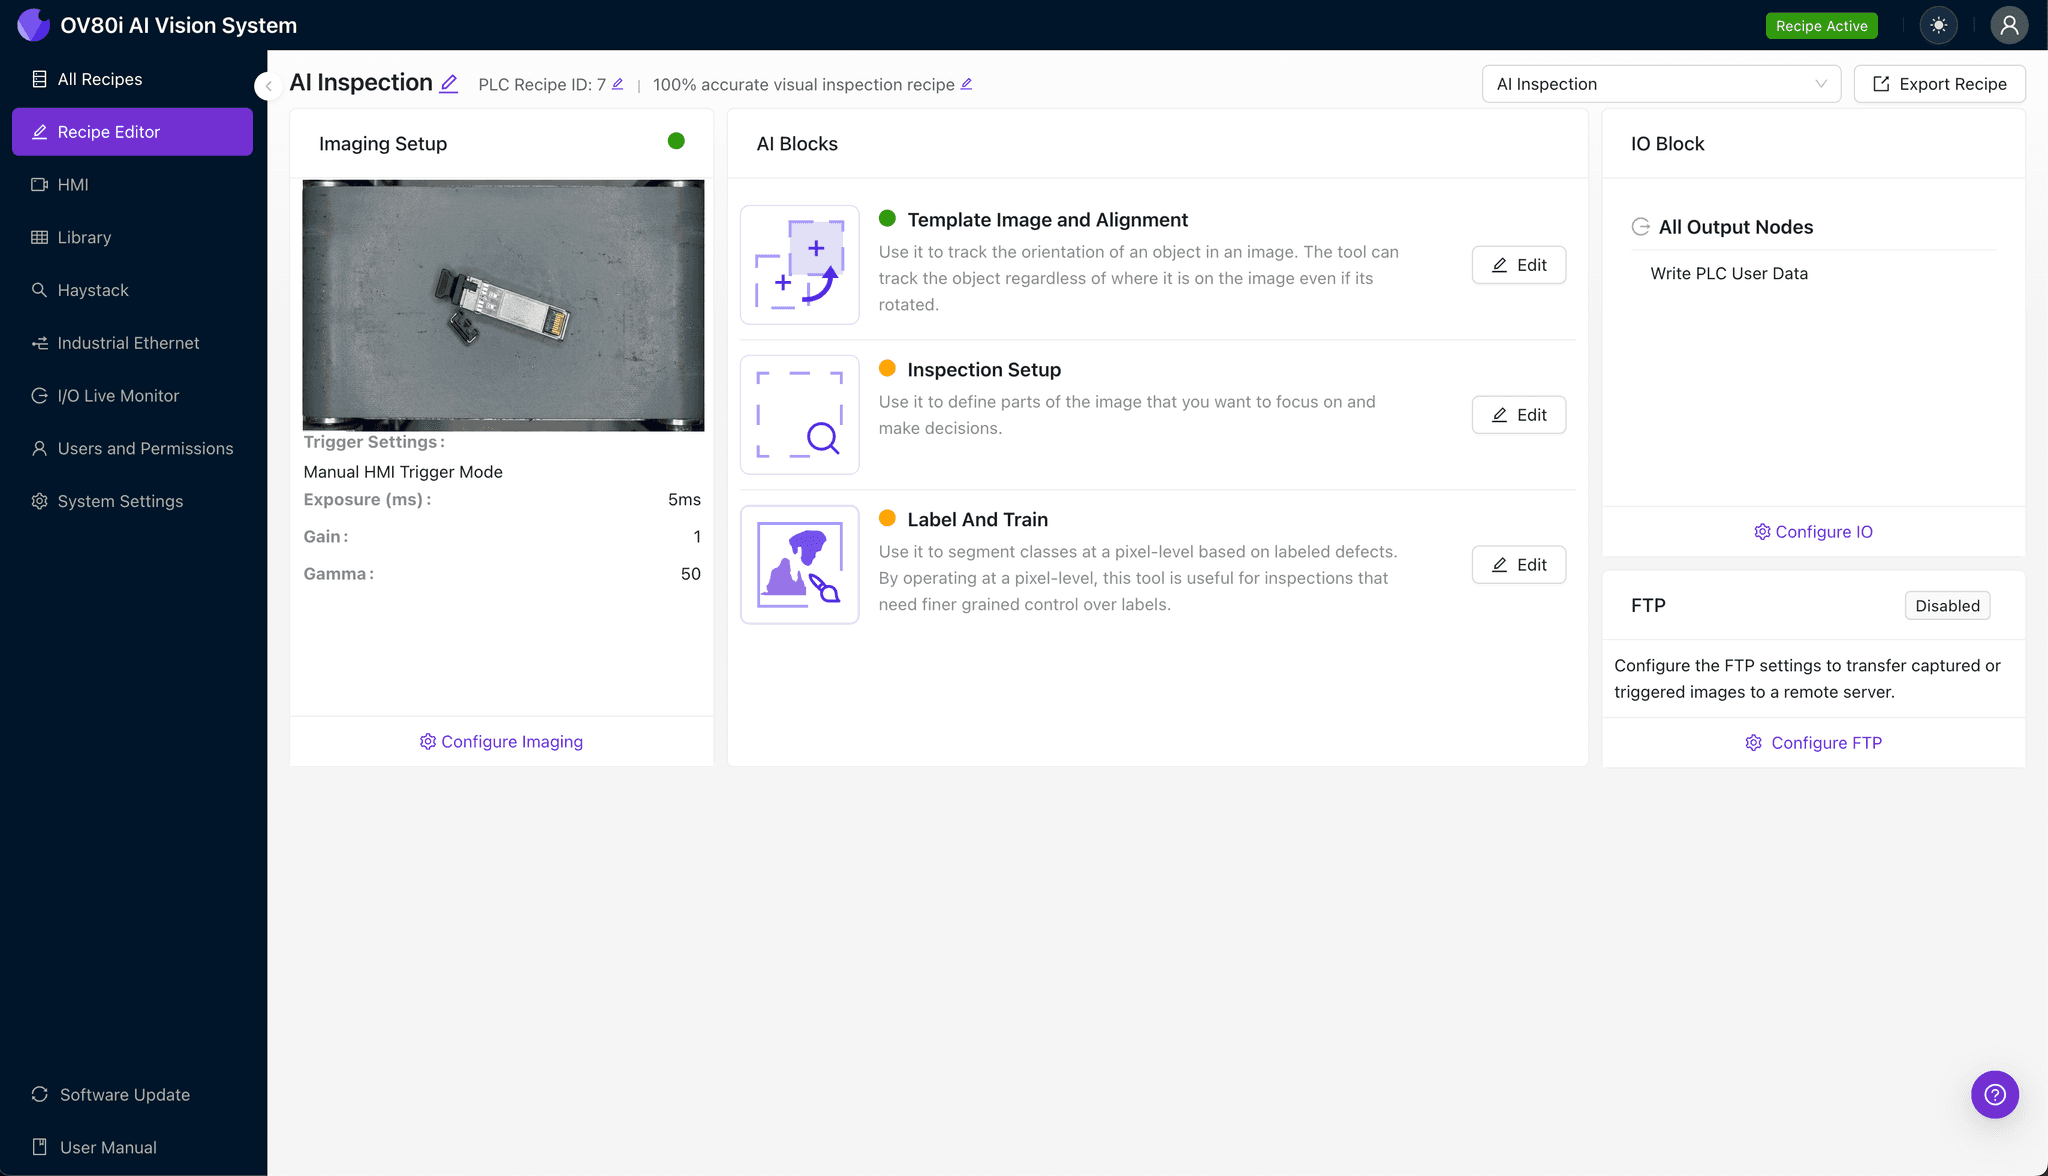
Navigate to "Template Image" in the configuration menu. Capture a Template using a known-good optical module with a properly seated pull-latch.
Click "+ Rectangle" to add an alignment region around the main body of the module housing. This anchors the inspection regardless of minor positional variation on the conveyor.
Set "Rotation Range" to 20 degrees to accommodate acceptable orientation differences during part presentation.
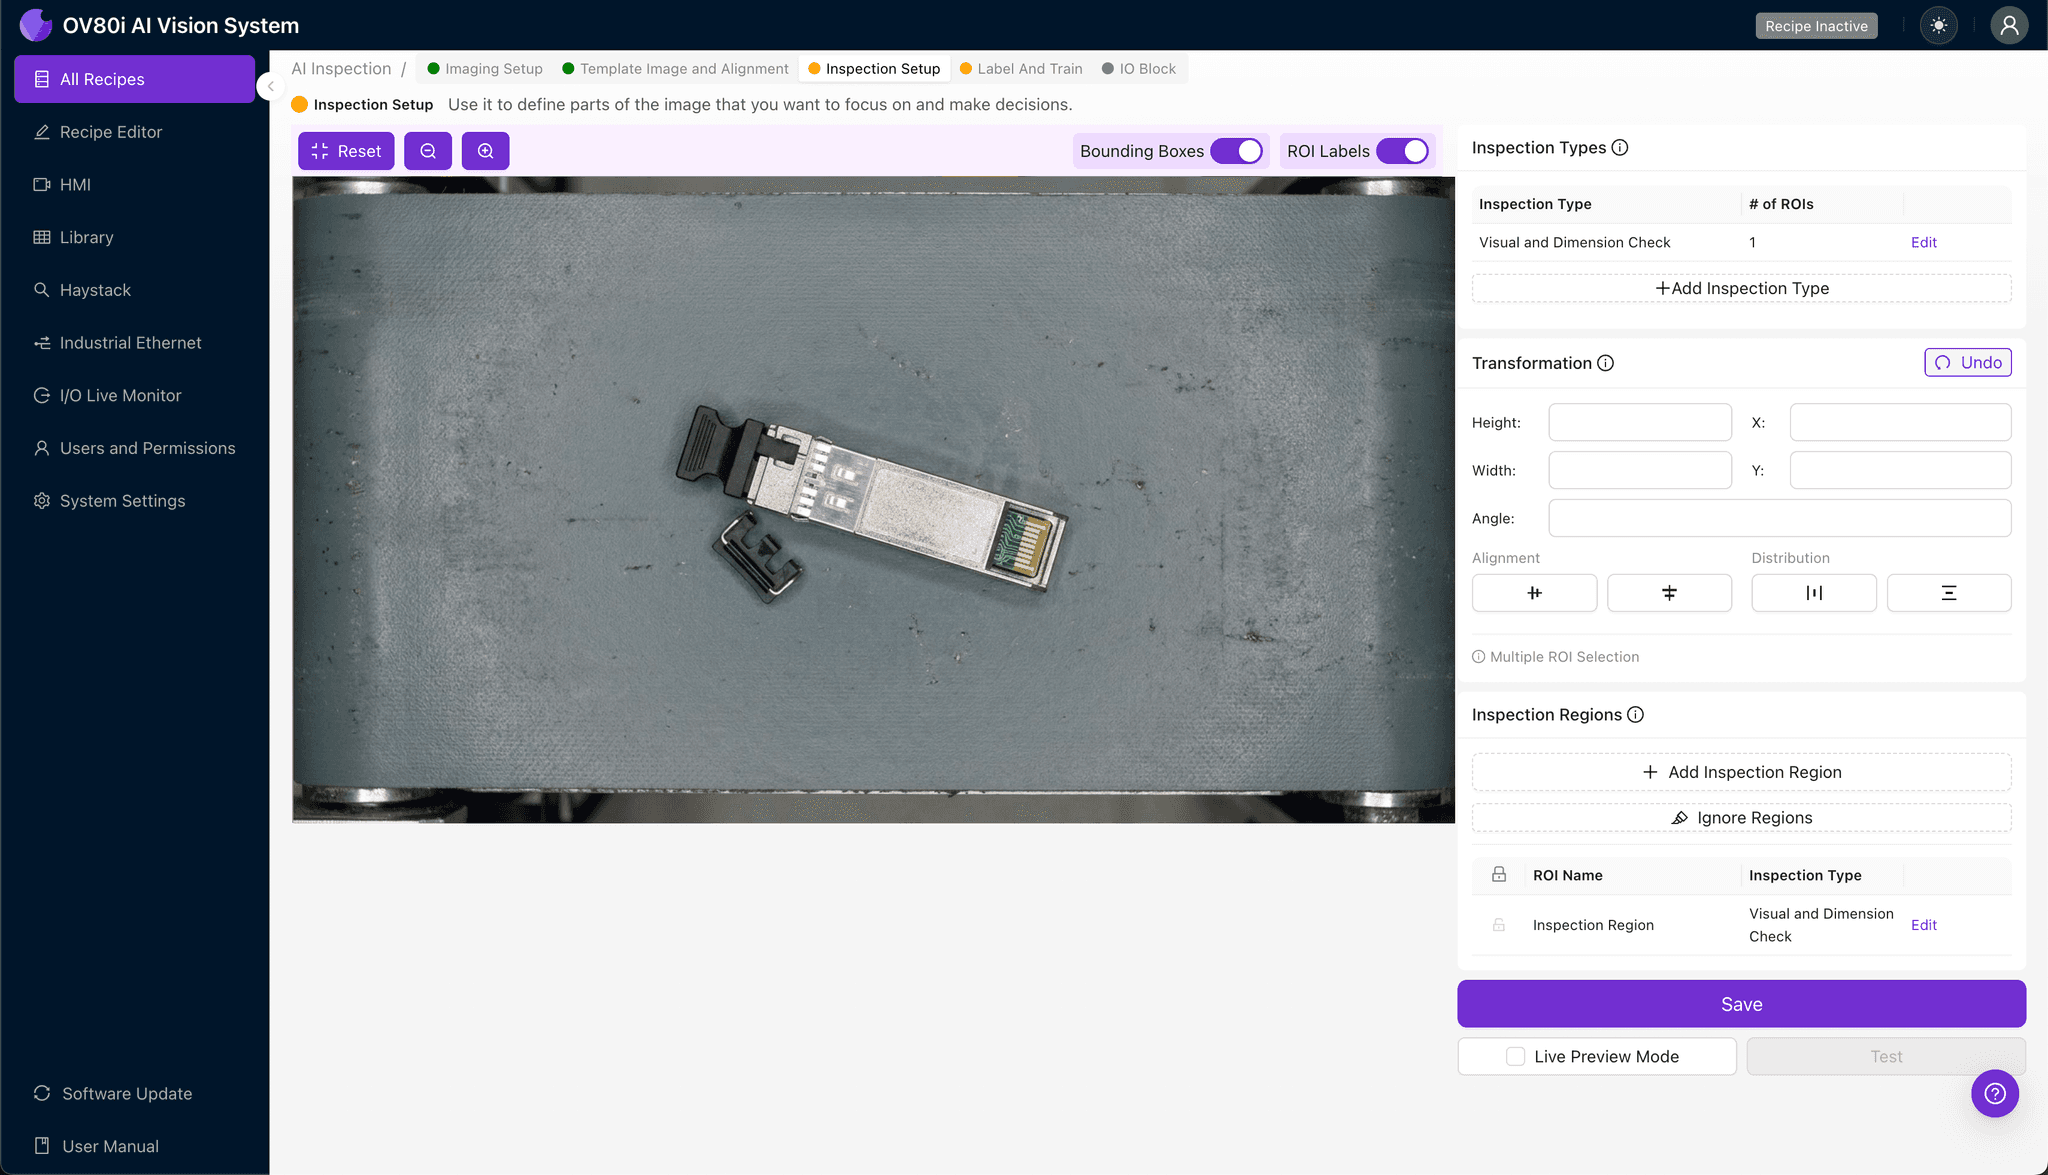
Step 3: Inspection Region Selection
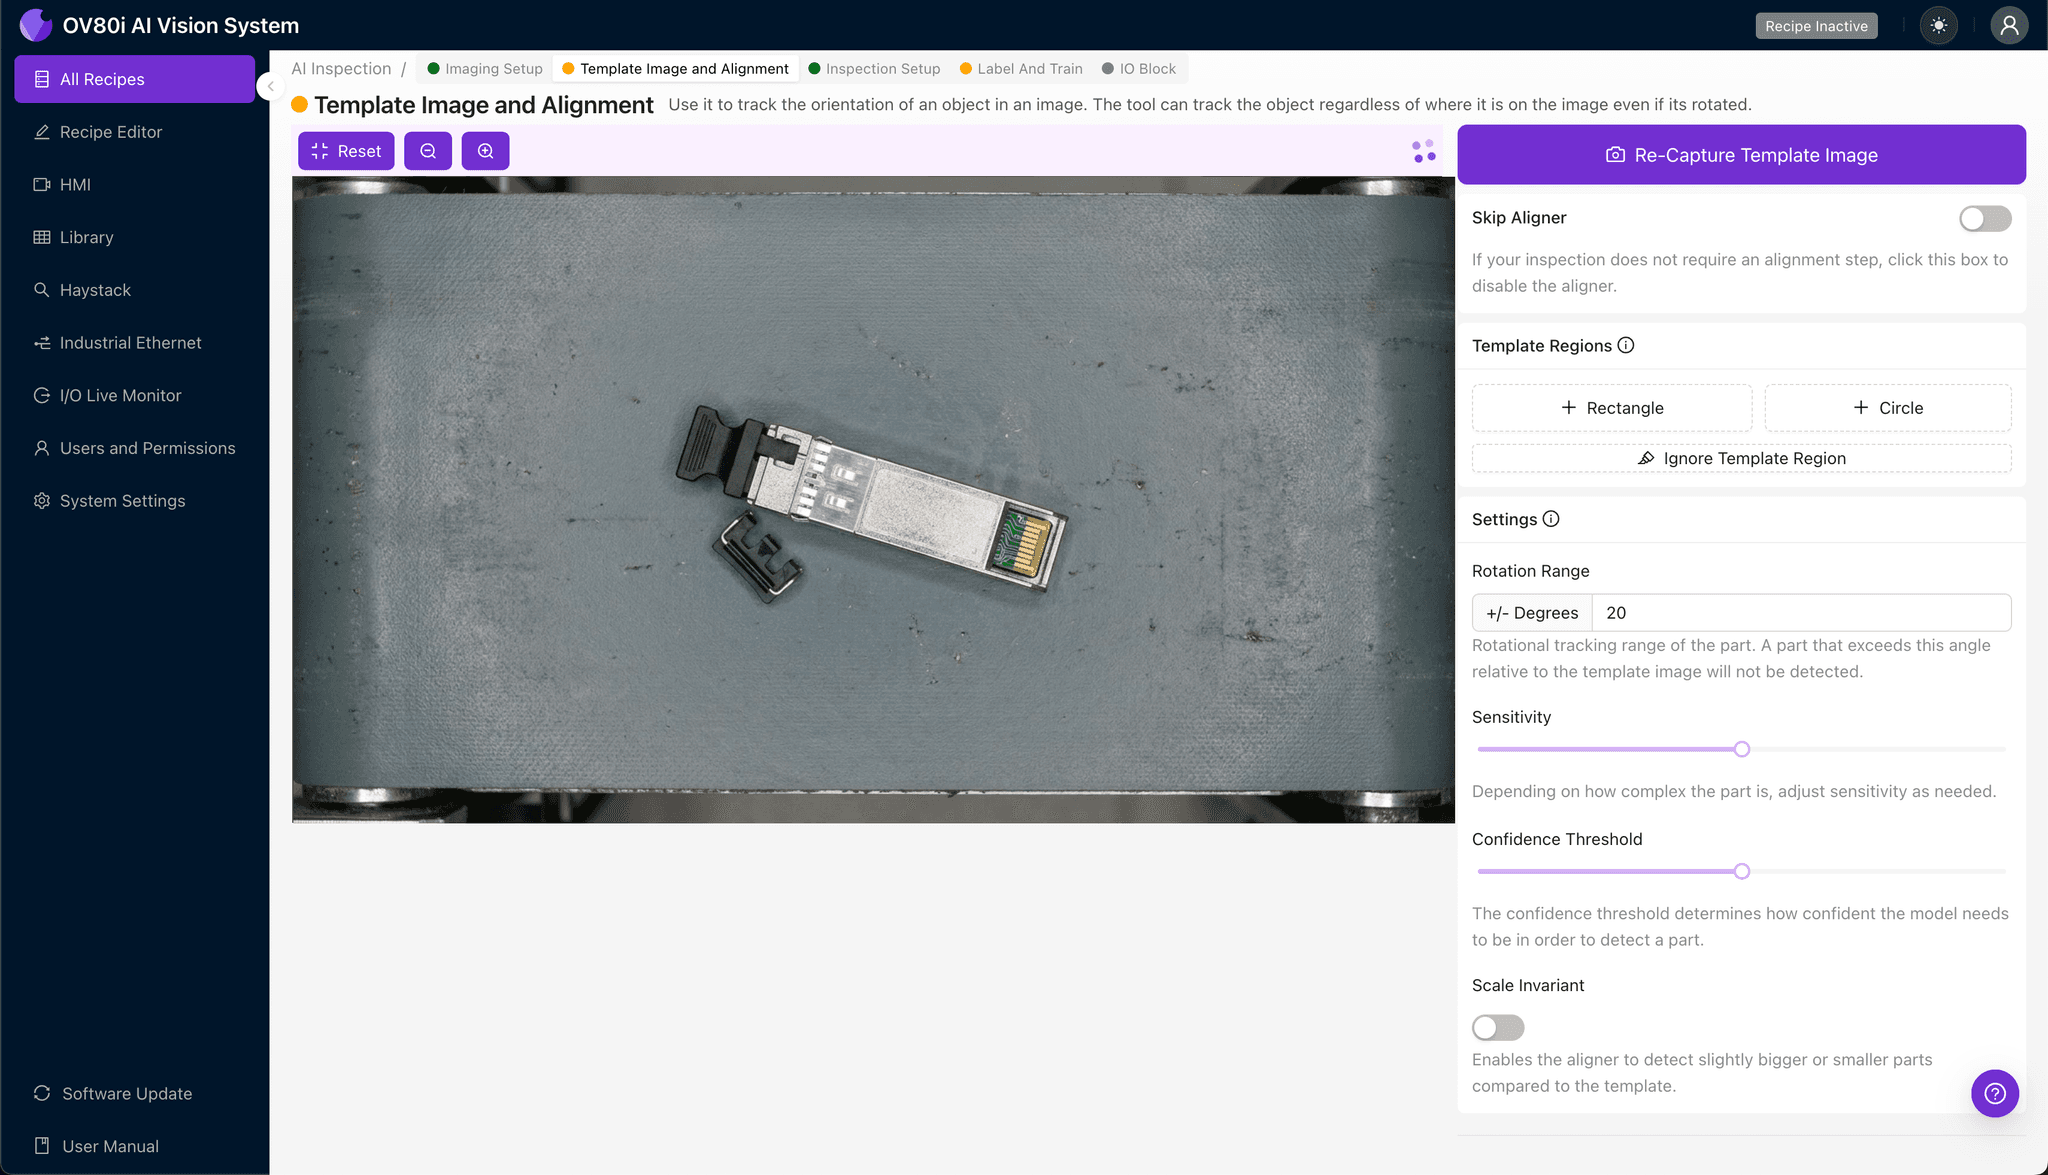
Navigate to "Inspection Setup" to define the critical areas for defect detection.
Rename your "Inspection Types" to reflect the specific failure modes: "Latch_Engagement," "Spring_Tension_Zone," "Housing_Integrity," and "Retention_Clip_Position."
Click "+ Add Inspection Region" for each defect category. Resize the yellow bounding box over each critical area—paying special attention to the latch pivot point, spring contact surfaces, and clip retention slots.
Click "Save" after defining all inspection regions.
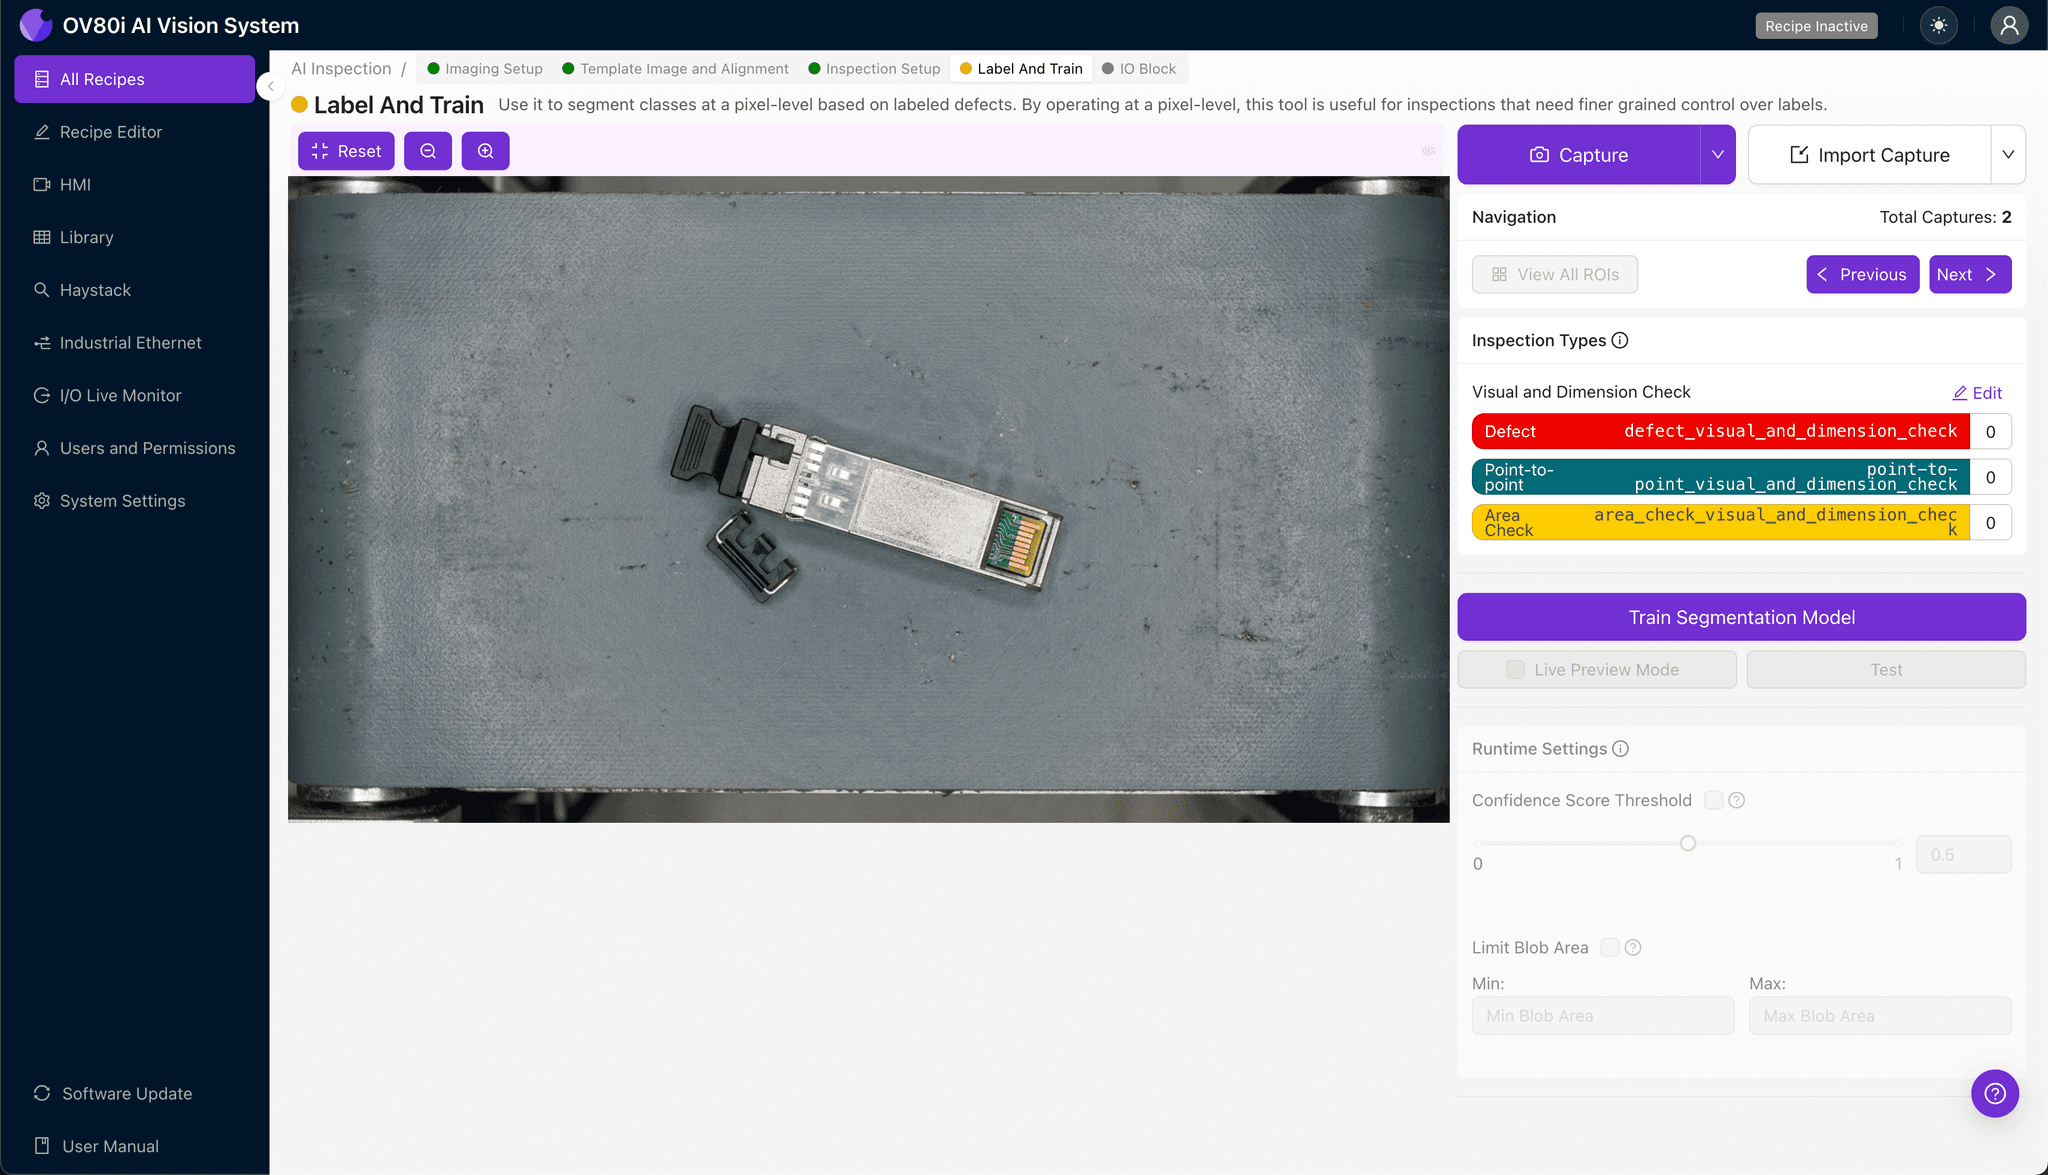
Step 4: Labeling Data
The human-in-the-loop labeling process trains the deep learning model to distinguish acceptable variation from true defects.
Label images as "Good" or "Bad" based on your quality standards. Include representative samples across lighting conditions, part orientation, and acceptable cosmetic variation.
Incorporate known failure modes from warranty returns and customer complaints. This ensures the model learns from real-world defect patterns, not just theoretical failure types.
Step 5: Creating Rules
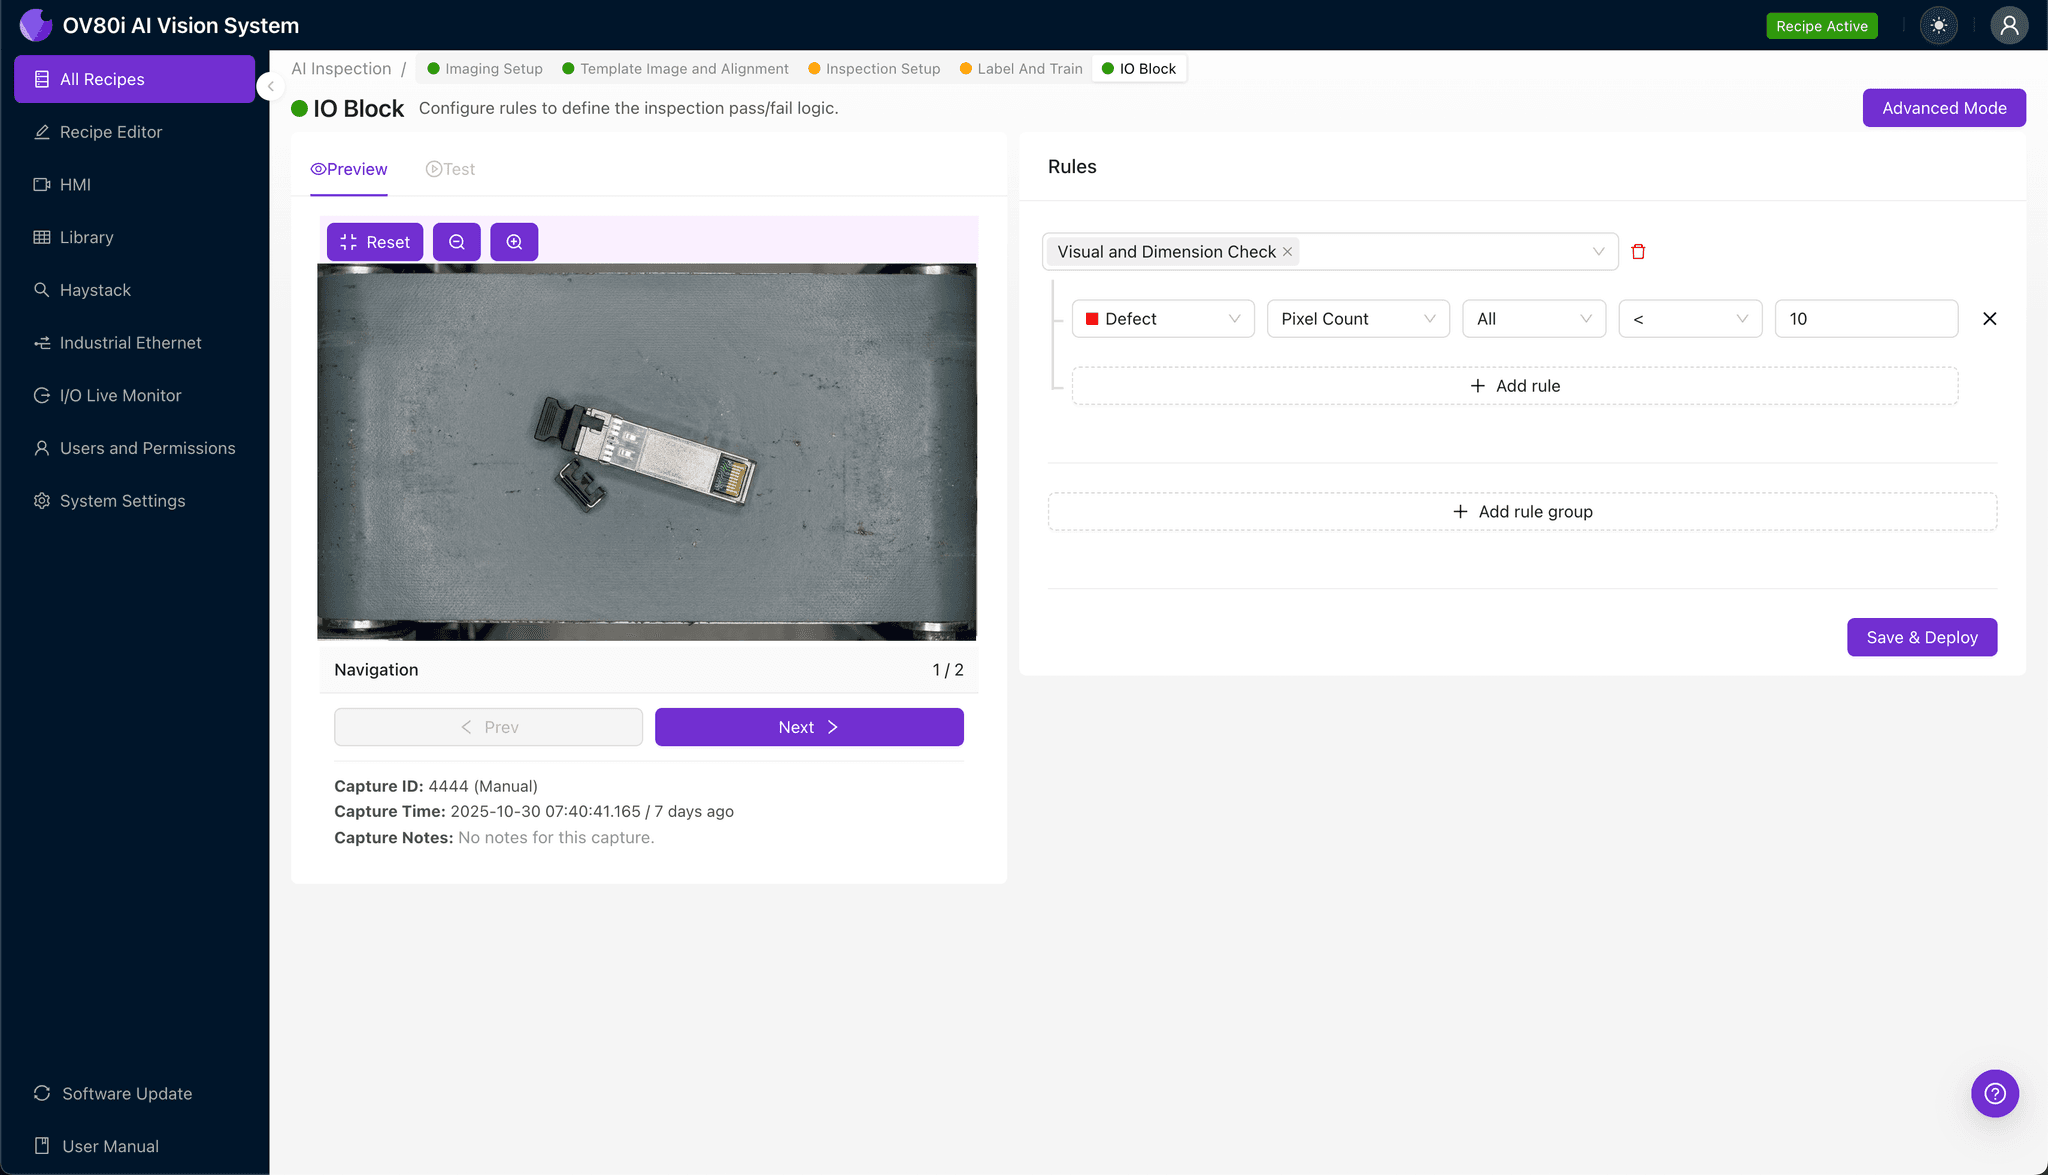
Set pass/fail logic based on your defined Inspection Types. For example, any detection in "Latch_Engagement" or "Housing_Integrity" regions triggers automatic rejection.
Configure the system to gate automated acceptance on the line. Failed units are diverted for rework or quarantine, while passing units proceed without manual intervention.
Key Outcomes & ROI
Implementing AI-powered inspection for optical module pull-latch mechanisms delivers measurable business impact:
- Reduced scrap rates – catch defects before modules proceed to final assembly or packaging
- Higher throughput – eliminate manual inspection bottlenecks while maintaining 100% coverage
- Compliance and traceability – automatically log inspection images and results for quality audits and customer documentation
- Process improvement insights – identify upstream assembly issues causing latch defects through trend analysis and defect clustering
Conclusion
Loose pull-latch mechanisms in optical modules represent a high-risk, hard-to-detect failure mode that traditional inspection methods consistently miss. Overview.ai's deep learning platform transforms this challenge into a competitive advantage—delivering consistent quality, reduced field failures, and actionable manufacturing intelligence.
Eliminate Pull-Latch Defects Today
Stop relying on manual inspection for critical optical module quality. Deploy Overview.ai to catch pull-latch defects instantly and reduce costly field failures.