
How to Detect Melted Plastic Defects in PCIe Card-Edge Slots Using AI Visual Inspection
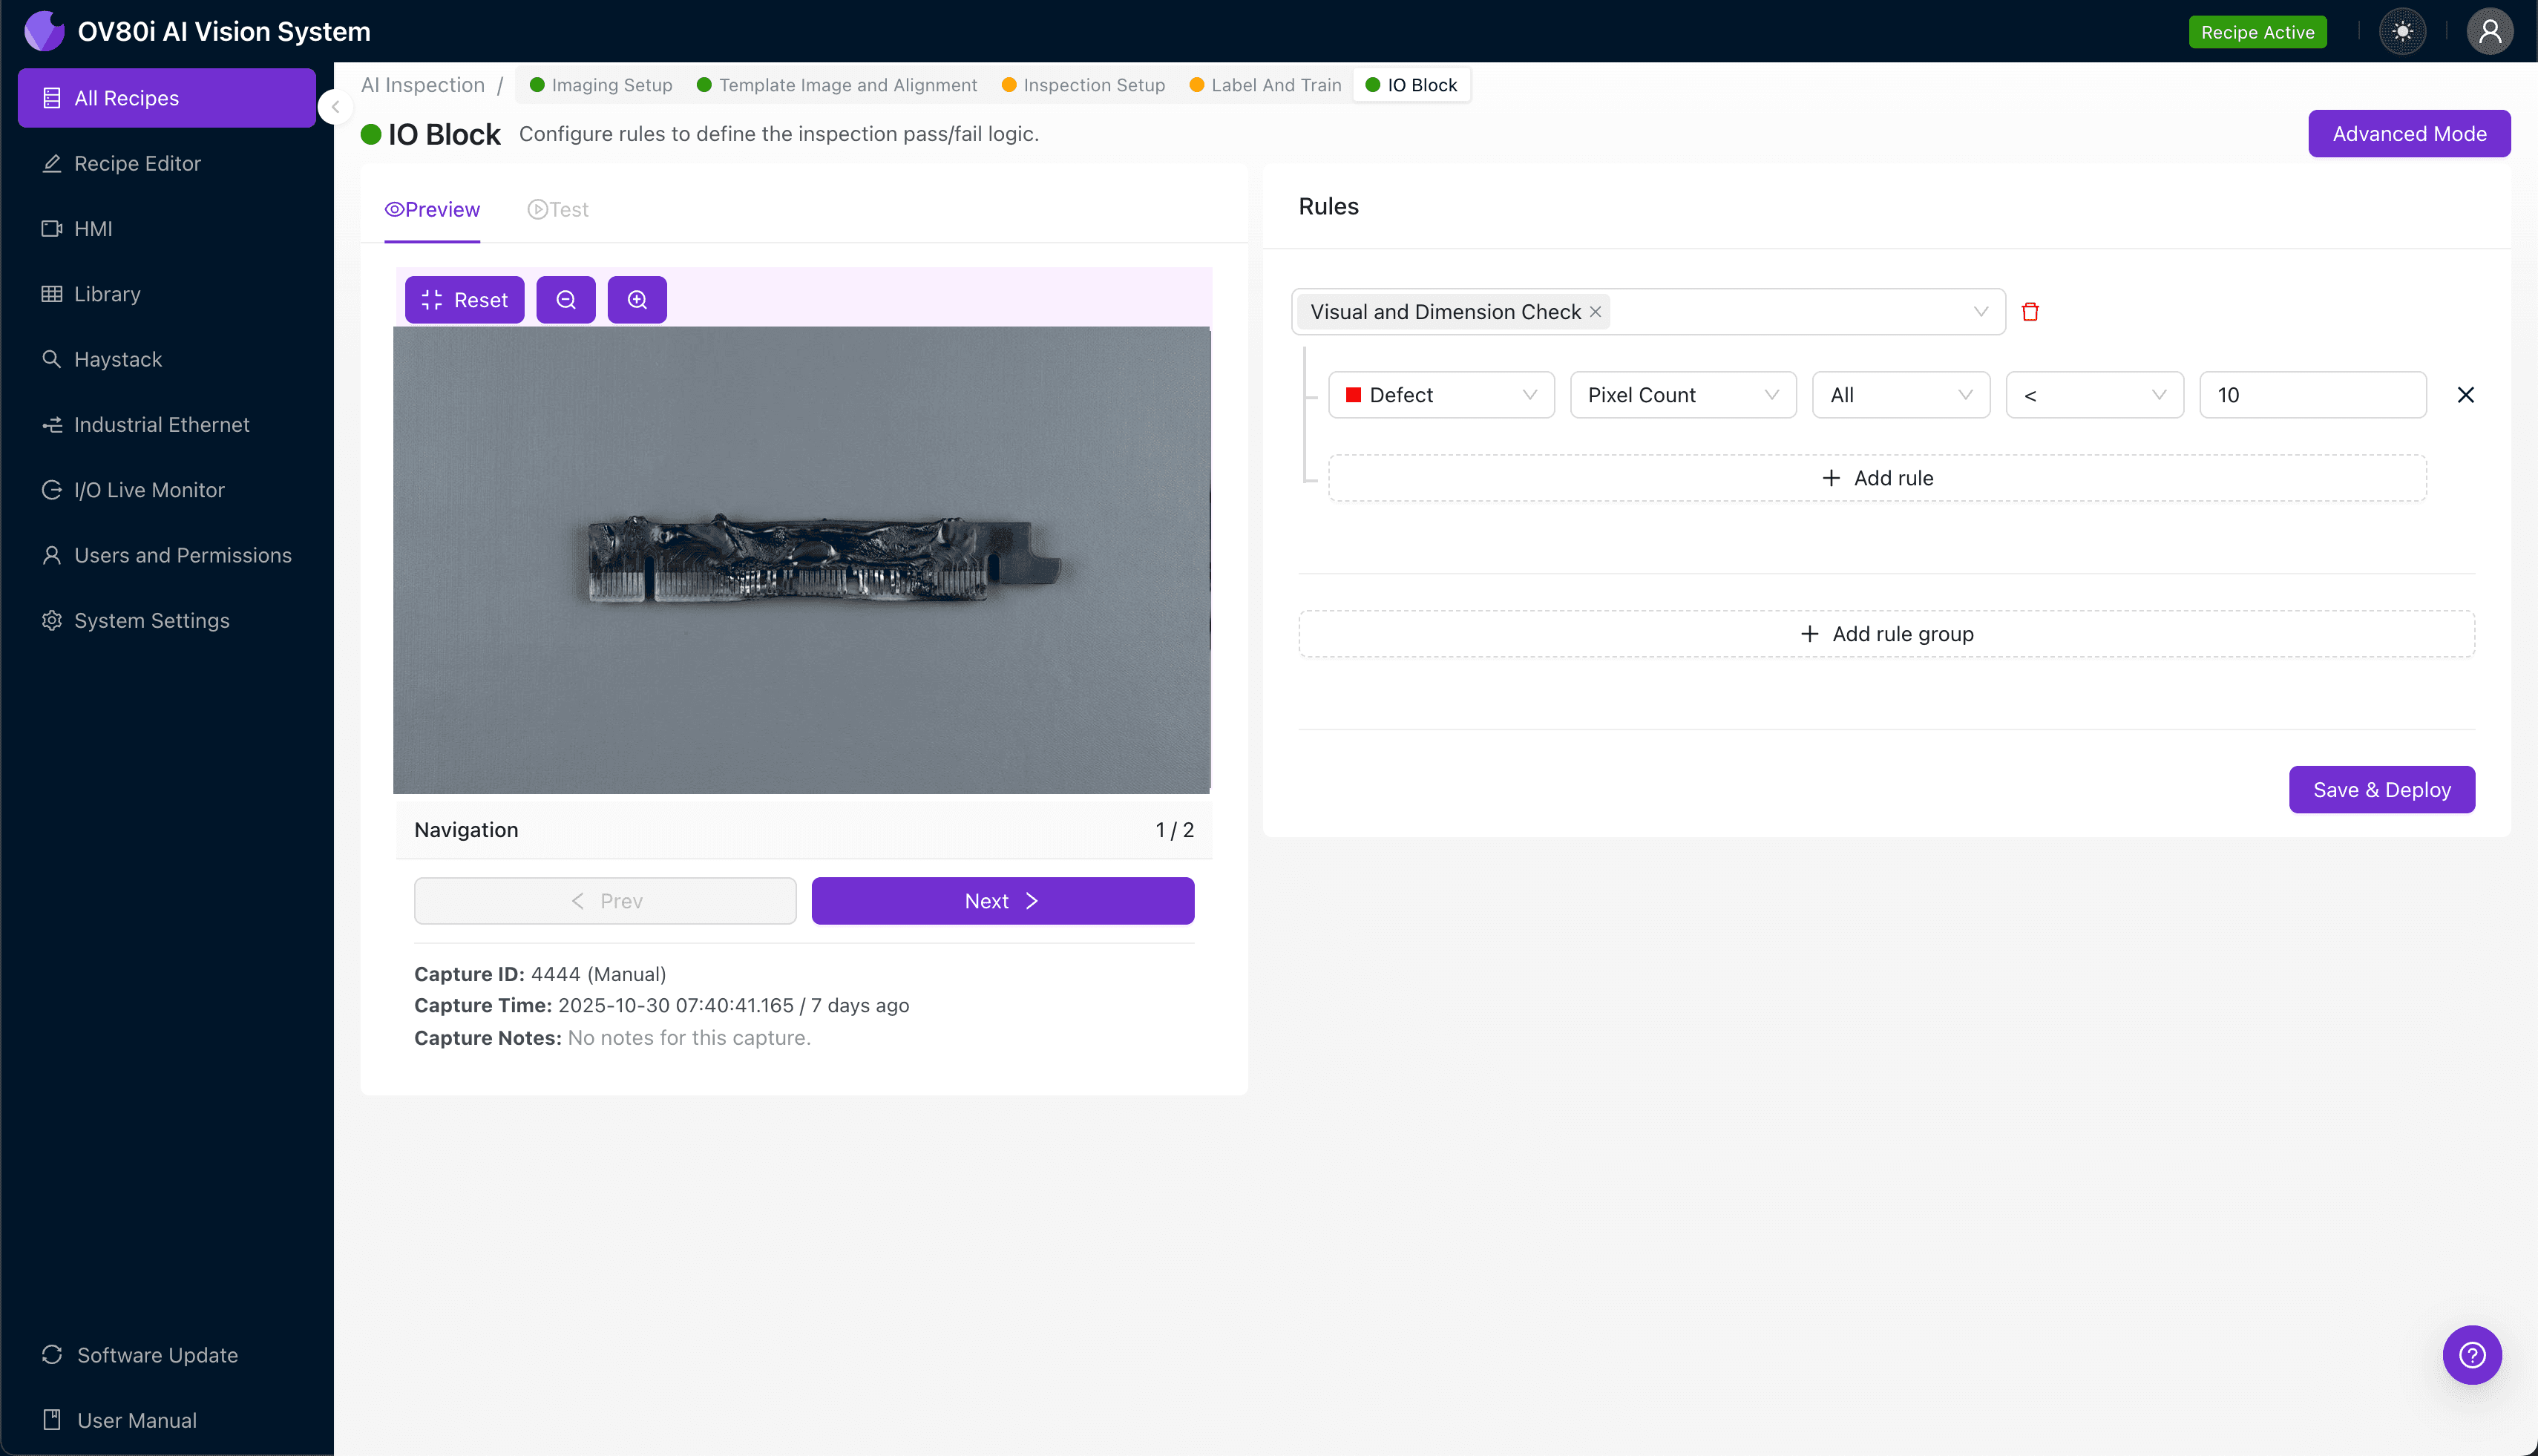
"Melted plastic defects in PCIe card-edge slots cause connector failures and system reliability issues. Overview.ai's deep learning-powered inspection catches thermal deformation, flash material, and burn marks at production speed—eliminating the inconsistency of manual QC."
The Problem: Why Melted Plastic in PCIe Connectors Is a Critical Quality Challenge
PCIe card-edge slots are essential interconnect components that must withstand repeated insertion cycles while maintaining precise electrical contact. When injection molding or reflow soldering processes go wrong, melted or deformed plastic housing creates defects that compromise connector integrity and system reliability.
Common Defects Found in PCIe Card-Edge Slots with Melted Plastic:
- Thermal deformation of slot walls — warping that prevents proper card seating
- Flash or overflow material — excess melted plastic encroaching into the card insertion channel
- Discoloration or burn marks — carbonized areas indicating localized overheating
- Pin misalignment from housing warp — contact pins shifted due to plastic substrate deformation
- Surface bubbling or blistering — trapped gases creating raised defects in the plastic housing
- Incomplete slot geometry — melted areas causing dimensional non-conformance
Human inspectors struggle to maintain accuracy when examining these defects at production speeds. Fatigue sets in quickly when evaluating subtle thermal damage across thousands of identical black connectors, and subjective interpretation leads to inconsistent pass/fail decisions between shifts.
The Solution: Machine Vision and Deep Learning for Consistent Detection
Traditional rule-based machine vision systems often fail with melted plastic defects because the damage presents in unpredictable patterns, colors, and locations. Deep learning changes this equation by training neural networks to recognize the visual signatures of thermal damage—even when those signatures vary significantly from part to part.
Overview.ai's approach delivers consistent, objective inspection at line speed without the variability inherent in manual QC. The OV80i system learns what "good" looks like and flags anomalies with repeatable precision, regardless of shift changes or inspector experience levels.
Step 1: Imaging Setup
Begin by placing a representative PCIe card-edge slot sample under the OV80i camera. Position the connector so the critical inspection surfaces—slot opening, housing walls, and pin areas—are clearly visible and evenly illuminated.
Click "Configure Imaging" in the Overview interface to access the Camera Settings panel. Adjust exposure to capture surface detail without washing out the black plastic, and fine-tune gain to reveal subtle discoloration or texture changes.
Click "Save" once the image clearly shows both acceptable parts and potential defect areas with good contrast.
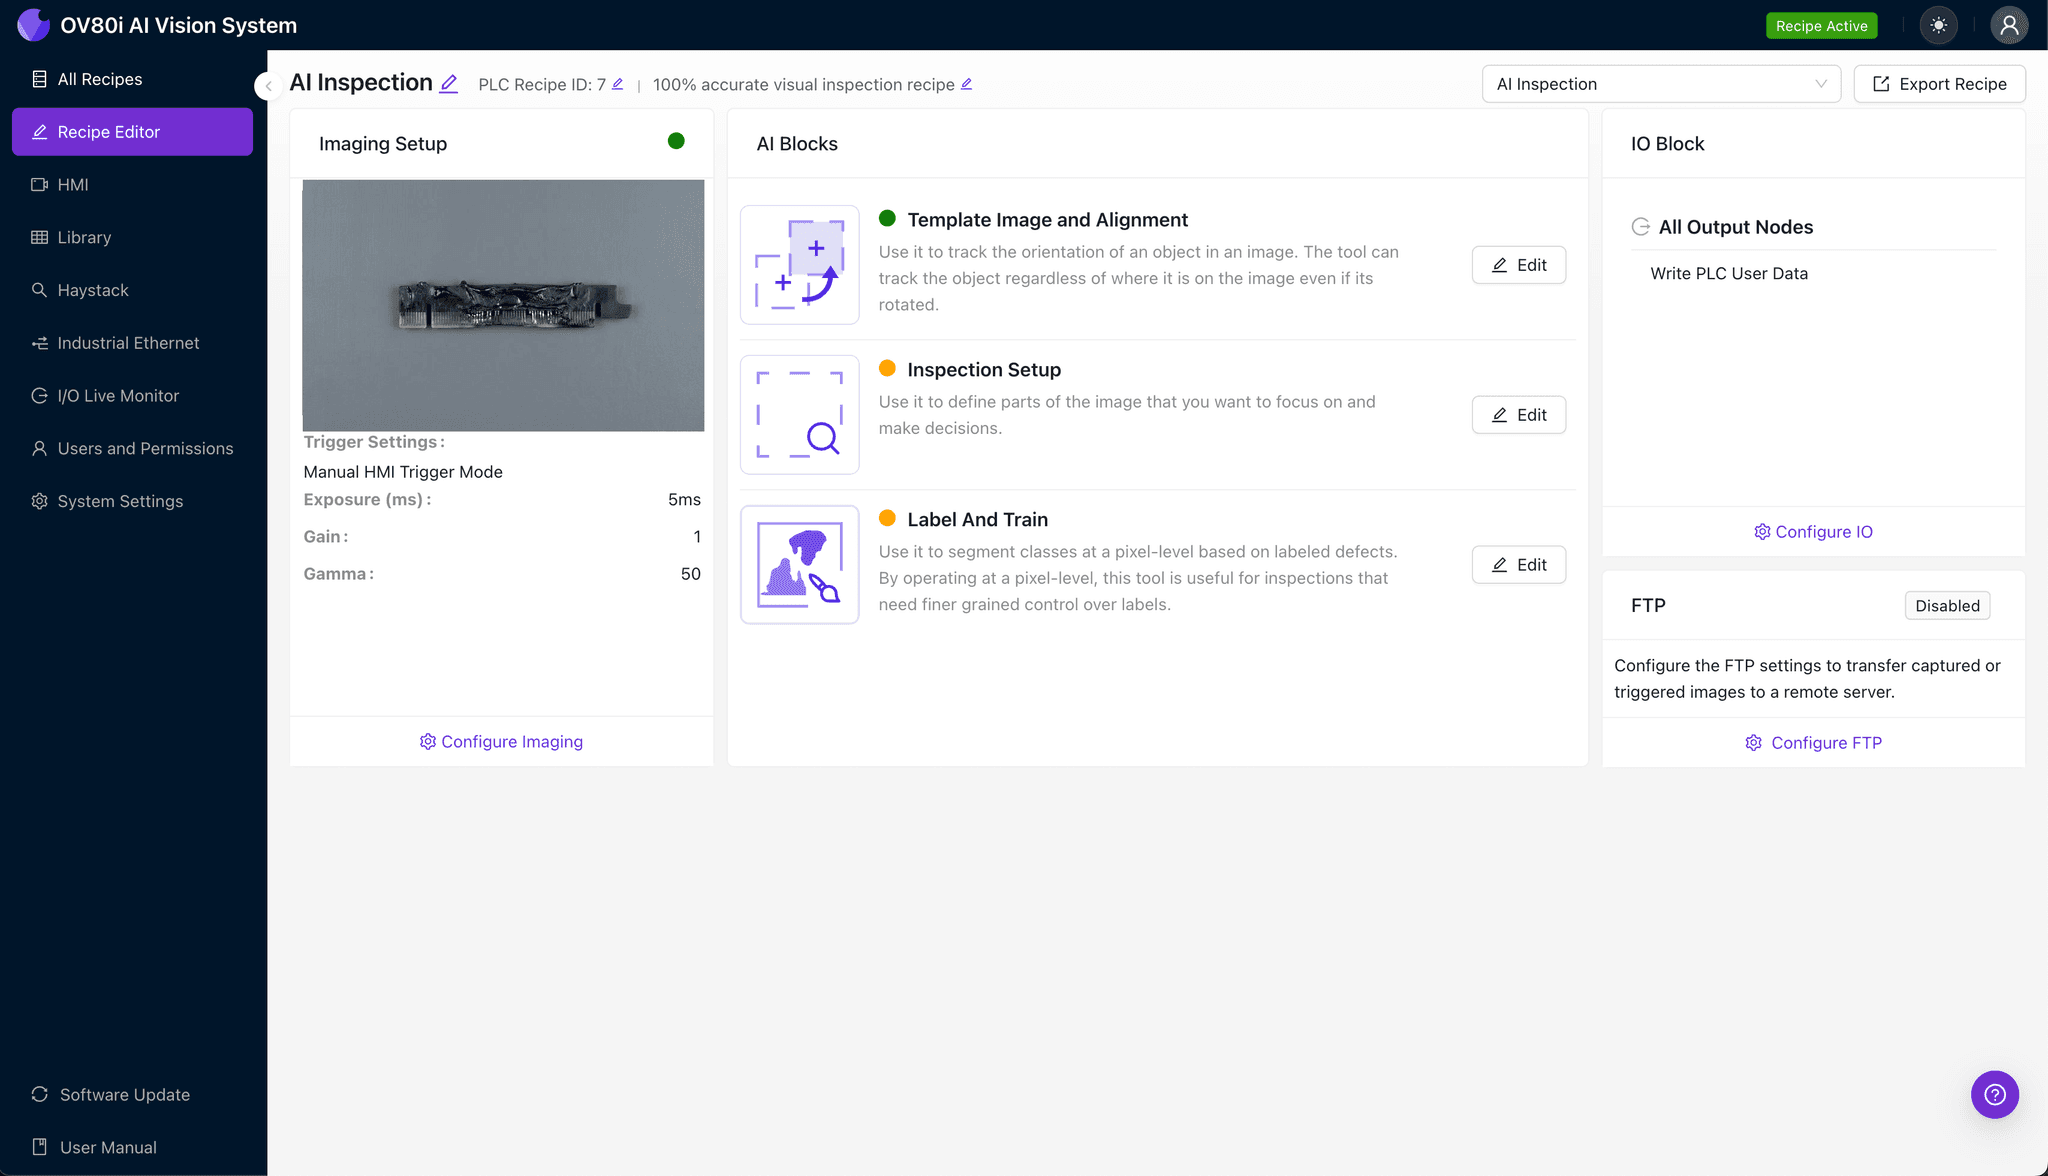
Step 2: Image Alignment
Navigate to the "Template Image" section and capture a Template of your golden sample. This reference image establishes the baseline geometry the system uses to align every subsequent part.
Click "+ Rectangle" to add an alignment region around the main connector body. Set "Rotation Range" to 20 degrees to accommodate minor orientation variations as parts move through the inspection station.
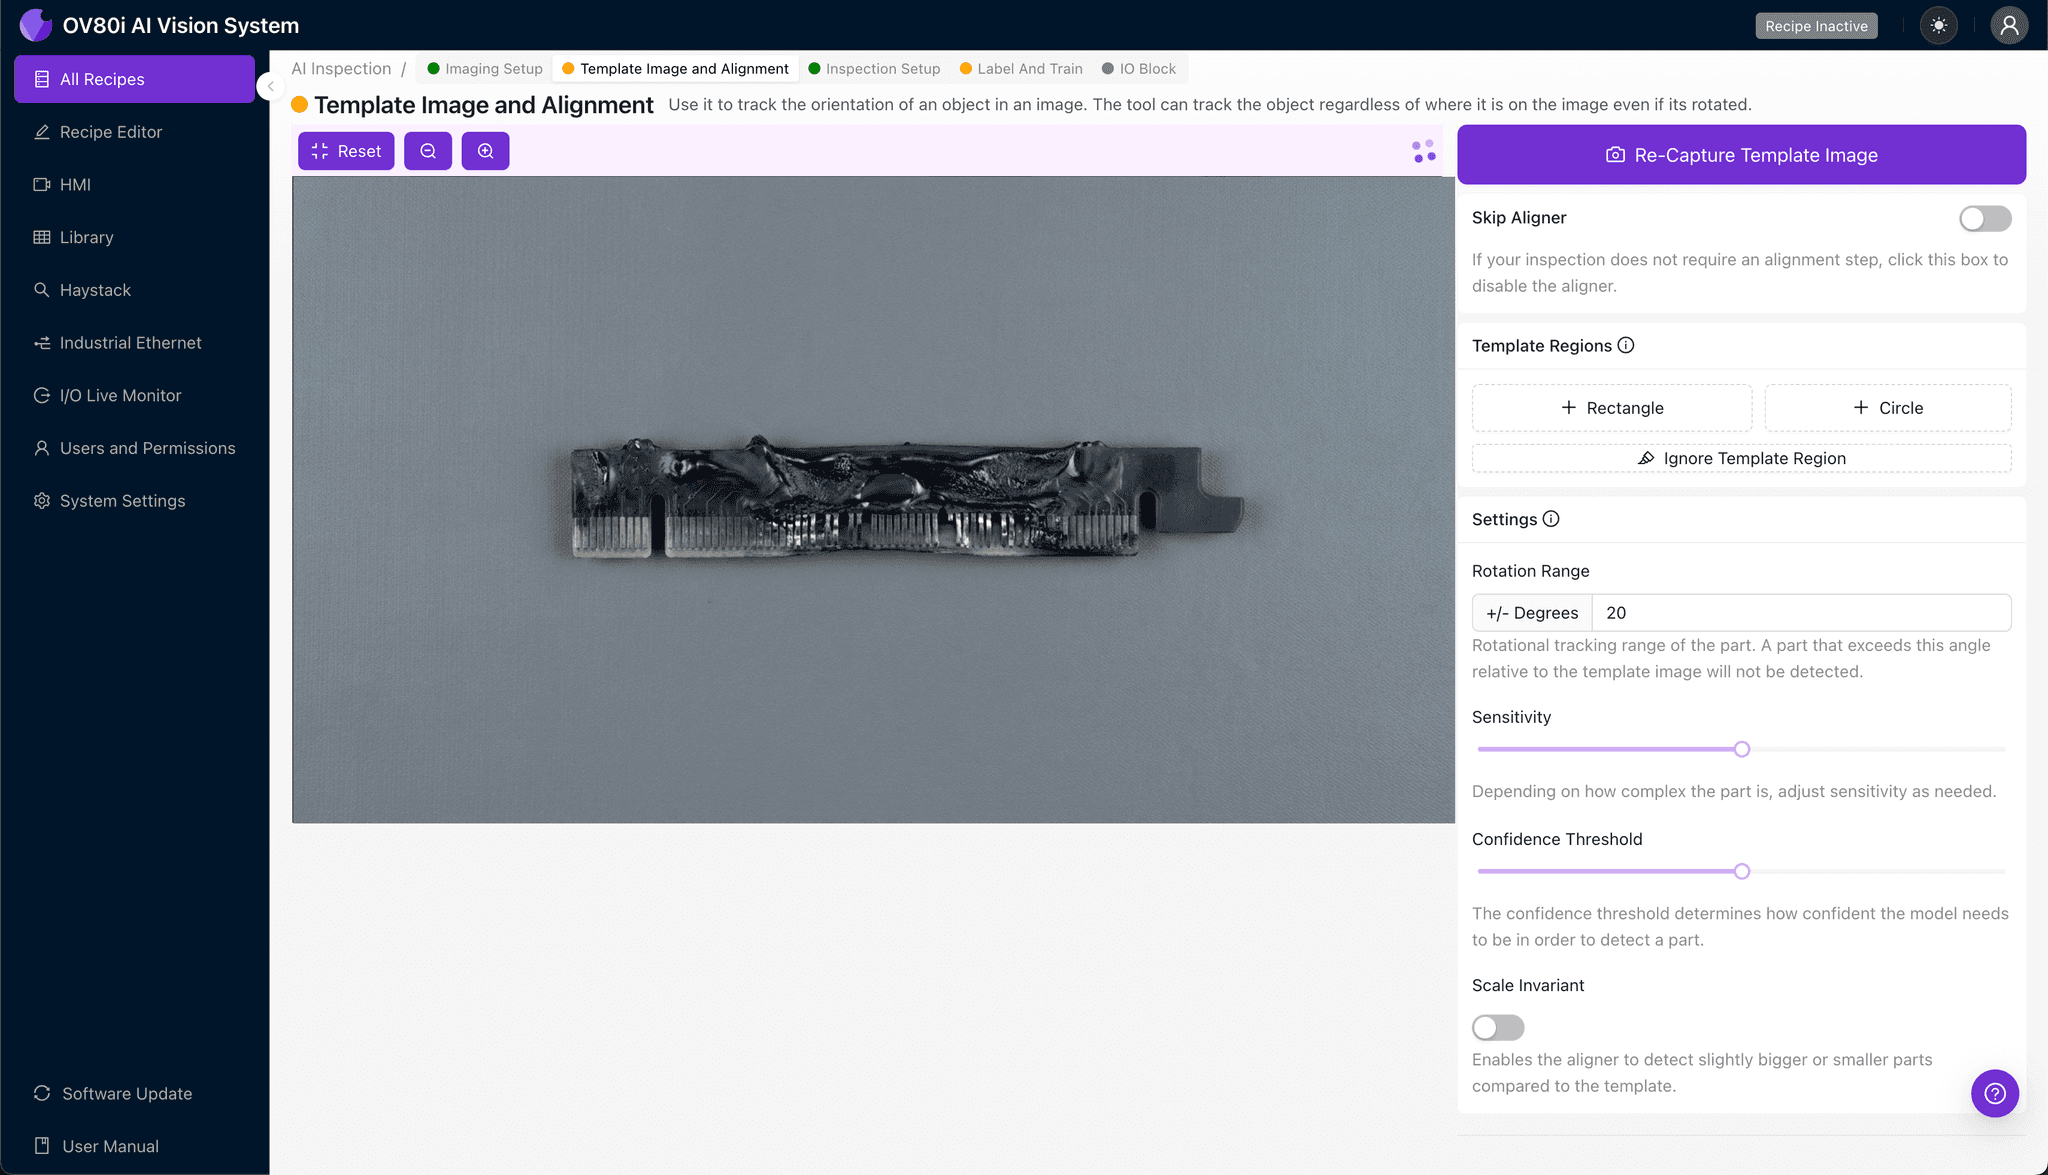
Step 3: Inspection Region Selection
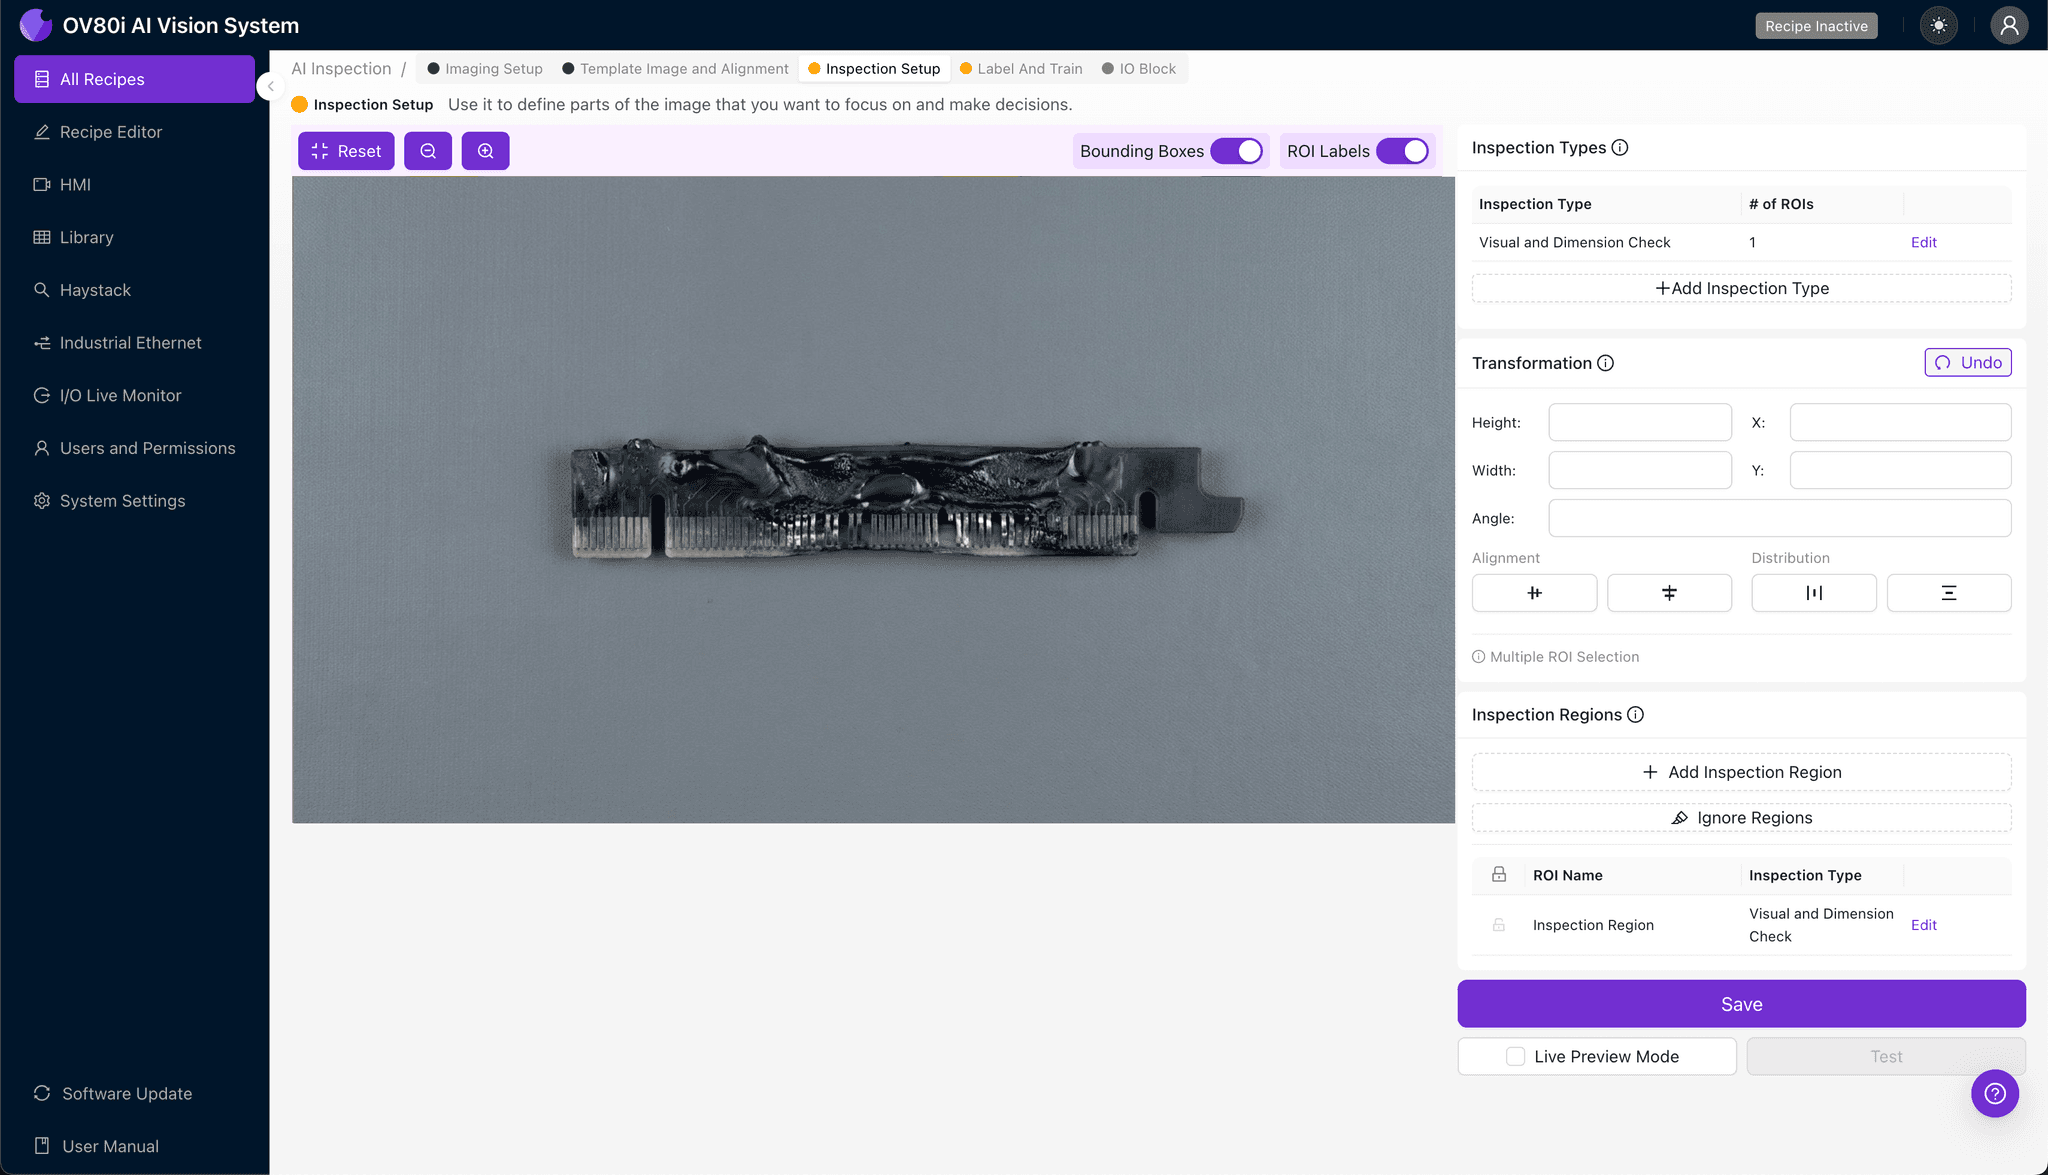
Navigate to "Inspection Setup" to define where the system should look for defects. Rename your "Inspection Types" with descriptive labels like "Slot_Wall_Integrity" or "Housing_Surface_Damage" for clear traceability.
Click "+ Add Inspection Region" to create targeted zones. Resize the yellow bounding box over critical defect areas—focus on slot walls, the card insertion channel, and any surfaces prone to thermal damage.
Click "Save" to confirm your inspection regions.
Step 4: Labeling Data
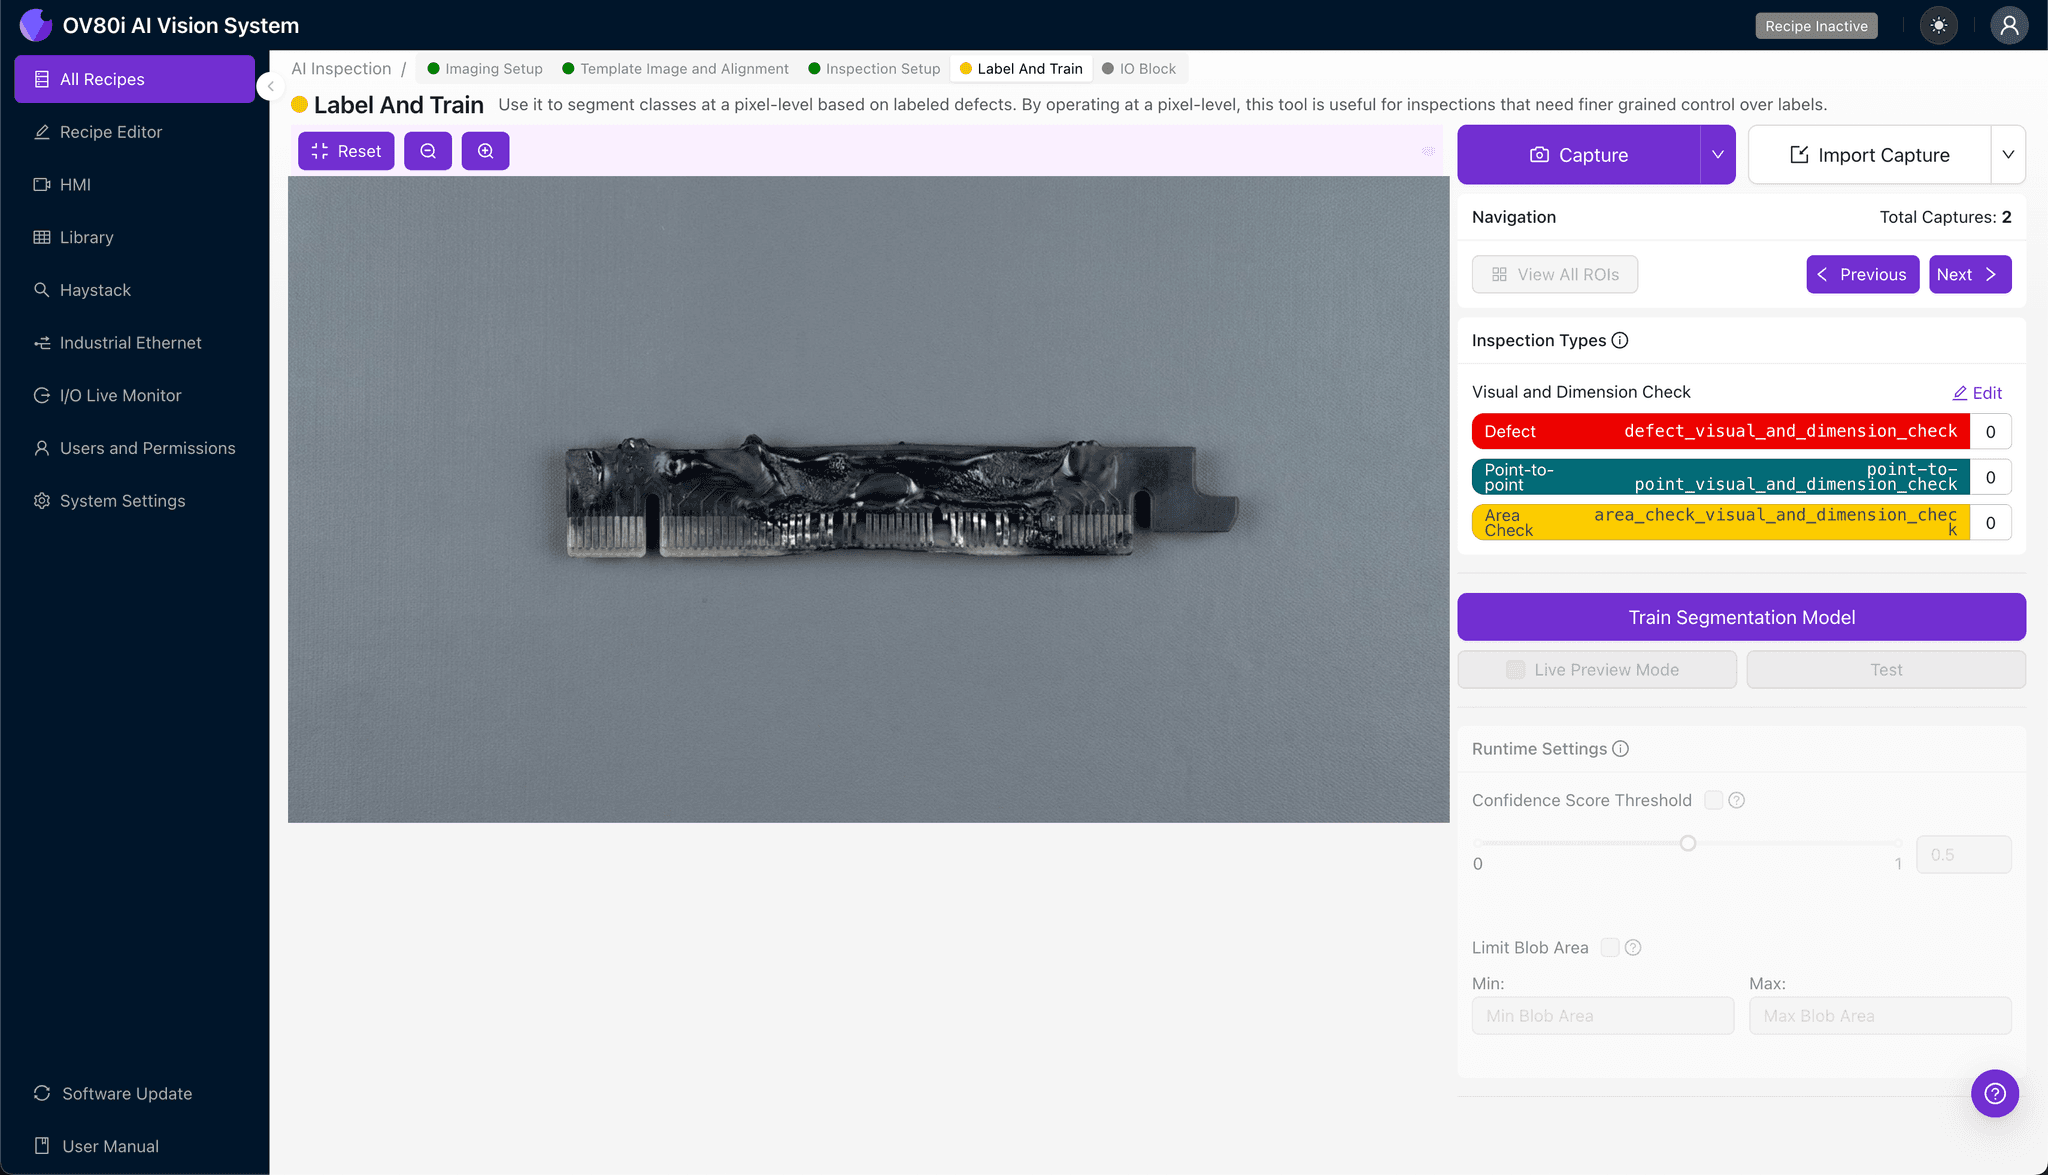
This human-in-the-loop process teaches the AI what constitutes acceptable versus rejectable parts. Review captured images and label each as Good or Bad based on your quality specifications.
Include representative samples across the full spectrum of acceptable variation. Ensure known failure modes—warped walls, flash material, burn marks—are well-represented in the training set so the model learns to catch real-world defects.
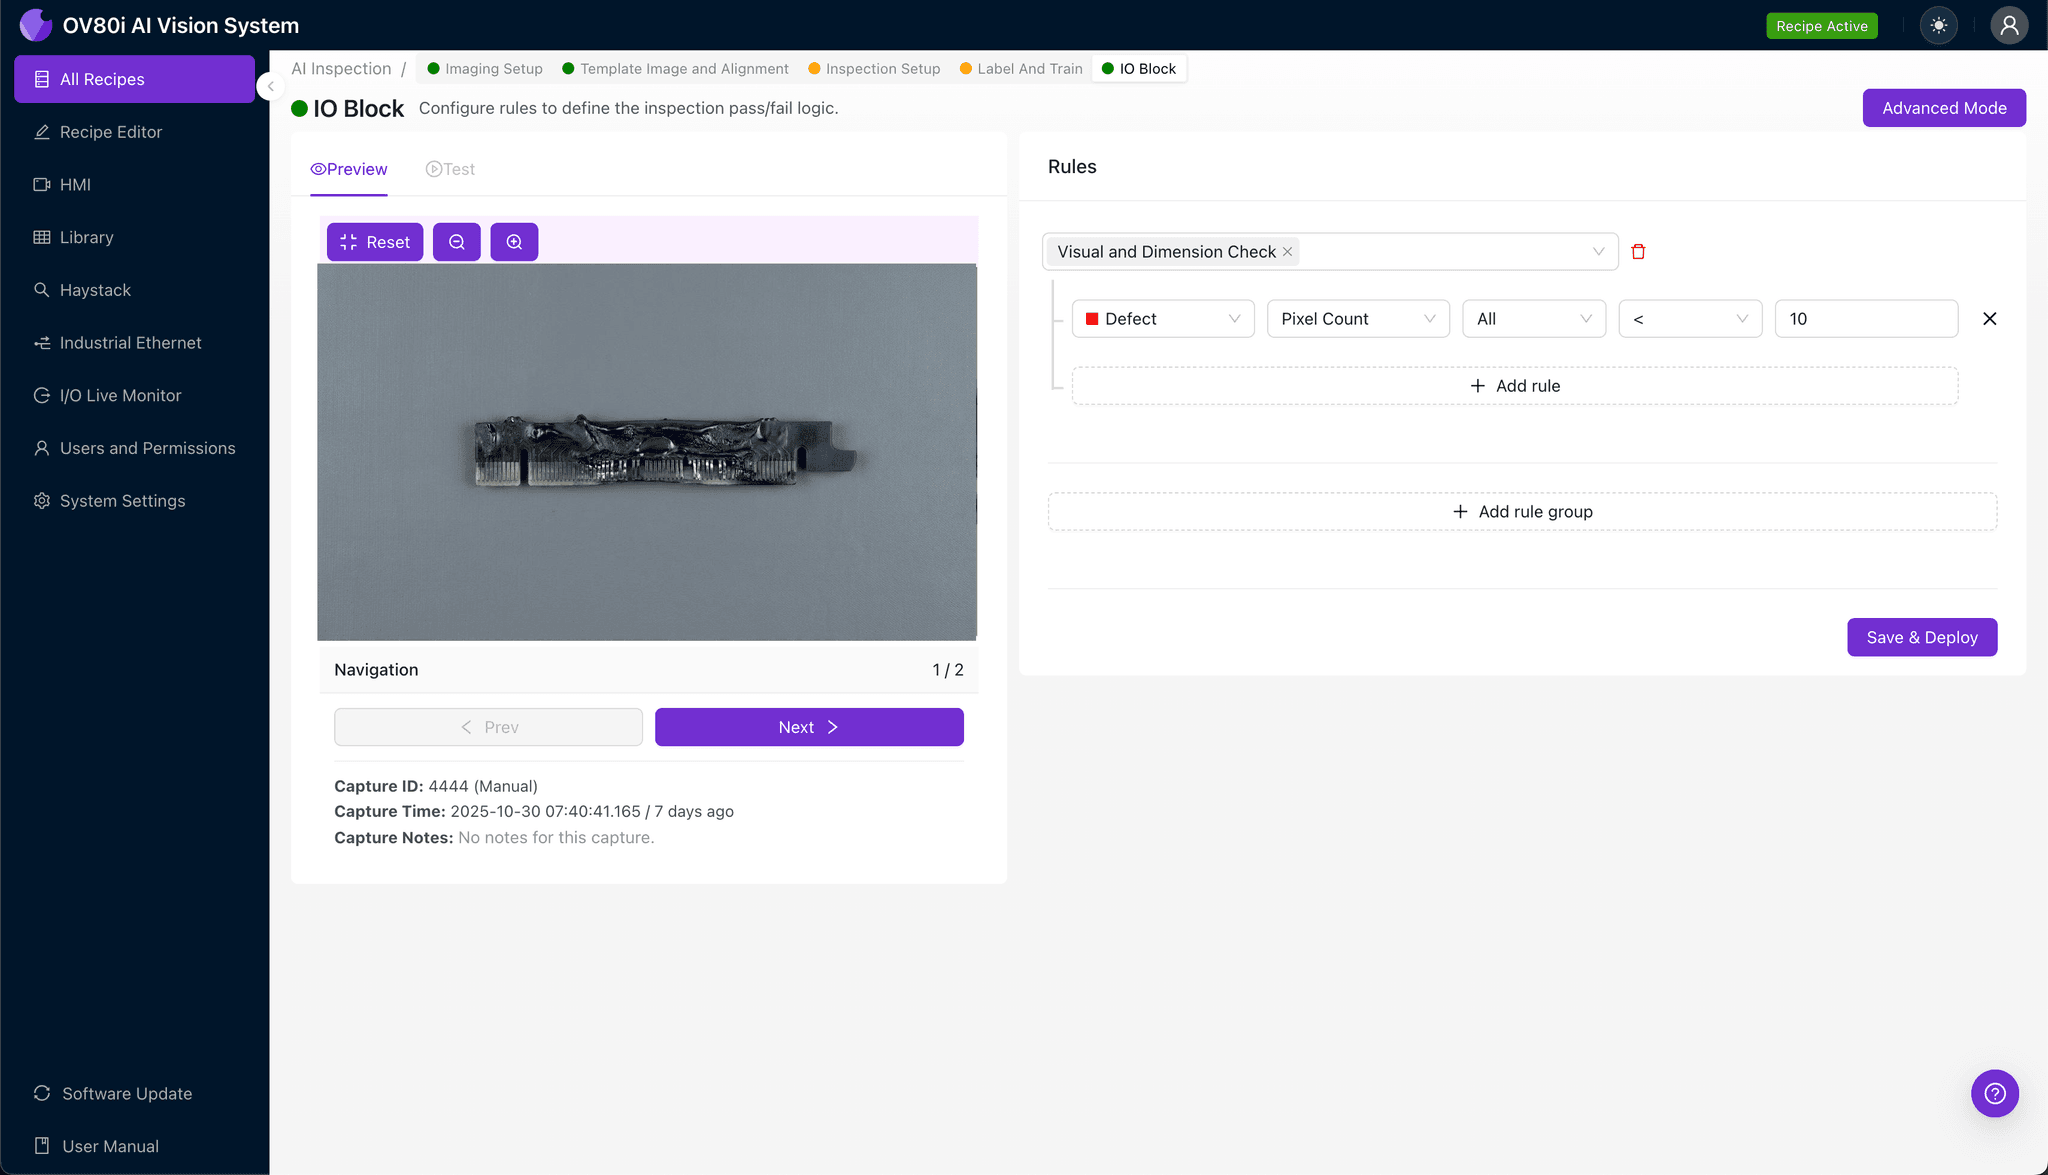
Step 5: Creating Rules
Set your pass/fail logic based on the Inspection Types you defined earlier. Configure thresholds that align with your quality standards—for example, any detection of melted plastic in the slot channel triggers automatic rejection.
Gate automated acceptance on the line so defective connectors are diverted before reaching downstream assembly. This prevents costly rework and protects end-product reliability.
Key Outcomes & ROI
Implementing AI-powered visual inspection for PCIe card-edge slot defects delivers measurable business impact:
- Reduced scrap rates — catch thermal damage early before adding assembly labor and materials
- Higher throughput — inspect 100% of parts at line speed without bottlenecking production
- Compliance and traceability — maintain detailed inspection records with timestamped images for audit requirements
- Process improvement insights — identify upstream molding or soldering issues by analyzing defect trend data
Conclusion
Melted plastic defects in PCIe card-edge slots represent a significant quality risk that traditional inspection methods struggle to address consistently. By deploying Overview.ai's deep learning-powered visual inspection, manufacturers gain the speed, accuracy, and data visibility needed to protect product quality while improving operational efficiency.
Eliminate Thermal Damage Escapes Today
Stop relying on manual inspection for PCIe connector quality. Deploy Overview.ai to catch melted plastic defects instantly at line speed.