
Shielding Finger with Loss of Normal Force: A Complete Visual Inspection Guide
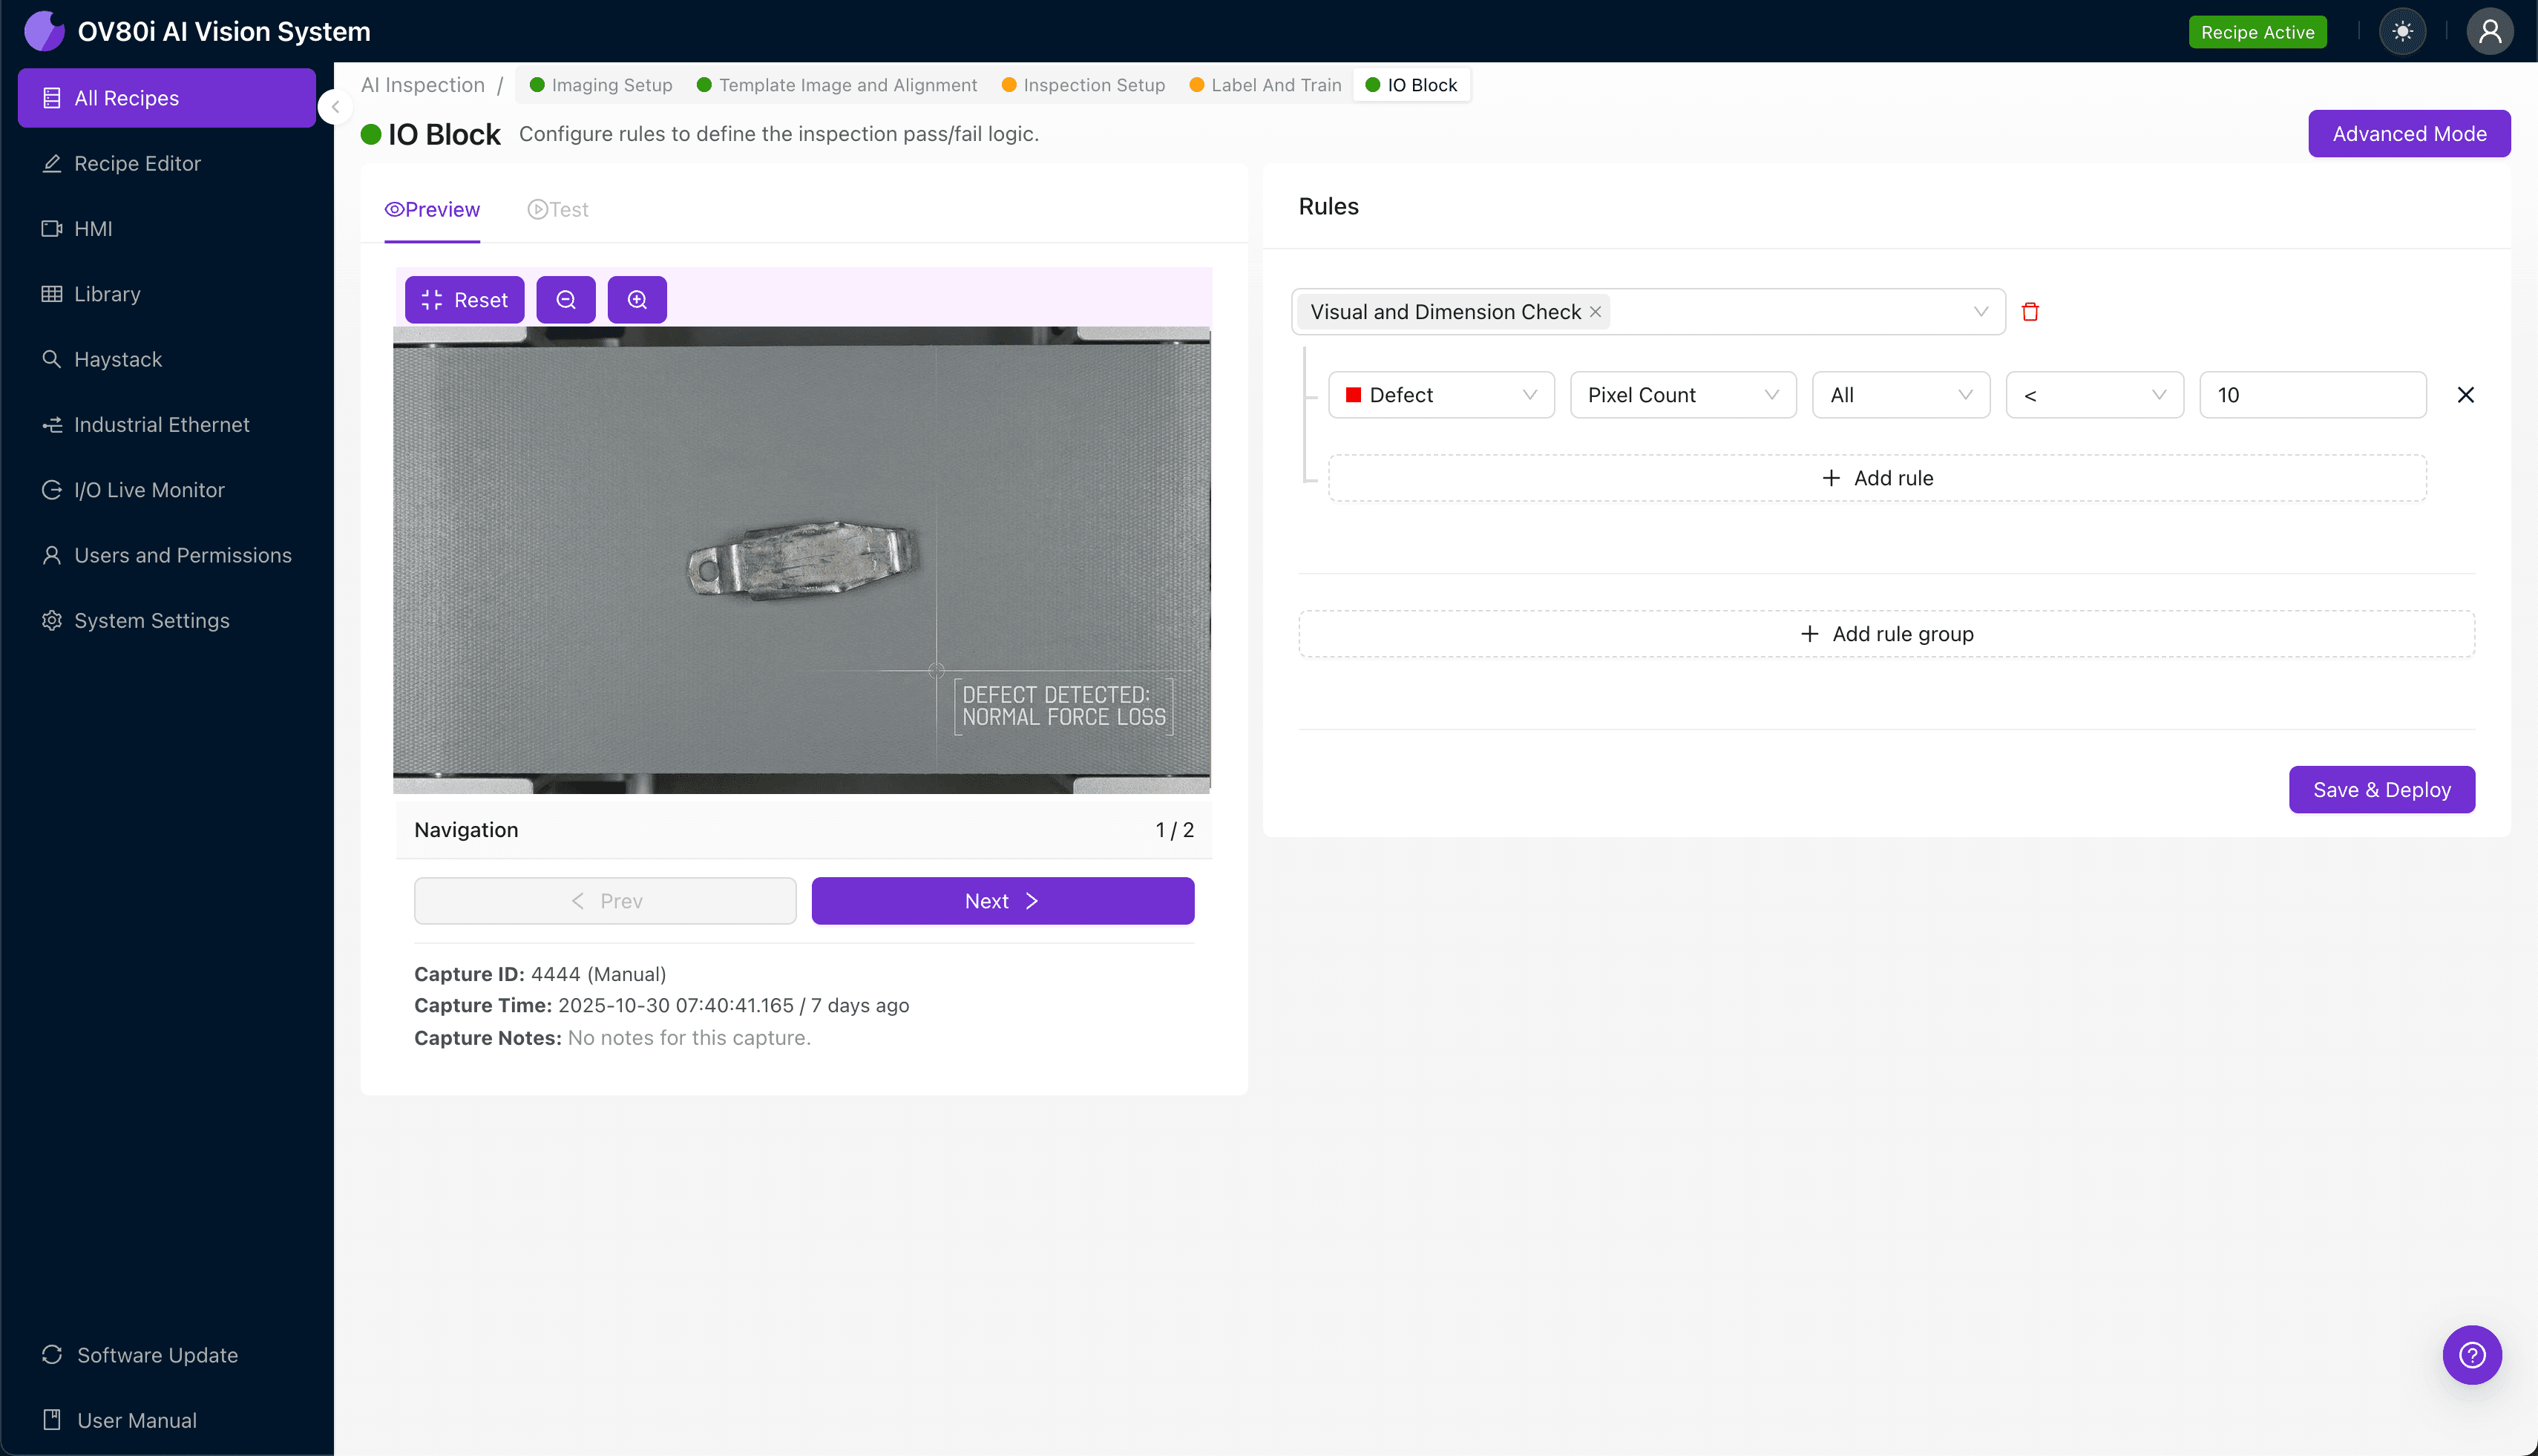
"Shielding fingers fail silently when normal force degrades, creating costly warranty claims and field failures. AI-powered visual inspection detects the subtle geometric and surface anomalies that indicate compromised spring performance—catching defects that human inspectors consistently miss."
The Problem: Why Traditional Inspection Falls Short
Shielding fingers are critical EMI/RFI protection components that must maintain precise spring tension to ensure proper electrical contact. When normal force degrades, these components fail silently—creating downstream warranty claims and field failures.
Common Defects in Shielding Finger Components:
- Plastic deformation — permanent bending that reduces spring-back force
- Work hardening cracks — micro-fractures from repeated flexing cycles
- Plating thickness variation — inconsistent coating affecting conductivity and corrosion resistance
- Incorrect bend angle — deviation from specified geometry reducing contact pressure
- Base material fatigue — stress marks indicating compromised structural integrity
- Burrs and edge defects — sharp protrusions from stamping operations affecting assembly fit
Human inspectors struggle with these defects because visual cues are often subtle and require consistent focus across thousands of parts per shift. Fatigue sets in quickly, and the microscopic nature of force-related indicators makes manual detection unreliable at production speeds.
The Solution: AI-Powered Visual Inspection
Machine vision systems equipped with deep learning algorithms can detect the geometric and surface anomalies that correlate with loss of normal force. Unlike rule-based systems, AI models learn the complex visual patterns that indicate compromised spring performance—even when defects don't follow predictable shapes.
Overview.ai's approach delivers consistent, objective inspection at full line speed. The OV80i system never experiences fatigue, maintains identical standards across every shift, and captures data that enables continuous process improvement.
Step 1: Imaging Setup
Position the shielding finger component under the camera with the bend region and contact surfaces clearly visible. Proper lighting angle is essential—side lighting often reveals surface deformation and plating inconsistencies better than direct illumination.
Click "Configure Imaging" in the Overview.ai interface. Adjust Camera Settings including exposure time and gain to maximize contrast on the spring finger geometry while avoiding overexposure on reflective plated surfaces.
Click "Save" to lock in your optimized imaging parameters.
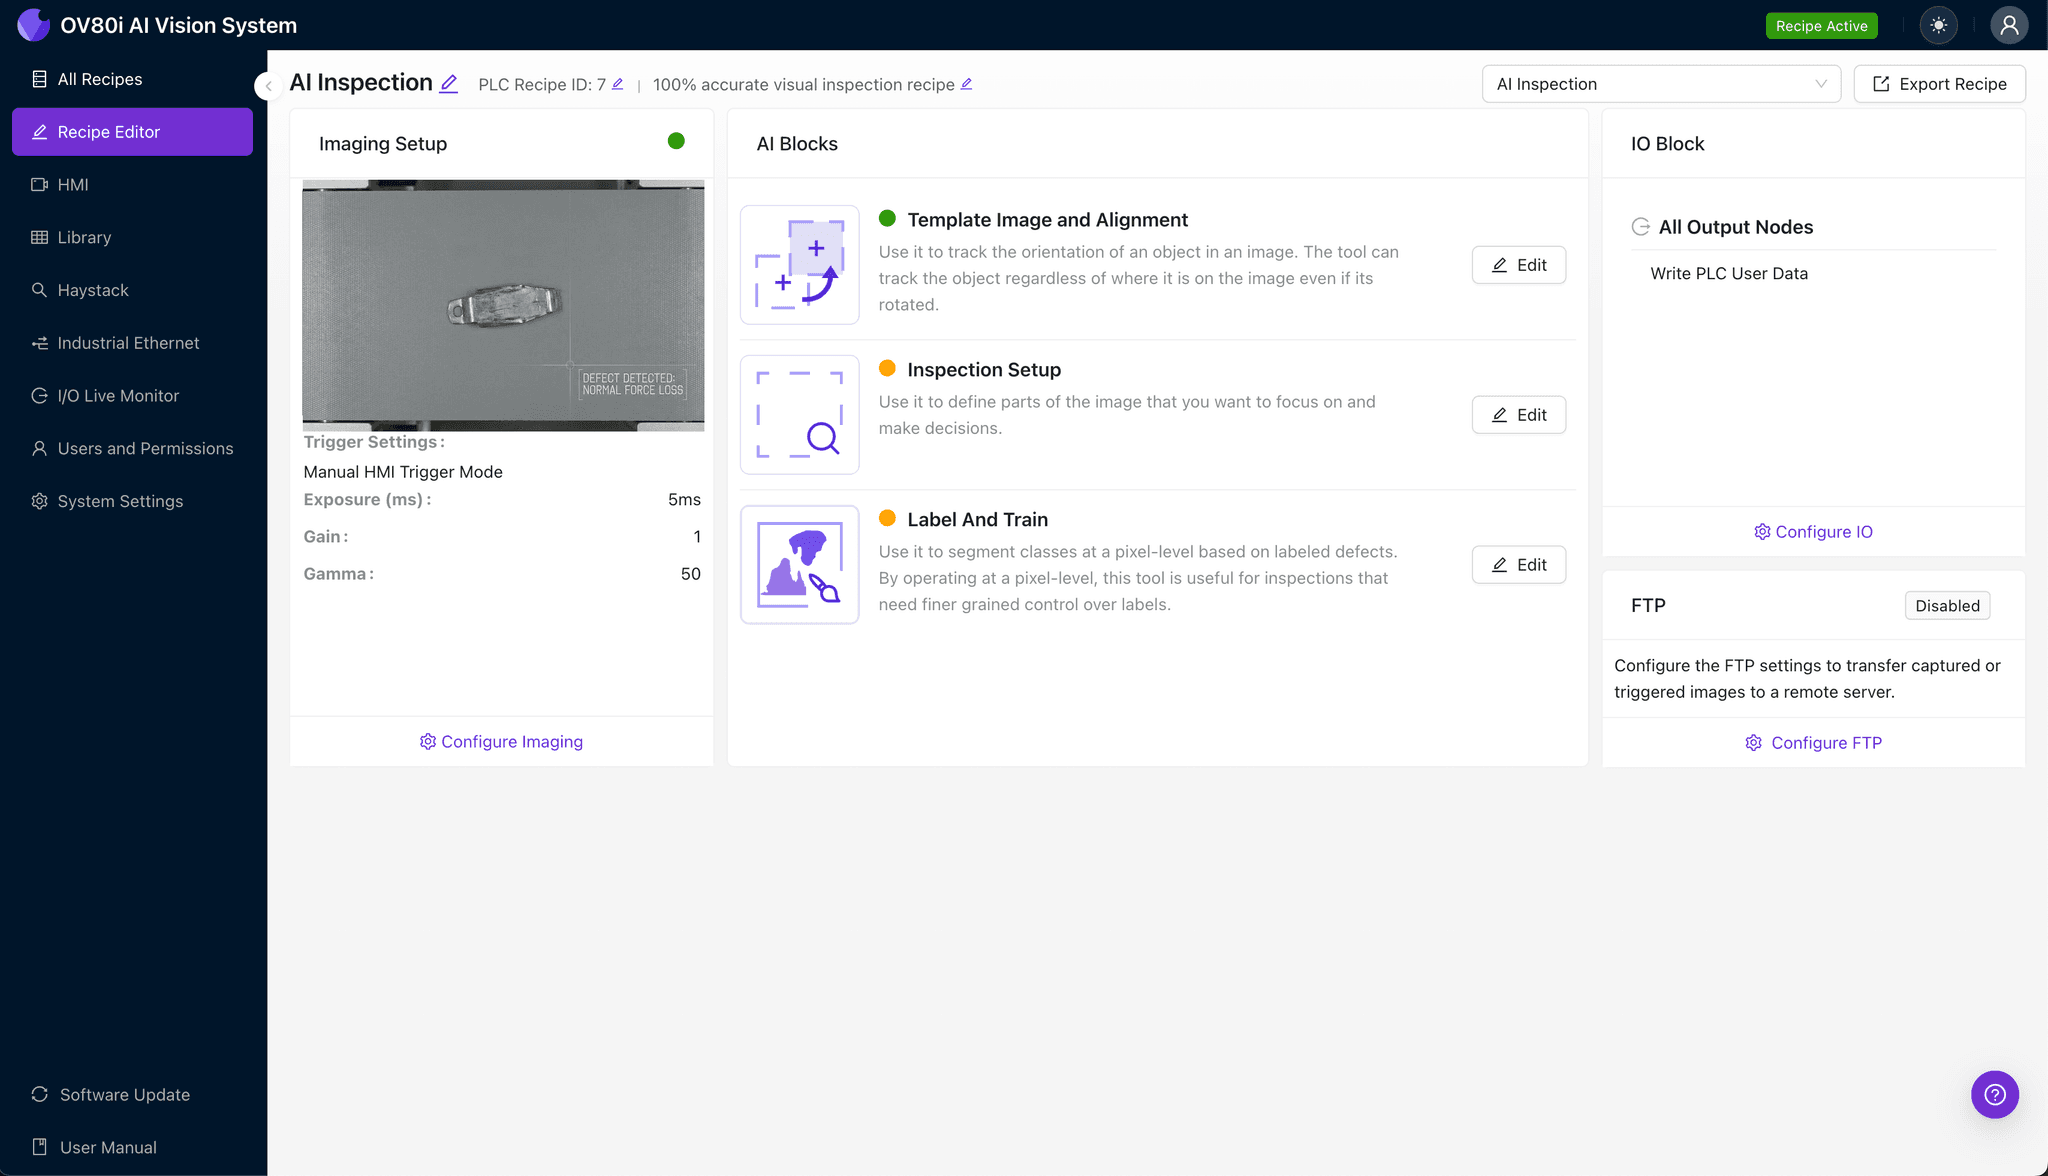
Step 2: Image Alignment
Navigate to "Template Image" and capture a reference image of a known-good shielding finger. This template serves as the alignment anchor for all subsequent inspections.
Click "+ Rectangle" to add an alignment region around the main body of the component. Focus on stable geometric features like mounting holes or base edges rather than the flexible spring elements.
Set "Rotation Range" to 20 degrees to accommodate normal part presentation variation on the line.
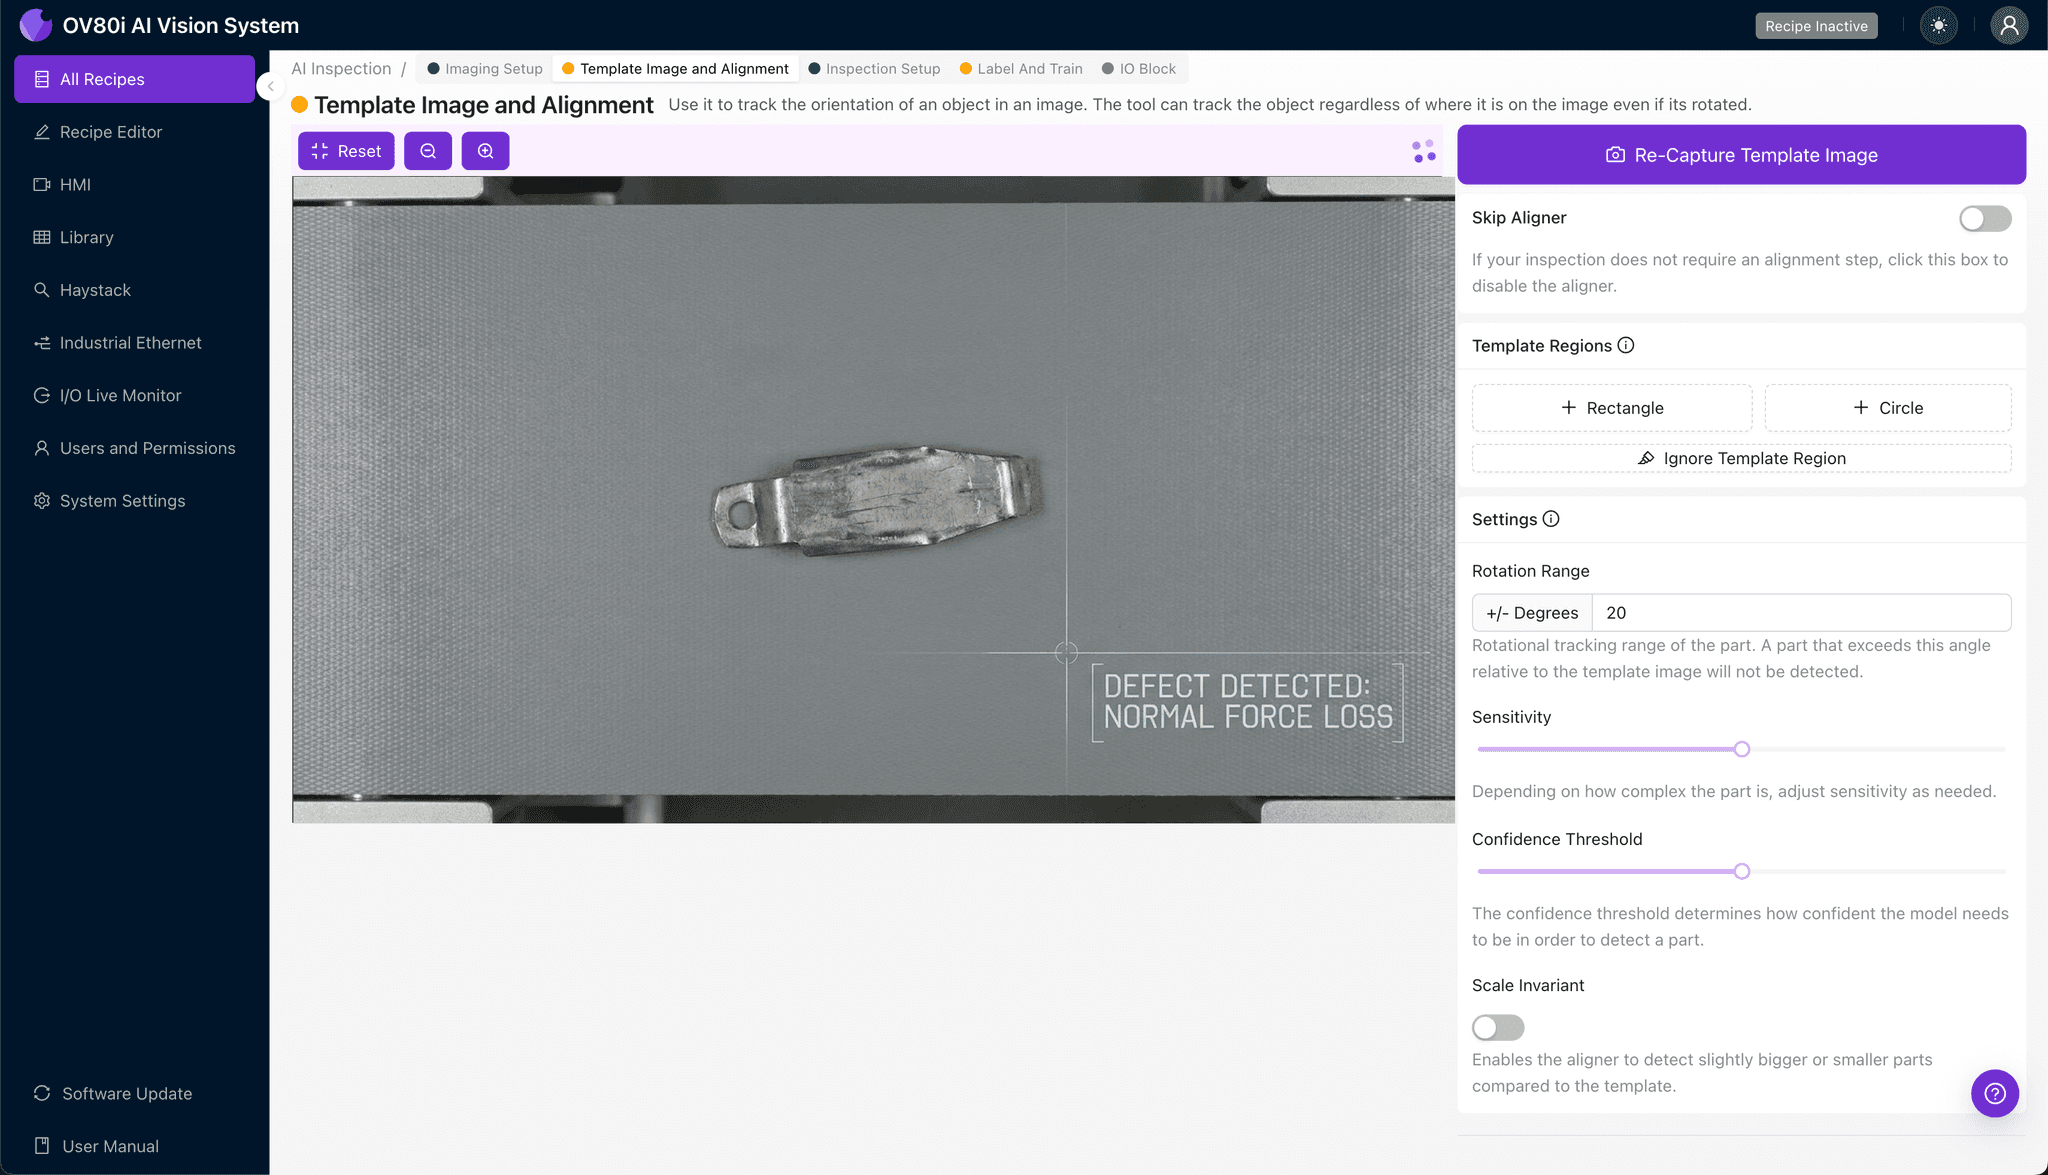
Step 3: Inspection Region Selection
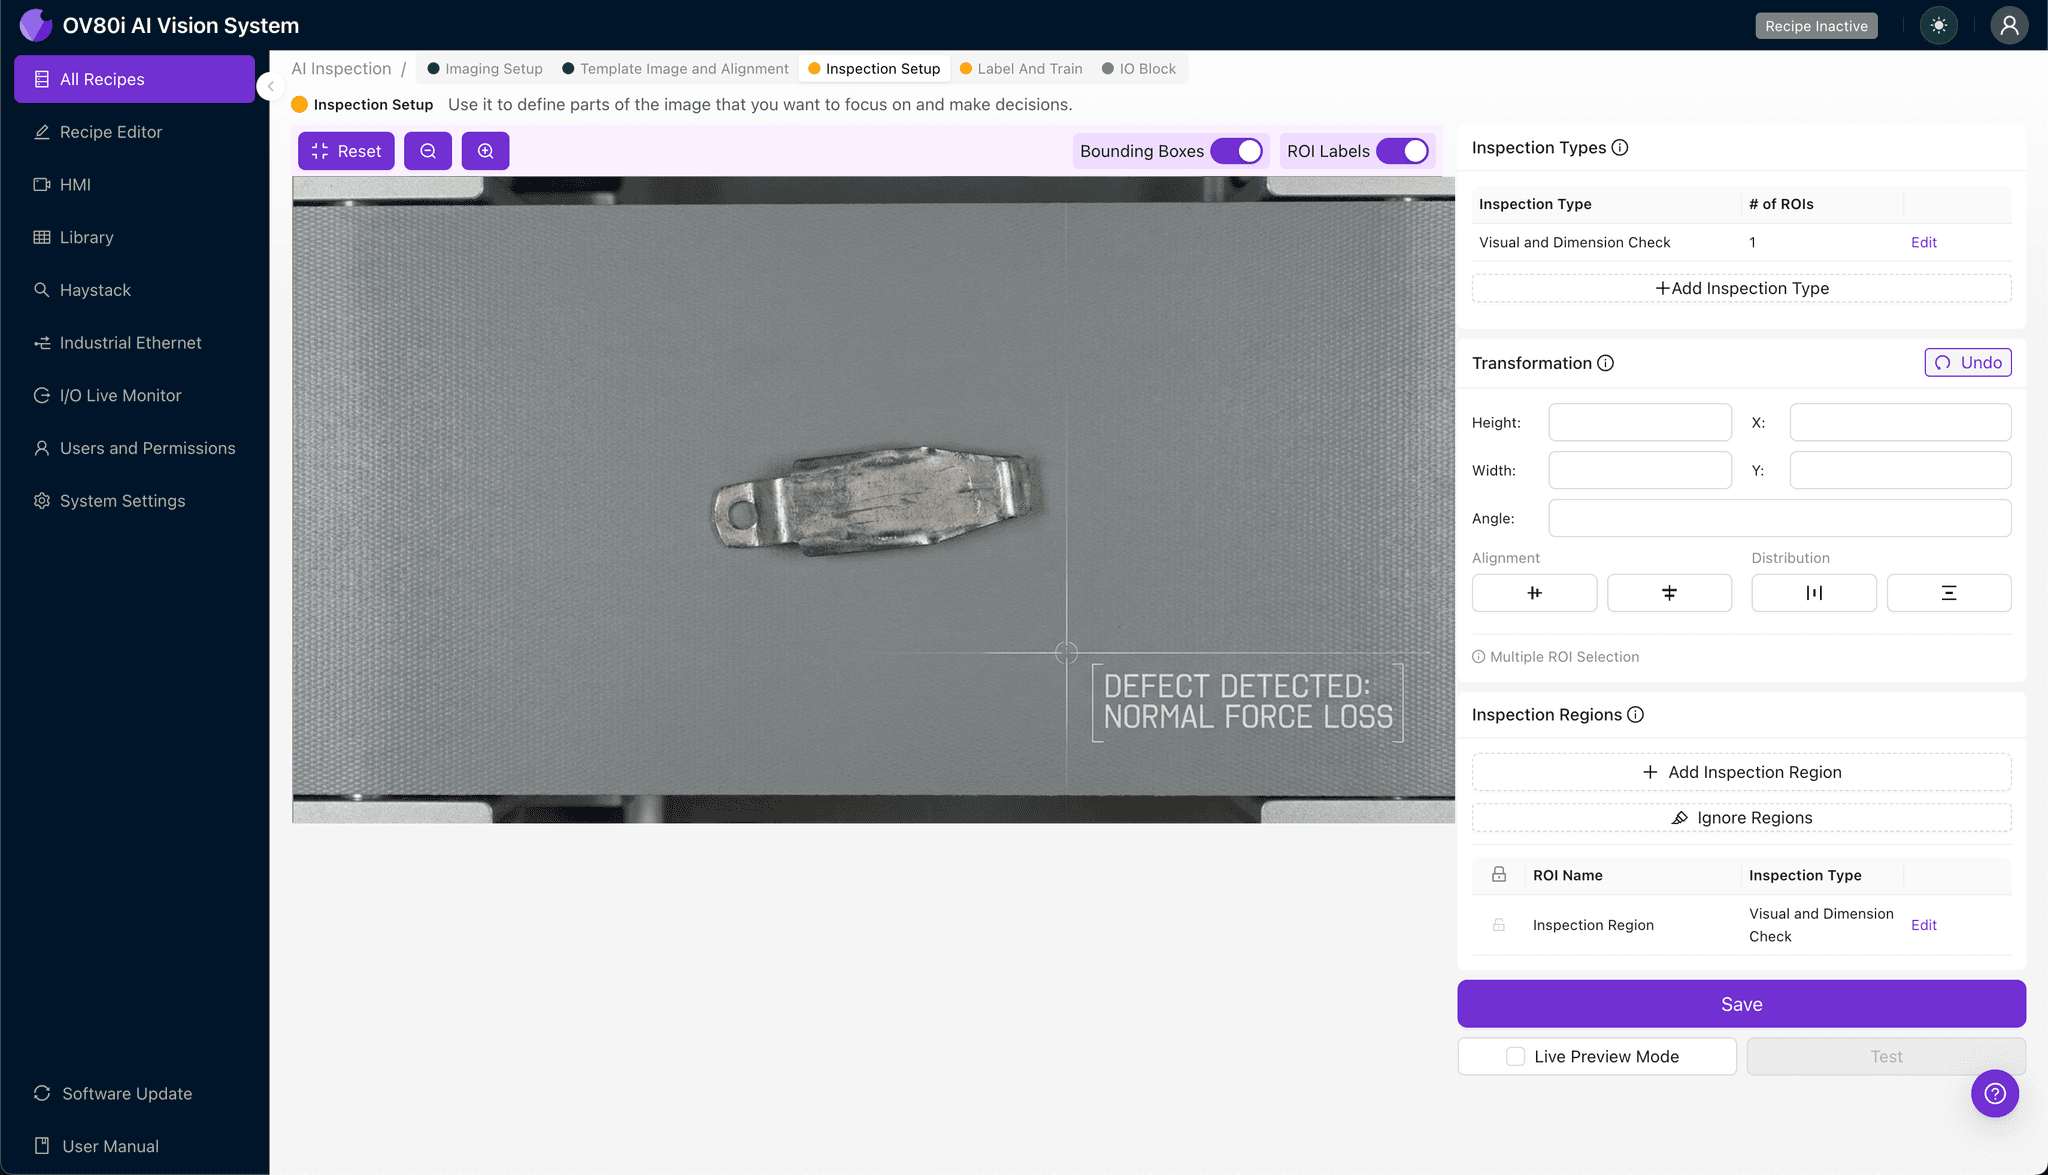
Navigate to "Inspection Setup" to define where the system should look for defects. Rename your "Inspection Types" to reflect the specific failure modes—for example, "Bend_Angle_Check" and "Surface_Integrity."
Click "+ Add Inspection Region" for each critical area. Resize the yellow box to cover the bend radius zone, contact tip surface, and base attachment point.
Click "Save" after positioning all inspection regions over areas where force-related defects manifest visually.
Step 4: Labeling Data
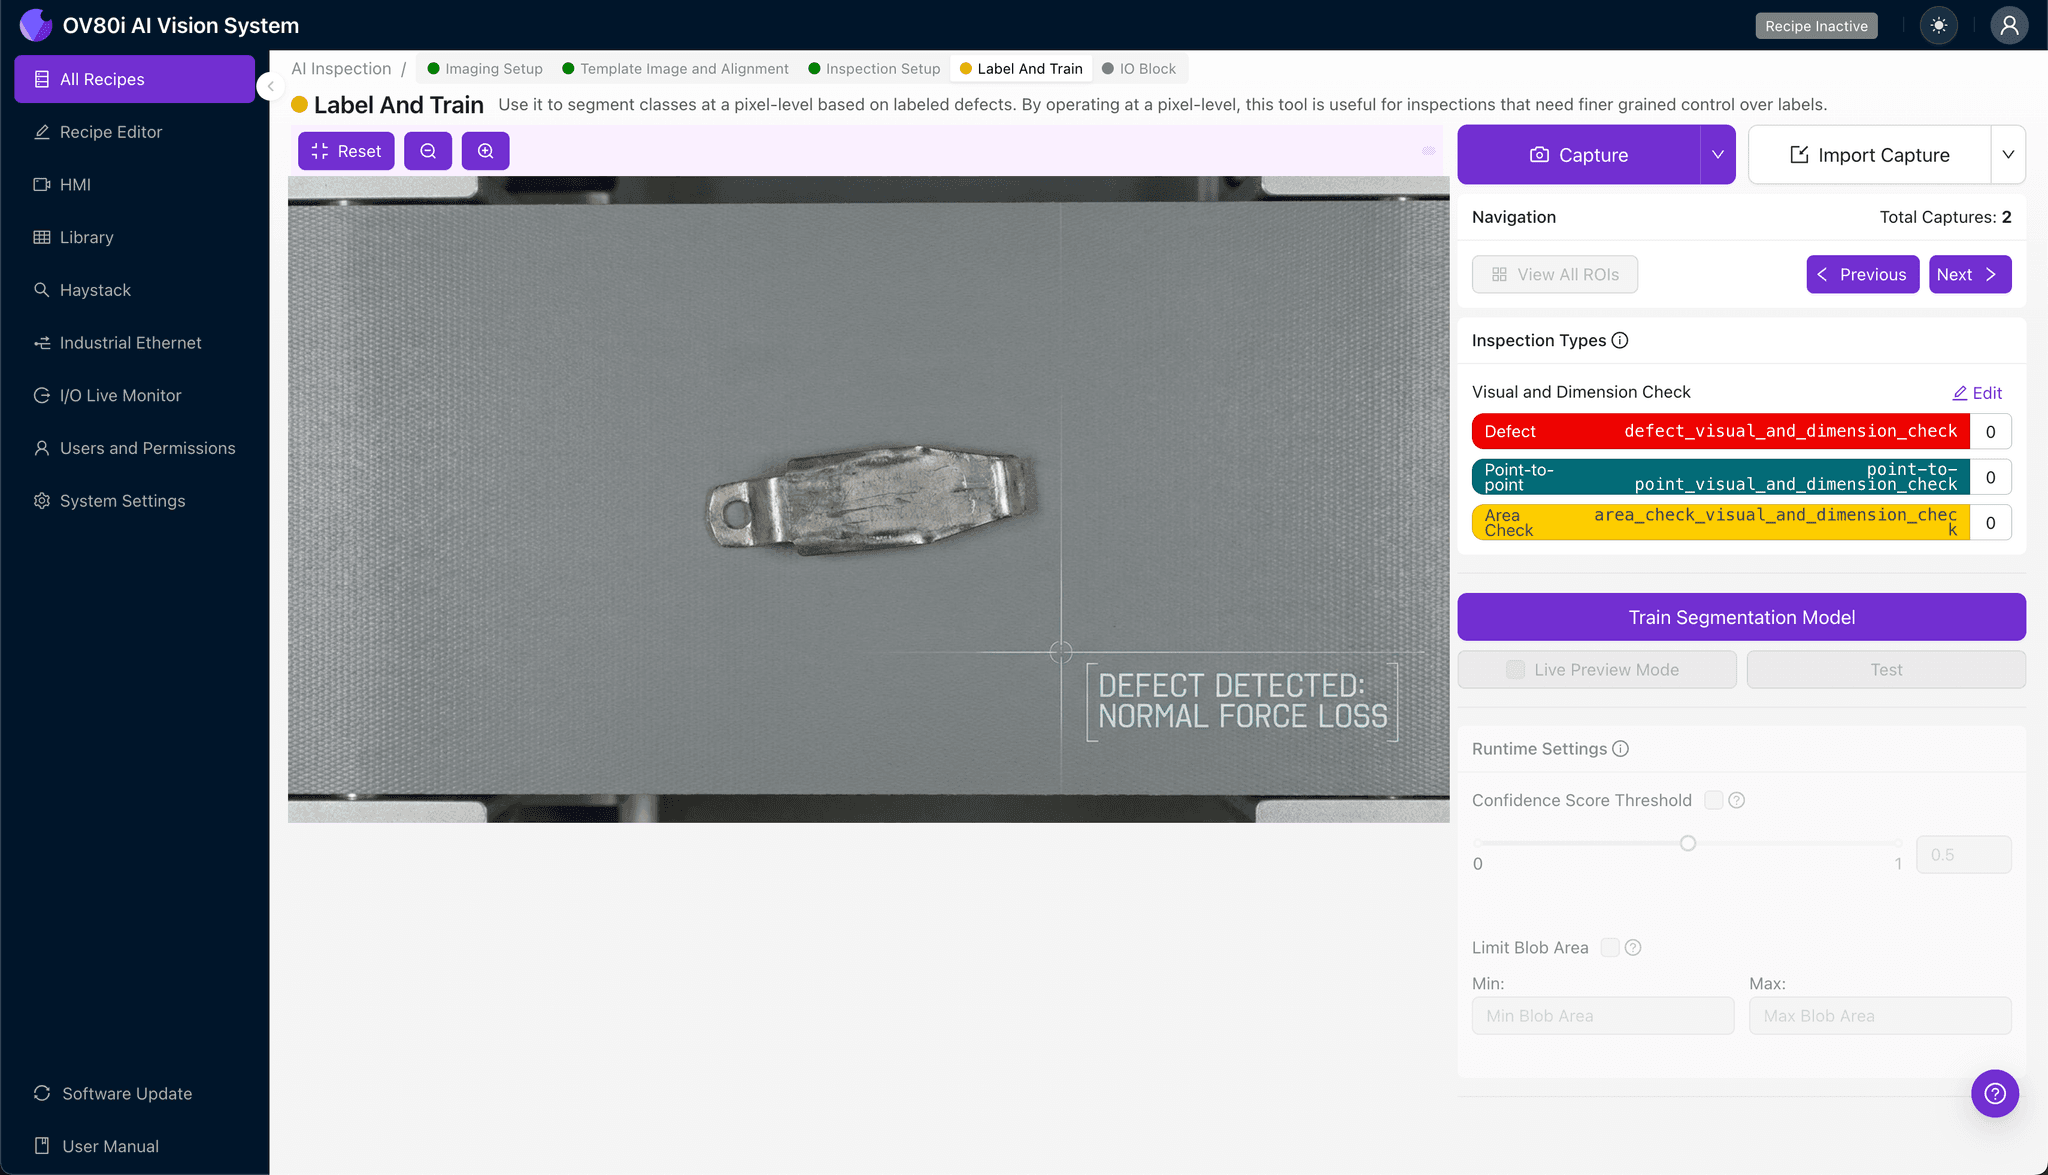
The human-in-the-loop labeling process trains the AI model to recognize your specific quality standards. Review captured images and categorize each as Good or Bad based on your engineering specifications.
Include representative samples across the full range of acceptable variation in your Good labels. For Bad labels, ensure you capture known failure modes including parts with measured force loss, visible deformation, and surface defects.
Quality labeling data is the foundation of inspection accuracy—invest time here to maximize detection performance.
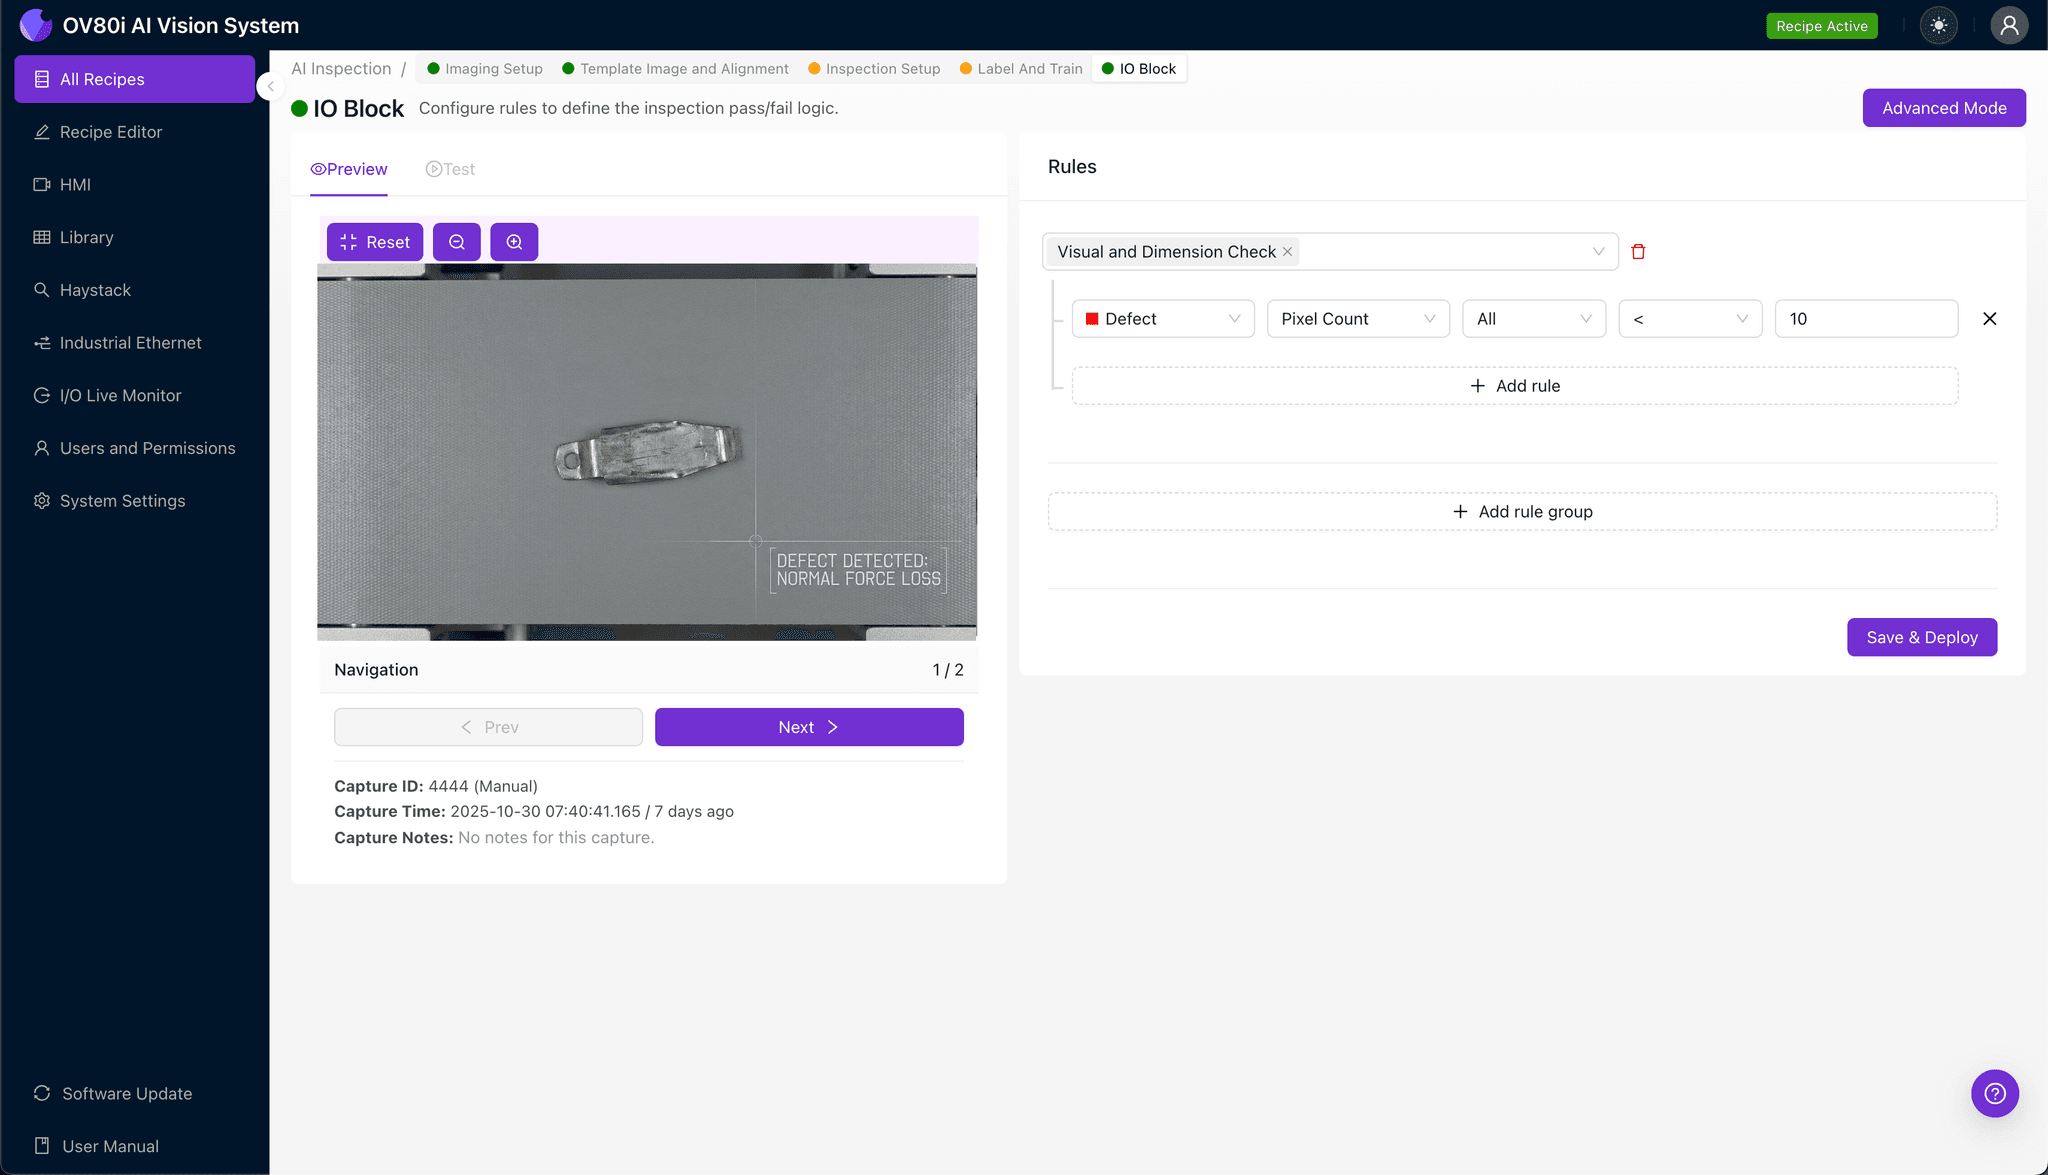
Step 5: Creating Rules
Set pass/fail logic based on your defined Inspection Types and acceptable confidence thresholds. For shielding fingers, you may require ALL inspection regions to pass, since any single defect can compromise EMI protection.
Gate automated acceptance on the line by connecting inspection results to your reject mechanism. Parts flagged as Bad are automatically diverted, while Good parts continue to packaging or assembly.
Key Outcomes & ROI
Implementing AI-powered visual inspection for shielding finger components delivers measurable business impact:
- Reduced scrap rates — catch defects before value-added assembly operations
- Higher throughput — eliminate inspection bottlenecks with at-line-speed analysis
- Compliance and traceability — maintain complete inspection records for automotive and aerospace quality standards
- Process improvement insights — identify upstream tooling wear or material issues through defect trend analysis
Ready to Eliminate Shielding Finger Escapes?
Overview.ai's visual inspection platform transforms quality control from a liability into a competitive advantage. Contact our team to see how the OV80i can detect loss of normal force indicators on your specific shielding finger components.