
Anomaly detection: inspecting with only good samples
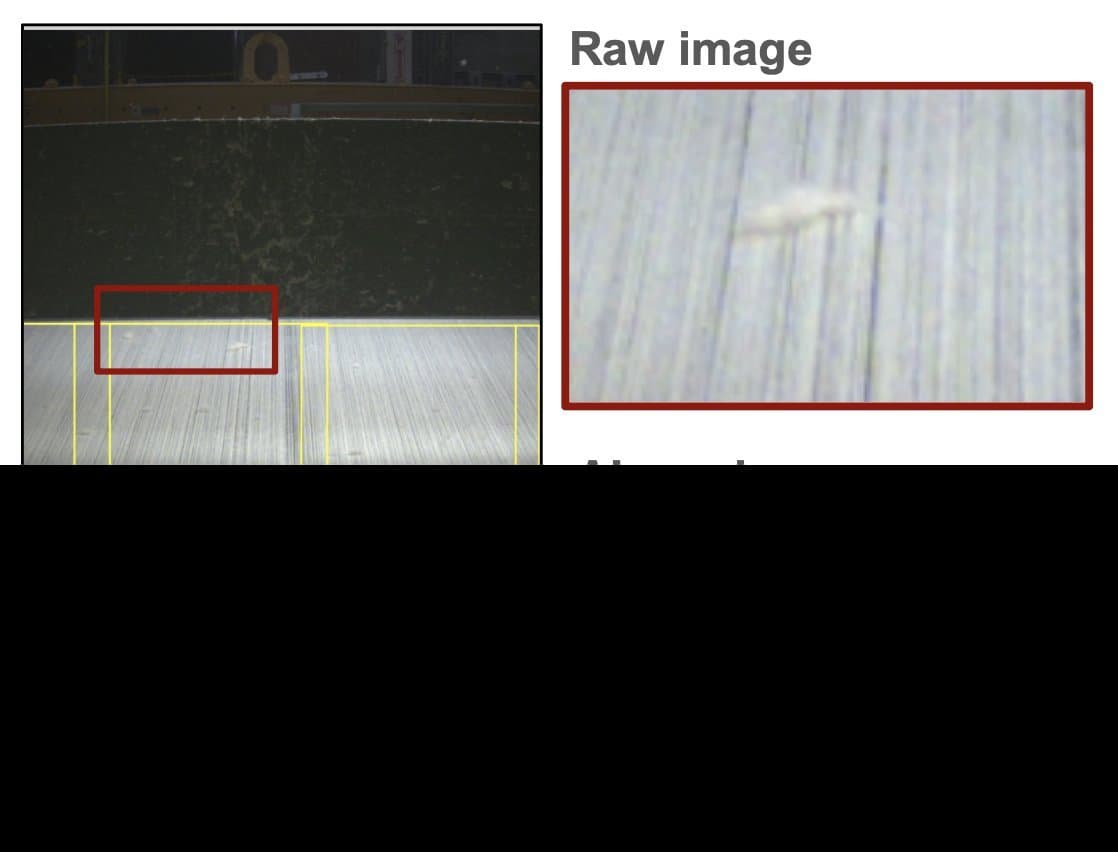
The most common reason an inspection project stalls has nothing to do with the technology. It is that nobody can produce the defect images. The failure happens once a month, the parts were scrapped without being photographed, and the quality team cannot describe the next one because they have not seen it yet.
Anomaly detection inverts the problem. Instead of learning what defects look like, the model learns what a good part looks like and flags anything that departs from it. The product description is exactly this: train using only good samples, and the model learns the normal appearance of your parts and flags anything that deviates as a potential defect.
Supervised and unsupervised, in one sentence each
A supervised model is taught the difference between named categories. You show it scratches, you show it clean surfaces, you label both, and it learns a boundary between them. It can then tell you which defect it found, because you told it the names.
An unsupervised model is taught only what normal looks like. It builds a representation of good parts and measures how far each new part sits from that. It cannot tell you the defect is a scratch rather than a smear, because nobody ever gave it those words. It can only tell you this region does not belong.
Supervised gives you names
Classification and segmentation return a class: porosity, contamination, short shot. That matters when the disposition differs by defect, when one goes to rework and another to scrap, or when you are feeding a Pareto chart back to the process.
Unsupervised gives you coverage
It flags the failure mode nobody anticipated, because it never had a list to begin with. That is the whole argument for it, and it is a strong one on parts where the defect catalogue is genuinely open ended.
Three model types, and how to choose
Anomaly detection is not one algorithm. On the OV80i the unsupervised block offers three, and they trade sensitivity against speed and against how much data they need. The product describes them plainly:
Highest sensitivity, needs at least 20 images
Fast inference and the best at small anomalies, returning a pixel-wise output so you can see exactly which region deviated. The default choice when the defect is subtle and you can get twenty good parts, which is usually not a hard ask.
Best on texture, needs only a few images
Medium inference speed, and specifically good at textured or patterned objects. Textiles, woven materials, machined finishes, castings. On a surface where every good part is visually different, this is the one to start with.
Fastest, needs very few images
Best for detecting whether simple objects are present or absent. Not a subtle surface tool. This is the fast presence check on a high speed line where the question is binary.
The image count is worth pausing on. Twenty good parts is a coffee break, not a data collection project. The reason anomaly detection changes project timelines is not that it is more accurate than a trained model, because often it is not. It is that the data you need already exists on the line right now.
What the model actually outputs
A supervised model returns a class and a confidence. An anomaly model returns something different, and understanding the shape of it is what stops the sensitivity slider becoming a source of argument.
| Output | What you do with it |
|---|---|
| Anomaly map | A heatmap over the region showing where the part deviated. This is what an operator looks at, and it is why the tool is defensible on the floor: the camera shows you the spot rather than just announcing a fail. |
| Anomaly score | A single number for how unusual the part is overall. Useful as a trend: a slow climb across a shift is a process drifting, not a bad part. |
| Blob statistics | The deviating regions grouped and measured, with area and position. This is what makes a usable pass rule: not any deviation, but a deviation larger than a set area. |
| Sensitivity and area limits | Tuned after training rather than baked into it, so you can adjust the trip point against real production without collecting anything new or retraining. |
The minimum blob area filter is the most important setting on the block, and it is the one most often left alone. Every real surface deviates a little everywhere. If the rule is any deviation at all, the station will fail good parts constantly. If the rule is a deviating region larger than a defined area, it behaves. Setting that number is a conversation with the quality team about what size of mark is actually a reject, which is a conversation worth having anyway.
When anomaly detection is the right call
Four situations where it is clearly the better starting point.
- You have no defect images and cannot manufacture them. The most common case, and the honest reason most inspections never get built.
- The defect catalogue is open ended. Contamination, foreign objects, and cosmetic damage do not come from a finite list. A model trained on the eight defects you know about will miss the ninth by construction.
- The surface is textured or patterned. Where no two good parts look the same, describing defects by appearance is close to impossible, but describing the boundary of normal is tractable.
- Low volume or high mix. If a part number runs a few hundred times a year, you will never accumulate a labelled defect set for it. Twenty good parts you can get on the first run.
And the honest inverse. Use a supervised model when the disposition depends on which defect it is, when you need the defect name for process feedback rather than just a reject signal, or when you already have a good labelled set, in which case a trained model will usually be both more accurate and easier to defend in a capability study.
These are not exclusive. A recipe on the OV80i can run several models over one image, so a common and sensible pattern is a supervised model handling the known defects with named classes, and an unsupervised model running alongside it as a safety net for everything nobody predicted.
The failure mode to plan for
Anomaly detection has one characteristic weakness, and it is better to name it than discover it. The model defines normal from the good parts you gave it. If your twenty good samples do not include the full range of acceptable variation, everything outside that range reads as an anomaly.
In practice that means a station commissioned on parts from one material lot will flag the next lot when the finish shifts slightly. It is not a model defect, it is an accurate report that the part looks different, which is precisely what you asked for. The fix is to include real variation in the good set: different lots, different shifts, the acceptable end of the tolerance band as well as the middle of it.
This is also why a retraining path matters more for anomaly detection than for supervised work. When production shifts, you need to feed genuinely-good-but-flagged parts back into the good set. Being able to find those images in production history and add them to the training set without a data science exercise is the difference between a station that survives a year and one that gets switched off in month three. Our guide to machine vision systems covers where this sits in the wider station design, and the lighting guide covers the other half, because an anomaly model is even more sensitive to illumination drift than a supervised one: a lighting change looks exactly like an abnormal part.
Frequently Asked Questions
Can you do AI inspection without any defect images?
Yes, using unsupervised anomaly detection. The model trains only on good parts, learns the normal appearance, and flags regions that deviate from it. This is the standard answer to the most common blocker on inspection projects, which is that the defect happens rarely and nobody photographed it. The trade is that the model reports that something is abnormal without naming which defect it is.
How many good samples does anomaly detection need?
It depends on the model type. A high sensitivity pixel-wise model needs at least twenty good images. Models aimed at textured surfaces or at simple presence and absence checks need only a few. The more important point is that the good set should span the real acceptable variation, including different material lots and shifts, because the model defines normal from what you give it and will flag legitimate variation you left out.
What is the difference between supervised and unsupervised defect detection?
A supervised model is trained on labelled examples of each defect class and returns the defect name along with a confidence. An unsupervised model is trained only on good parts and returns a deviation score and a heatmap, without naming the defect. Supervised is better when disposition or process feedback depends on which defect it is. Unsupervised is better when the defect catalogue is open ended or when defect images do not exist. Running both over the same image is a common and sensible pattern.
Does anomaly detection work on textured surfaces?
Textured and patterned surfaces are one of its strongest applications, and there is a model type specifically for them. On a woven textile, a machined finish or a casting, no two good parts look identical, which makes describing defects by appearance very difficult. Describing the boundary of normal appearance is far more tractable, so the unsupervised approach often outperforms a trained defect model on these surfaces.
Why does my anomaly model flag good parts after a material change?
Because it is correctly reporting that the parts look different from the ones it was trained on. The model defines normal from the good samples provided, so a new material lot with a slightly different finish falls outside that definition. The fix is to include the real range of acceptable variation in the good set, and to have a straightforward path for adding genuinely good but flagged production images back into training when the process legitimately shifts.
How do you stop anomaly detection rejecting everything?
Use the minimum blob area filter rather than the sensitivity slider alone. Every real surface deviates slightly everywhere, so a rule that fails on any deviation will reject good parts continuously. A rule that fails only when a deviating region exceeds a defined area behaves predictably. Setting that area requires agreeing with the quality team what size of mark is genuinely a reject, which is a useful conversation in its own right.
See how Overview AI inspects anomaly detection
Send us a photo of your part or defect and a vision engineer will tell you whether Overview can catch it, with most systems deployed on the line in days.
Related Articles
Escape vs Overkill
How to tell whether a sensitivity setting is right, in numbers a quality team already trusts.
Read More →Machine Vision OCR Without Training Data
The other inspection task that needs no images of your parts, and where it fits.
Read More →Machine Vision Lighting
Why an anomaly model is even more sensitive to lighting drift than a trained one.
Read More →