OV Spark
No-code vision setup and custom operator screens
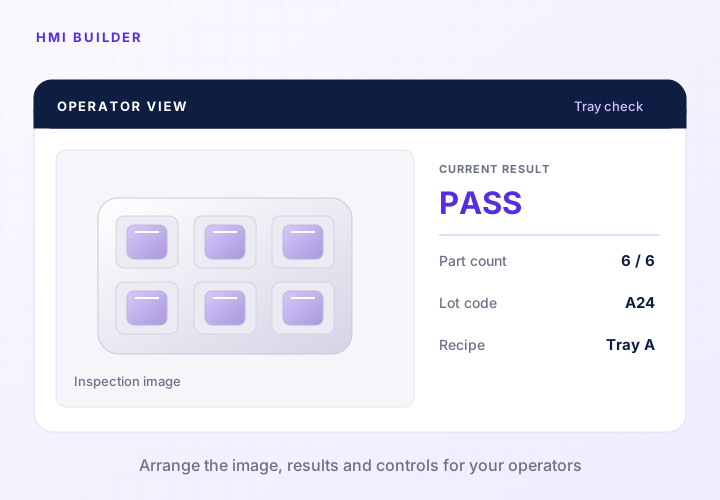
Build an operator view with Sparky’s HMI builder. Bring the inspection image, named tool results and relevant controls together in Spark’s native HMI. Your team checks the screen against the configured inspection so operators can see what failed and which action to take.
Configure the inspection in Spark
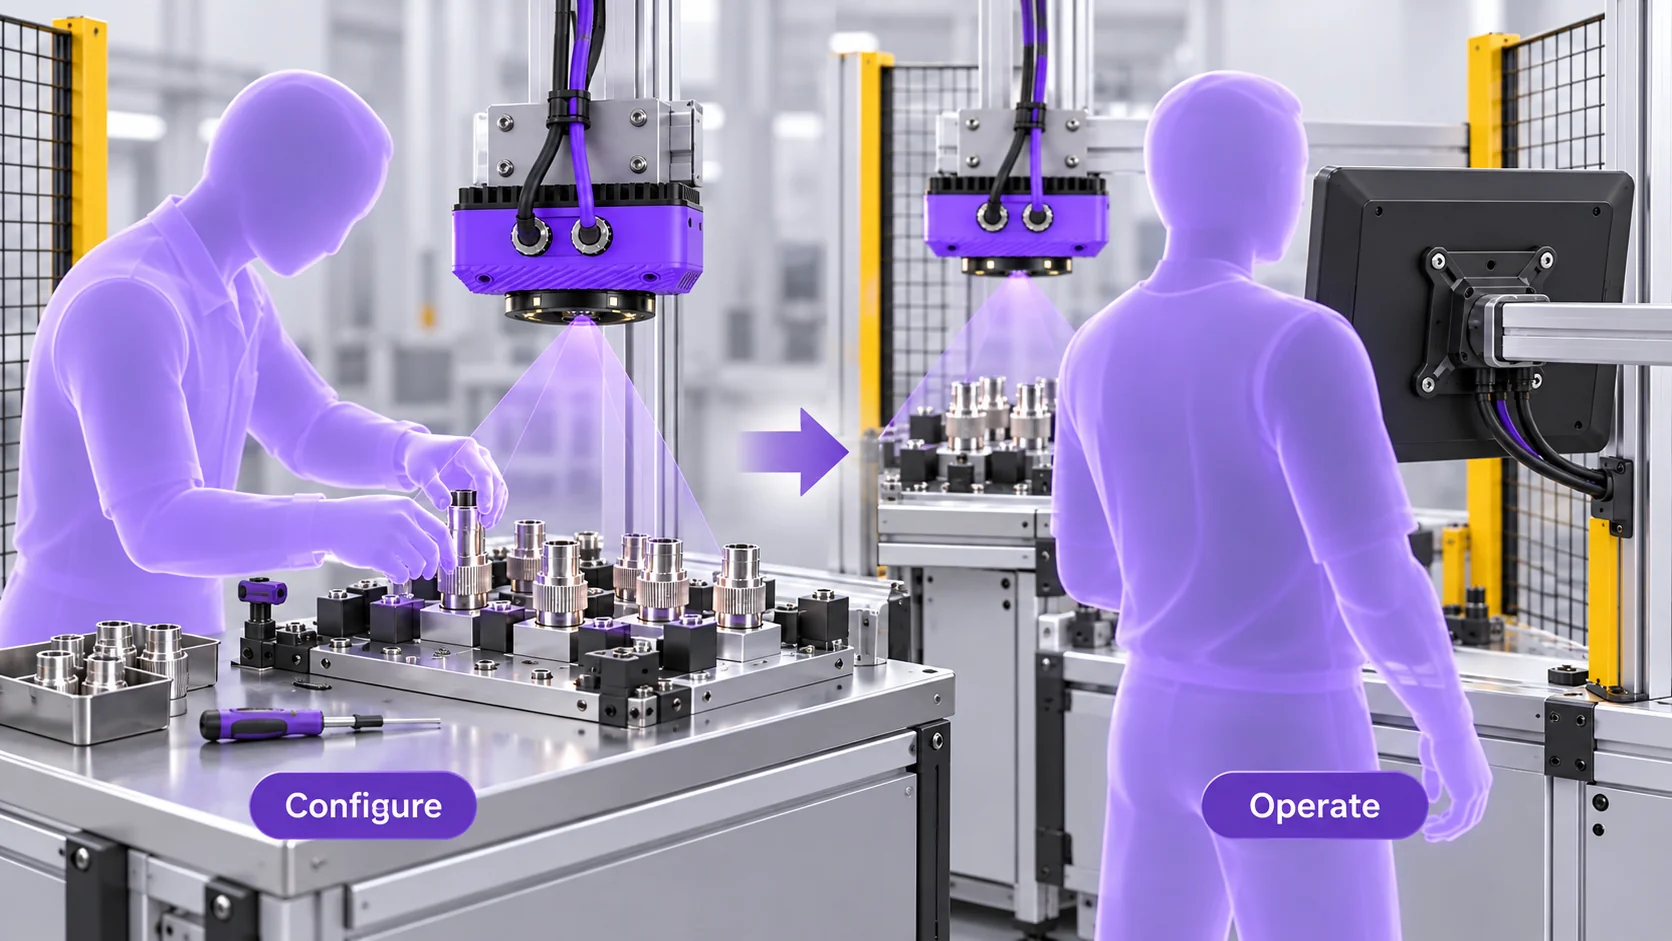
Use the inspection tools to define what the camera should check. That can include locating a part, counting visible features, reading a printed code, or classifying an inspection region. Set up the relevant inputs and acceptance conditions, then run representative parts through the recipe. Core inspection configuration takes place in the product interface.
Sparky’s tool selector helps identify relevant checks. The recipe builder helps put the inspection together. Your team reviews tool settings, supplies training examples where needed, and tests the inspection. Use the HMI builder to create the operator view once the relevant results and controls are defined.
Build the screen around a decision
When several tools inspect a part, the overall result is only the start. Individual check results help the operator identify whether the problem concerns a component, a count, or a printed code. Putting those results beside the inspection image makes it easier to find the relevant feature and decide what needs attention.
Spark’s configurable native HMI lets you arrange this information around the station. Choose the available results and controls that support the job, and use labels that match the work instructions. Operators can read the outcome in their normal view without opening the inspection setup to discover which check failed.
The HMI filmstrip lets operators review recent captures, freeze a selected image and jump back to the latest result. Average inspection time is also available, helping the team see the image and timing behind the current run.
Use names that make sense on the line
A result named after the inspected feature is easier to act on than a default tool number. Use labels such as terminal count, cap text, or clip present when those are the actual checks. Decide how to present a failed inspection separately from an image that could not be read or a part that could not be located.
Try the screen during a realistic sequence: a good part, a known defect, and a part positioned incorrectly. Watch what the operator does with each result. This often reveals a missing label or an ambiguous instruction before the station goes into service. The goal is a screen that supports the required action with as little interpretation as possible.
Scope the connection to the rest of the machine
Spark uses native product functions for inspection setup and its operator interface. There is no Node-RED environment to build or maintain on the camera. The inspection, its results, and the operator view stay within Spark. For the machine connection, define which system starts the inspection and how the PLC or reject mechanism receives and acts on the result.
Advanced rules or a custom integration may require engineering or scripts. Discuss these requirements during scoping, especially when the station must exchange job information or coordinate several machines. Demonstrate the complete cycle with the intended interfaces before calling the installation ready. No-code setup describes how the supported inspection is configured; the acceptance test should cover the whole station.
For custom applications, Spark also provides an HTTP API for triggering inspections, retrieving or subscribing to results, switching Setup and Production modes, and accessing heatmaps. Use the downloadable OpenAPI specification to build and test the connection.
Common questions
- Can I configure a Spark inspection without writing code?
- Core inspection configuration uses the Spark interface and its inspection tools. Sparky can assist with setup. The required checks still need training, settings, and evaluation. Advanced logic and custom connections may require engineering work.
- Does Spark use Node-RED for its operator screen?
- No. Spark uses a native configurable operator interface. It does not run Node-RED. Plan the screen around the functions supported in Spark and verify any requested machine integration separately.
- What should an operator screen show?
- Usually the inspection image, a clear overall result, and enough detail to identify the failed check. The right controls depend on the station. Review the screen with operators using both good parts and known failures before deployment.
- Does the Sparky decide whether a part passes?
- The configured inspection tools produce the inspection results. Sparky assists with tasks such as setup and explanation. Review its suggestions and evaluate the tool behavior against your acceptance criteria.
Map the screen to your station
Show us the checks, operator actions, and machine connections your station needs. We can work through the setup and demonstrate the supported operator workflow.
Plan your operator interface