OV Spark inspection capabilities
AI Trigger for vision inspection
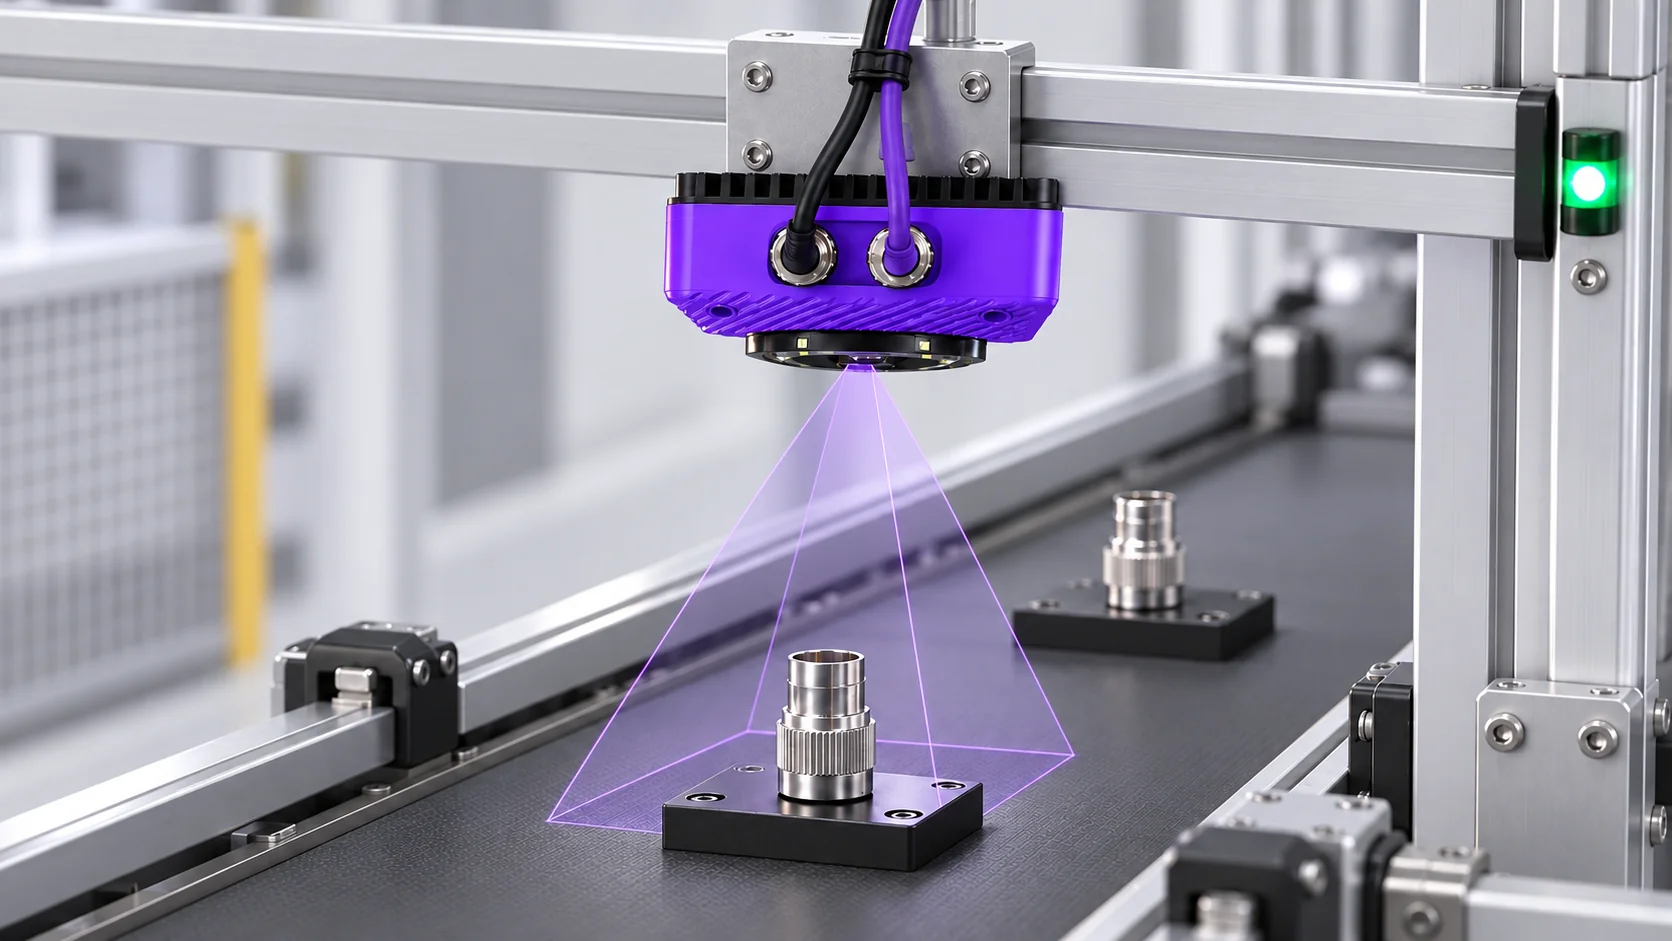
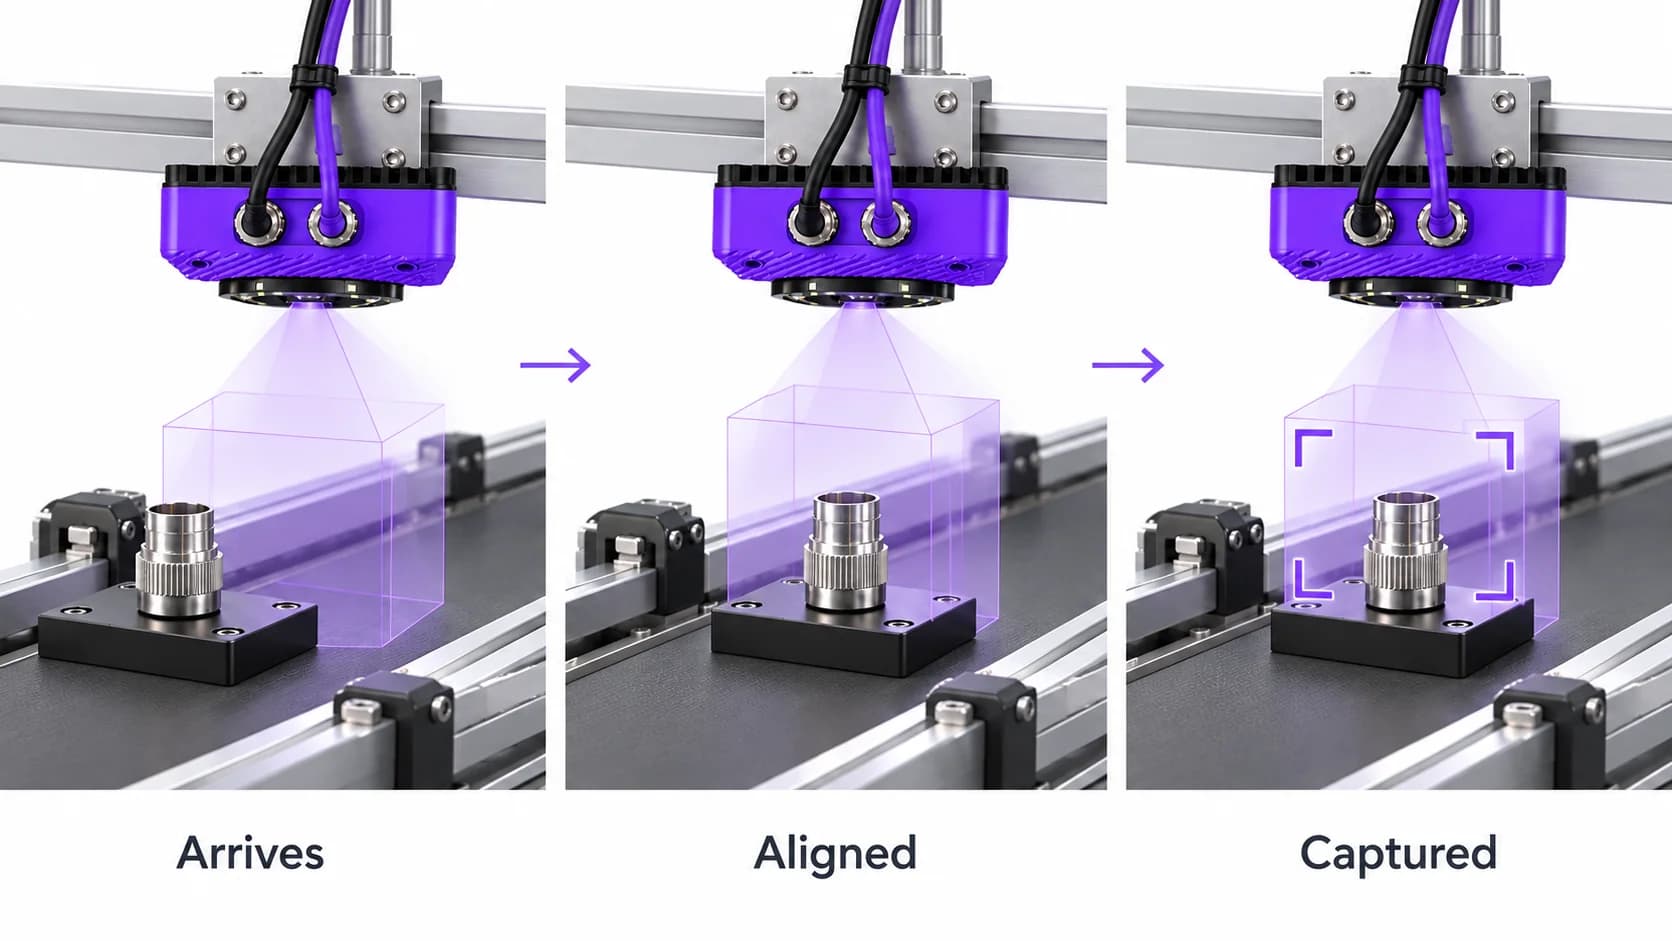
Spark can start an inspection when its Alignment tool finds the part in the configured position. Combine the trigger with the checks your part needs, then configure and test the timing at the station. At a suitable station, an operator can place a part and receive a result without a separate button press.
Ten tools. One camera.
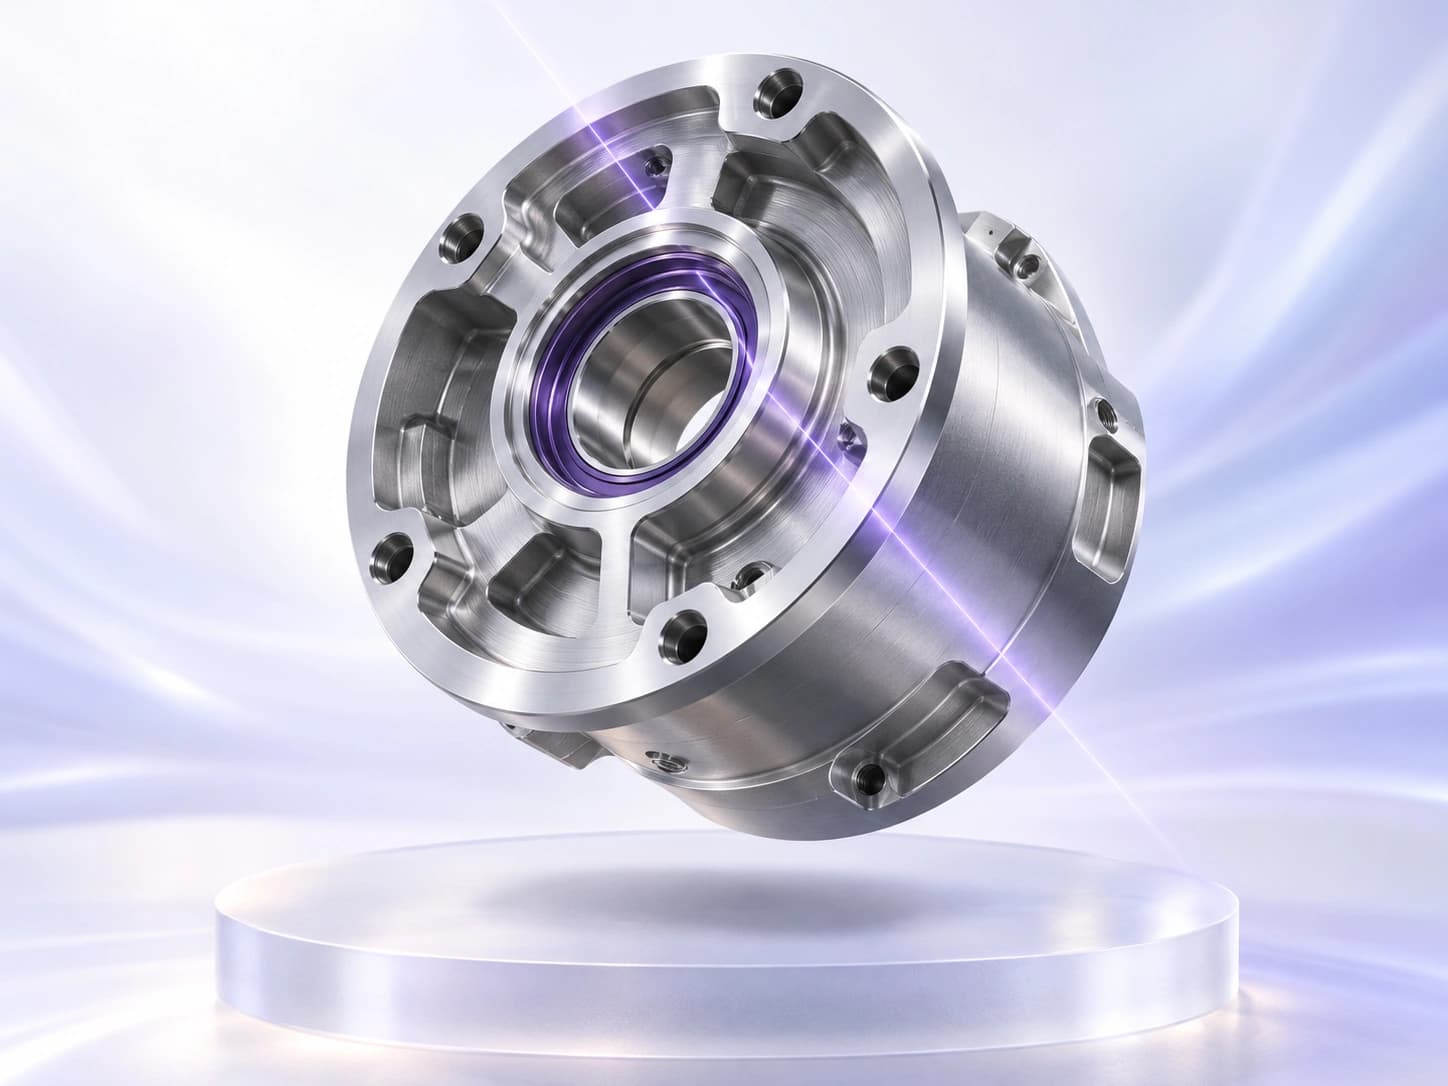
The right part.
In the right place.
Find the part’s position and orientation so downstream inspection regions follow the features you need to check.
Count visible parts or features and compare the result with your configured target range.
Measure gaps, diameters or distances, then compare them with your limits. Calibrate the image for physical units.
Compare a region with a colour reference and your allowed tolerance to check variants and consistency.
Train on examples of your defined classes, then classify the part or image region for the inspection.
Use the image to identify when the part is in the right position, without an external trigger sensor.
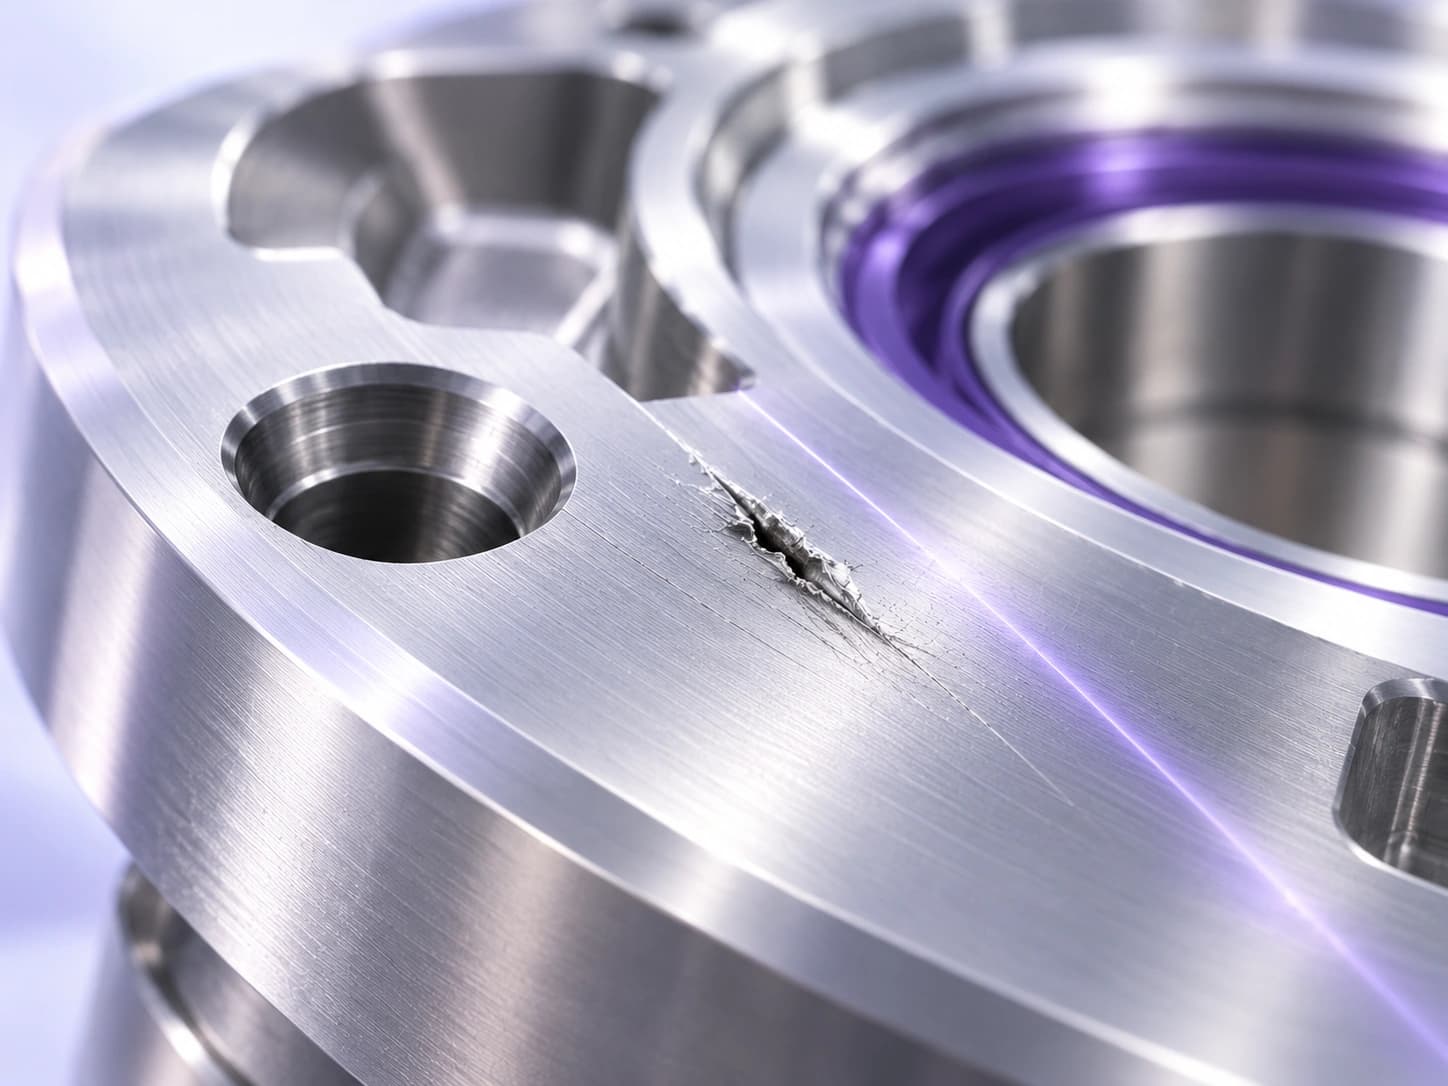
Find the flaws
that matter.
Identify the pixels belonging to a defect. Inspect scratches, coating coverage and weld quality where location and area matter.
Learn from good samples, then flag deviations from that pattern—even when defect examples are scarce.
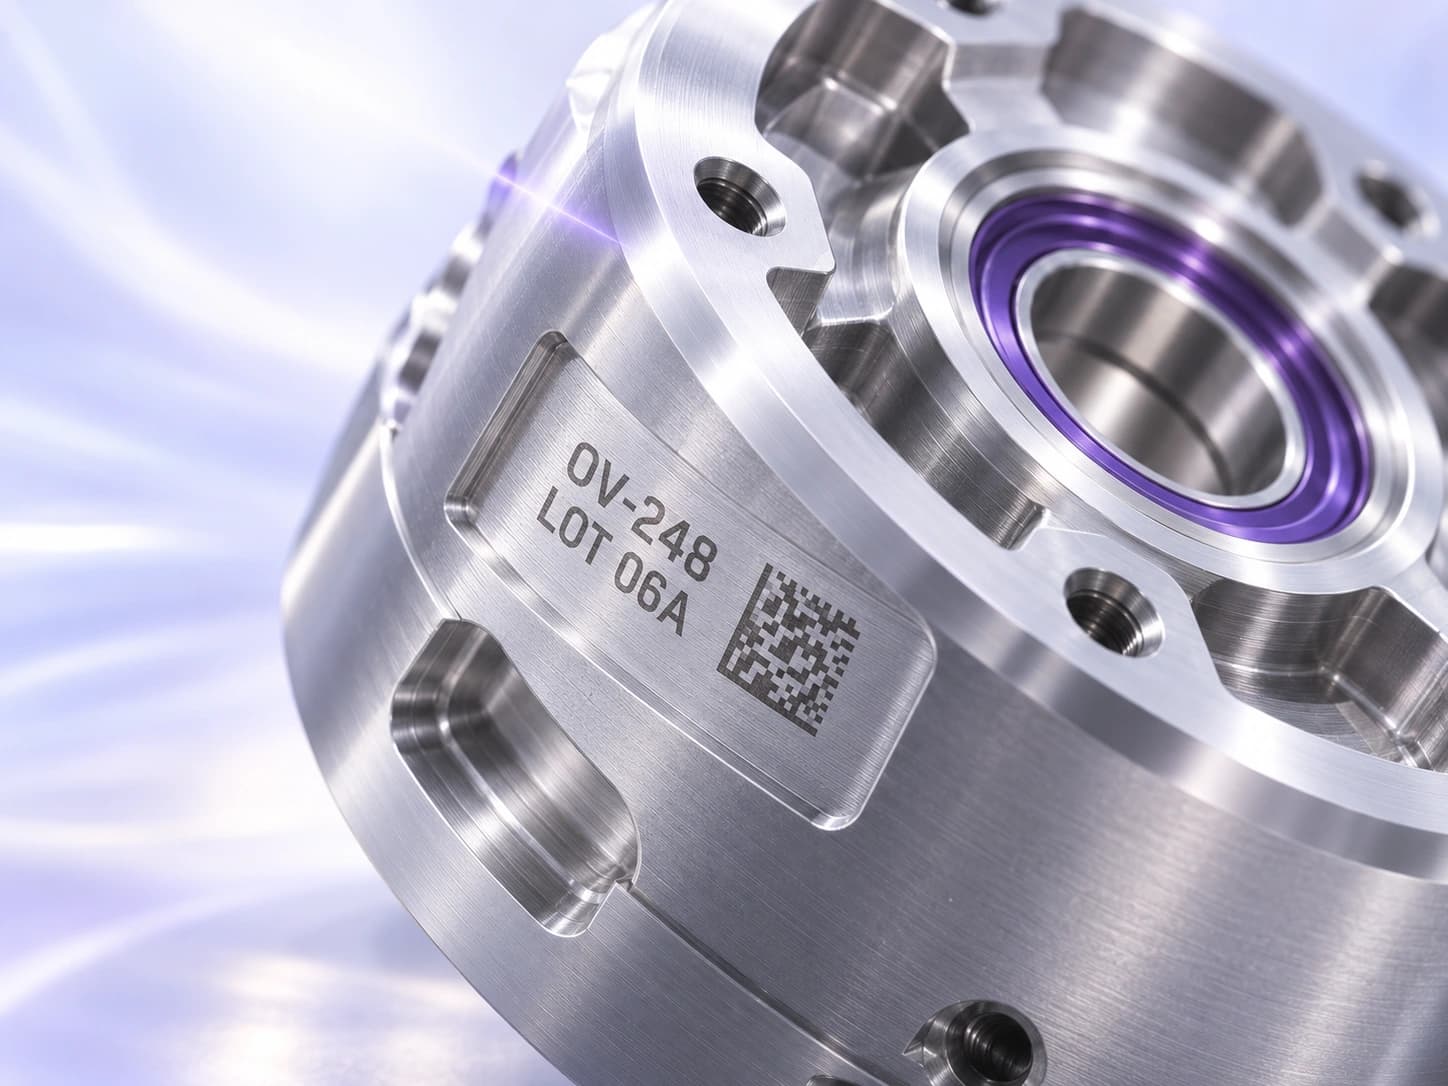
Read it.
Then verify it.
Read one line per OCR region and compare it with the expected string or pattern. Use separate regions for separate lines of lot, date or product codes.
Decode a 1D or 2D barcode, then check its content against the value your inspection expects.
Start inspection when the part is ready
Link Spark’s trigger to a successful Alignment result. The camera looks for the configured part or feature, then starts inspection when that condition is met. This gives a manually loaded station a useful ready signal based on what is actually in the image, so inspection does not depend on the operator remembering to press a trigger.
The trigger is only the start condition. OCR, counting, and other inspection tools still need their own settings and acceptance rules. A part being found does not mean the part is good. Keeping those decisions separate makes it easier to understand whether a missed inspection came from the trigger setup or from a later check.
AI Trigger is one of Spark’s ten AI and rules-based tools. Mix it with counting, OCR or other checks in the same recipe, and test the complete sequence at the required line speed.
Use the camera view as the ready signal
Consider a station where an operator places a part in front of the camera. The inspection should begin after the part reaches the intended position, leaving the operator free to load, read the result, and unload. Alignment provides a visual reference when placement varies between cycles.
Vision-based triggering is also useful to consider when mounting or adjusting a separate sensor is awkward. A product change may call for a different visual reference instead of a physical sensor adjustment. The camera needs a dependable view of the chosen feature, so presentation still determines whether this approach fits the station.
Capture the detail the inspection needs
For a moving line, the part must remain inspectable long enough to capture the detail required by the recipe. Test normal line speed, the shortest spacing between parts, and the positions that produce the hardest image. Motion blur or an incomplete view can undermine a correctly detected trigger.
Also test what happens when a part pauses, reverses, or stays in the field of view. Establish how the station will associate one result with one part and handle missed or repeated events. That behavior belongs in the commissioning checks, especially if the result controls a downstream reject mechanism.
Fit the trigger to the machine cycle
A hardware or PLC trigger may suit a machine that already provides a dependable cycle signal or requires capture at a tightly controlled instant. A vision-based trigger may suit a station whose ready condition is best recognized in the image. Select the trigger around the process and the result timing the machine needs.
Bring that timing requirement into the evaluation early. Identify where the product is when inspection starts, how much time is available, and what should happen if no valid inspection occurs. The alignment-linked workflow should be tested as part of the full station, including the response to a failed alignment.
Common questions
- Is AI Trigger available on Spark?
- Yes. Spark supports triggering from a successful Alignment result. Configure the Alignment tool to find the intended part or feature, then evaluate that start condition together with the downstream inspection and the station’s required timing.
- Does AI Trigger eliminate an external sensor?
- It may remove the need for a separate presence sensor in a suitable application. Confirm reliable detection, one result per part, and the required timing on your station before deciding to remove existing trigger hardware.
- Does alignment success mean the inspection passed?
- No. Alignment identifies the configured part or feature. Its success can start the inspection, but the downstream tools determine whether the inspected product meets the rules you have set.
- Can we use it on a moving conveyor?
- A conveyor application needs enough time with the part in view to find it and capture an inspectable image. Line speed, spacing, exposure, inspection workload, and downstream timing determine whether alignment-linked triggering fits that station.
Review the trigger for your station
Share how parts arrive, when the image needs to be captured, and how the result is used. We can assess whether alignment-linked triggering fits the process.
Discuss your inspection